Photoshop打造水晶質感字體特效
2022-12-25 13:54:49
來源/作者: /
己有:41人學習過
Photoshop打造水晶質感字體特效最終效果

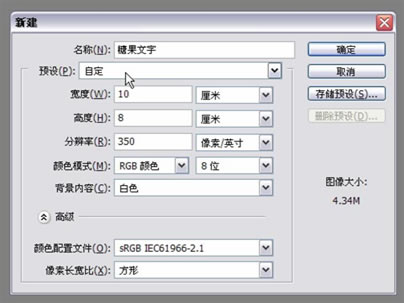
1、新建一個文件,名稱可以自定義,寬度和高度可以按照自己的需要自行設定,分辨率設為350象素/英寸,背景內容為白色,完成按確定。
2、設前景色為黑色,在新建文件中使用橫排文字工具輸入相應文字。
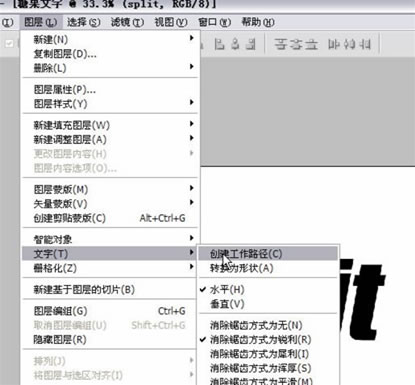
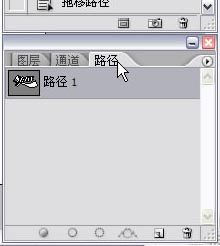
3、選擇"圖層>文字>創建工作路徑"。
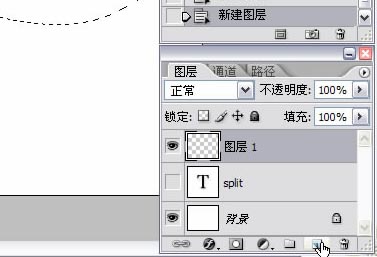
4、隱藏文字圖層(單擊圖層選框中文字圖層前的眼睛即可)
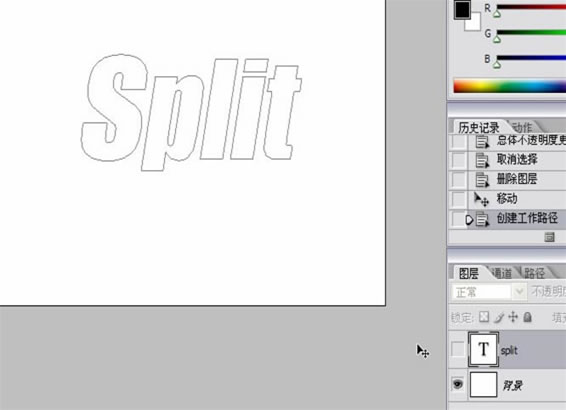
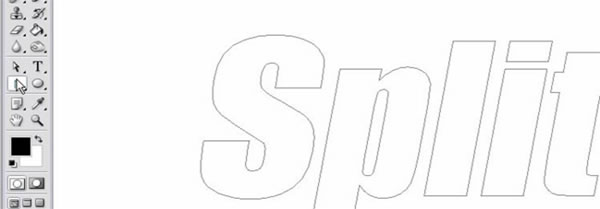
5、結合直接選擇工具和鋼筆工具使用,對文字進行變形。
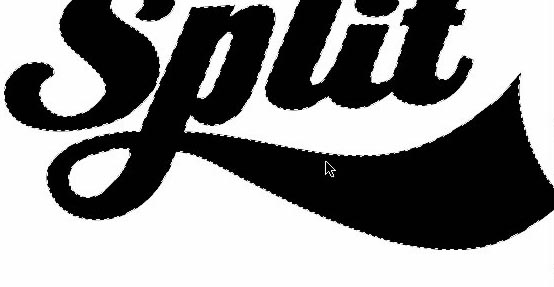
6、將文字路徑作為選區載入(單擊路徑,單擊將路徑作為選取載入的按扭),如下圖:
7、新建圖層一,填充選區為黑色。
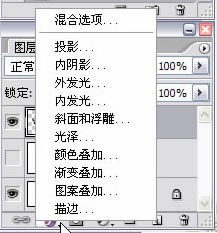
8、"取消選擇"后,根據需要調整圖層樣式。
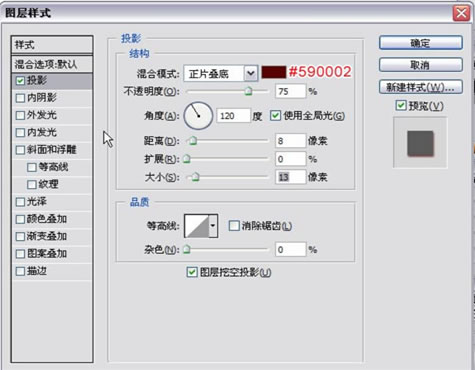
9、圖層樣式“投影”,混合模式后的顏色可以自己選擇,這里顏色是:#590002,參數如下圖設置:
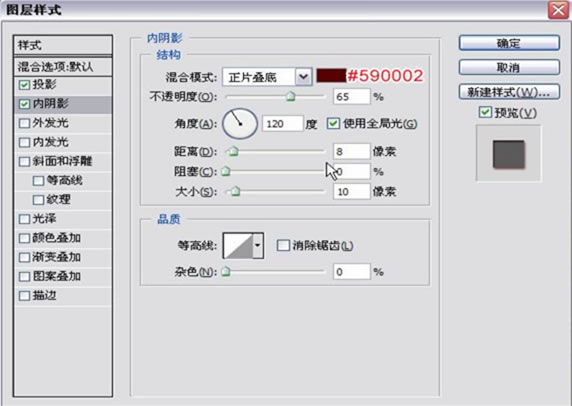
10、圖層樣式“內陰影”,混合模式后的顏色可以自己選擇,這里顏色是:#590002,參數如下圖設置:
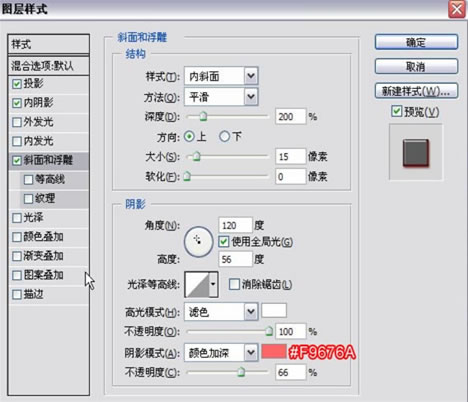
11、圖層樣式“斜面和浮雕”,這里顏色是:#F9676A,參數如下圖設置:
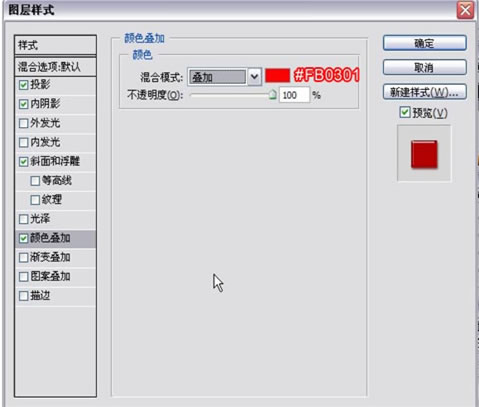
12、圖層樣式“顏色疊加”,這里顏色是:#FB0301,參數如下圖設置:
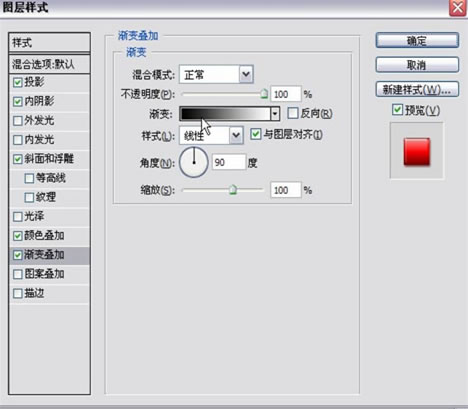
13、圖層樣式“漸變疊加”,參數如下圖設置:
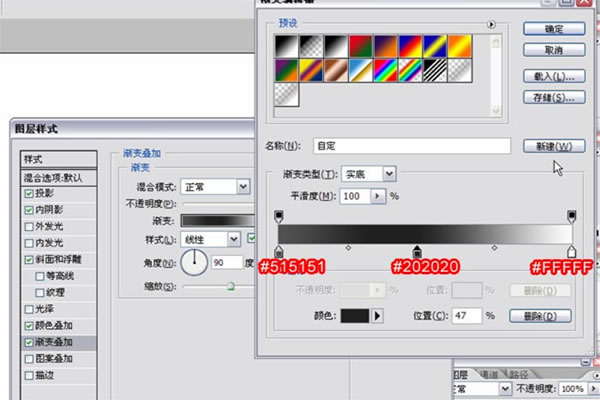
14、漸變顏色的第一個顏色標記點是:#515151,第二個是:#202020,第三個是: #FFFFF。
還有提提大家,我試過將這個方法運用在中文字上,效果也不錯哦。

1、新建一個文件,名稱可以自定義,寬度和高度可以按照自己的需要自行設定,分辨率設為350象素/英寸,背景內容為白色,完成按確定。
2、設前景色為黑色,在新建文件中使用橫排文字工具輸入相應文字。
3、選擇"圖層>文字>創建工作路徑"。
4、隱藏文字圖層(單擊圖層選框中文字圖層前的眼睛即可)
5、結合直接選擇工具和鋼筆工具使用,對文字進行變形。
6、將文字路徑作為選區載入(單擊路徑,單擊將路徑作為選取載入的按扭),如下圖:
7、新建圖層一,填充選區為黑色。
8、"取消選擇"后,根據需要調整圖層樣式。
9、圖層樣式“投影”,混合模式后的顏色可以自己選擇,這里顏色是:#590002,參數如下圖設置:
10、圖層樣式“內陰影”,混合模式后的顏色可以自己選擇,這里顏色是:#590002,參數如下圖設置:
11、圖層樣式“斜面和浮雕”,這里顏色是:#F9676A,參數如下圖設置:
12、圖層樣式“顏色疊加”,這里顏色是:#FB0301,參數如下圖設置:
13、圖層樣式“漸變疊加”,參數如下圖設置:
14、漸變顏色的第一個顏色標記點是:#515151,第二個是:#202020,第三個是: #FFFFF。
還有提提大家,我試過將這個方法運用在中文字上,效果也不錯哦。
相關推薦

顏色矯正-“匹配顏色”命令的應用-

PS色階校正顏色調整法

Photoshop影像后期:去除紅眼并修正

PS找回欠曝花朵顏色層次和銳度

彩繪藝術字, PS液化工具制作彩繪背景設計教程

Photoshop制作非常流行的金沙立體字,細膩的金沙字體,金粉字。

Photoshop制作金色的海報標題文字教程

Photoshop使用筆刷制作書法藝術字教程


