Photoshop制作大型生態風格化妝品電商首頁海報
![](https://img.lvups.com/d/file/bigpic/190423/23/jc190403_23.jpg)
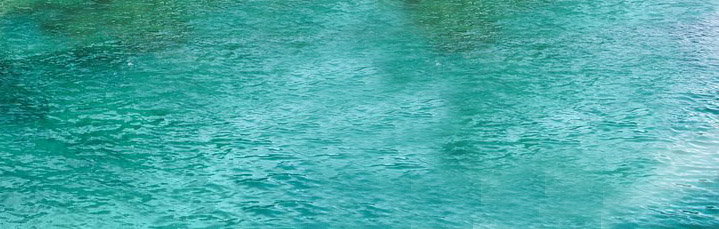
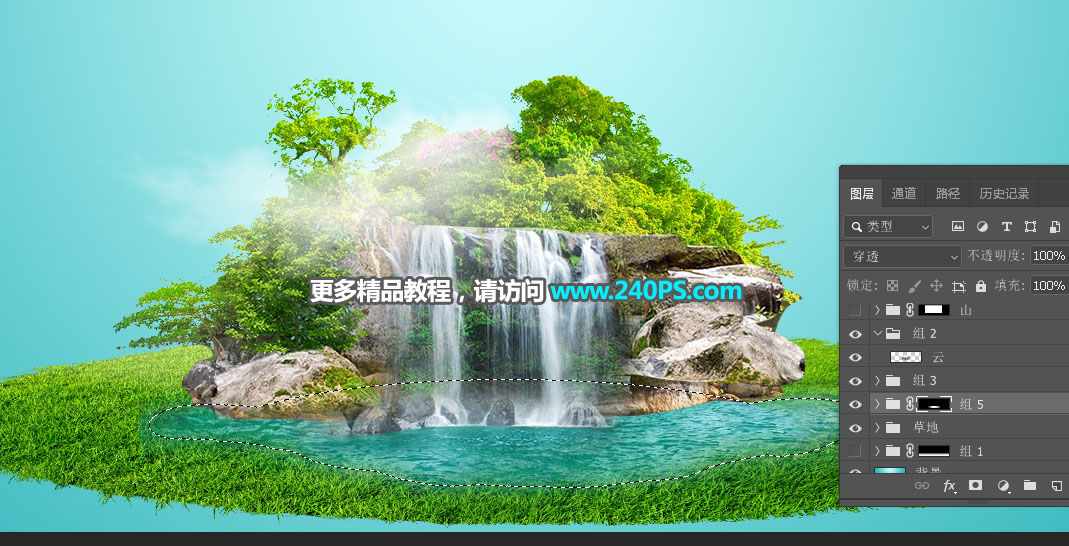
12、加入水面素材。打開下面的水面素材,用移動工具拖進來,放到組里面。
![](https://img.lvups.com/d/file/bigpic/190423/23/jc190403_24.jpg)
![](https://img.lvups.com/d/file/bigpic/190423/23/jc190403_25.jpg)
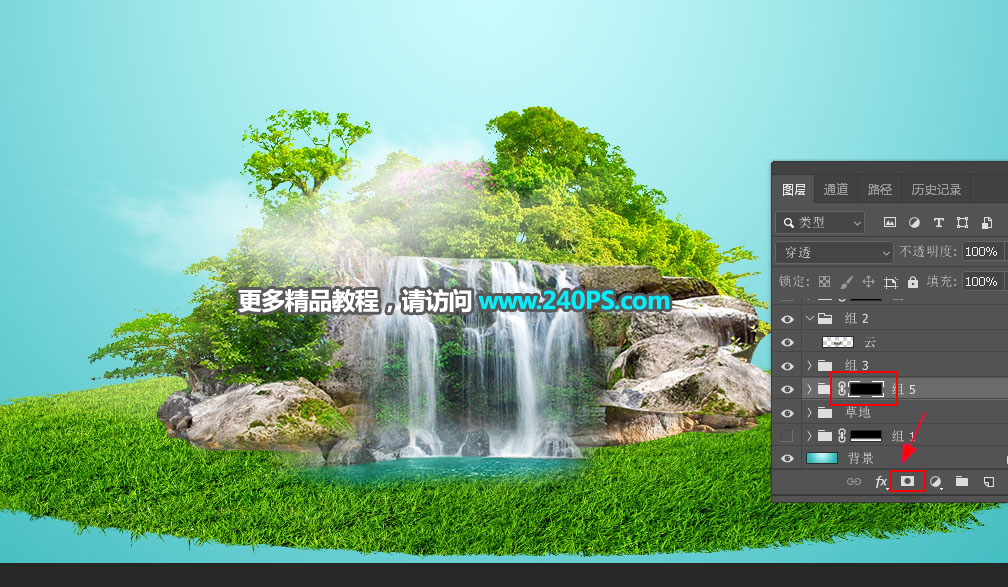
13、給組添加圖層蒙版,并把蒙版填充黑色。
![](https://img.lvups.com/d/file/bigpic/190423/23/jc190403_26.jpg)
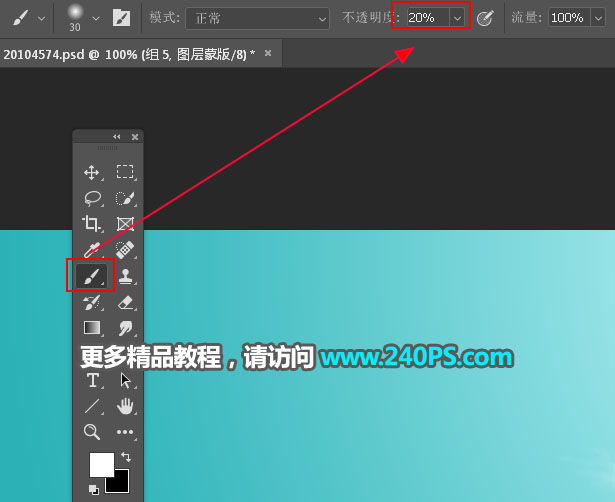
14、選擇畫筆工具,畫筆不透明度設置為20%,用畫筆把水面部分涂出來,過程如下圖。
![](https://img.lvups.com/d/file/bigpic/190423/23/jc190403_27.jpg)
![](https://img.lvups.com/d/file/bigpic/190423/23/jc190403_28.jpg)
![](https://img.lvups.com/d/file/bigpic/190423/23/jc190403_29.jpg)
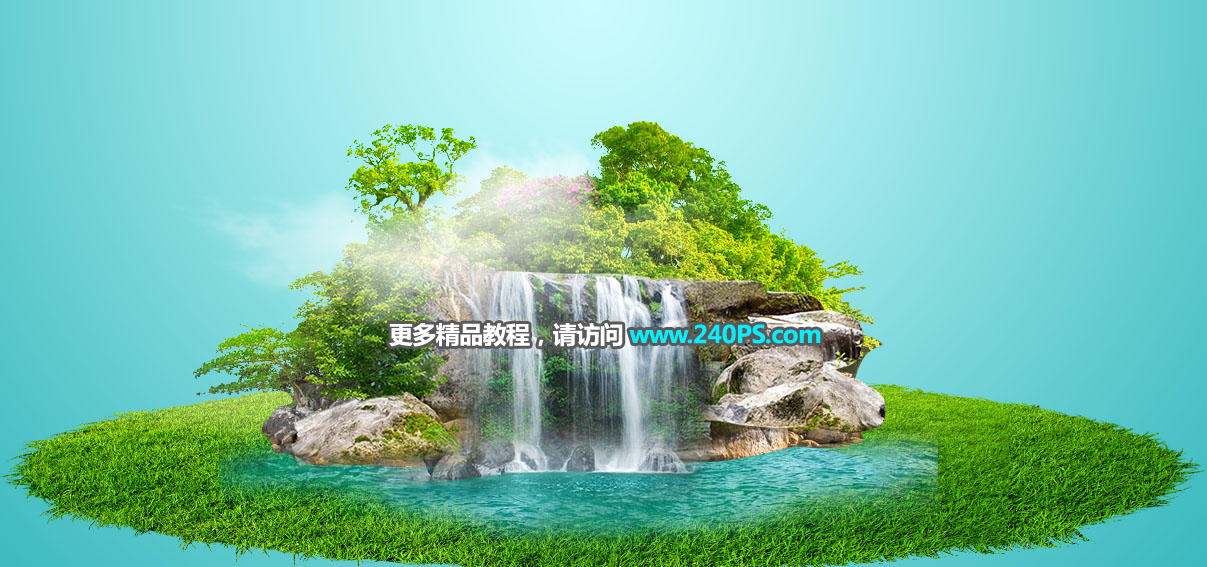
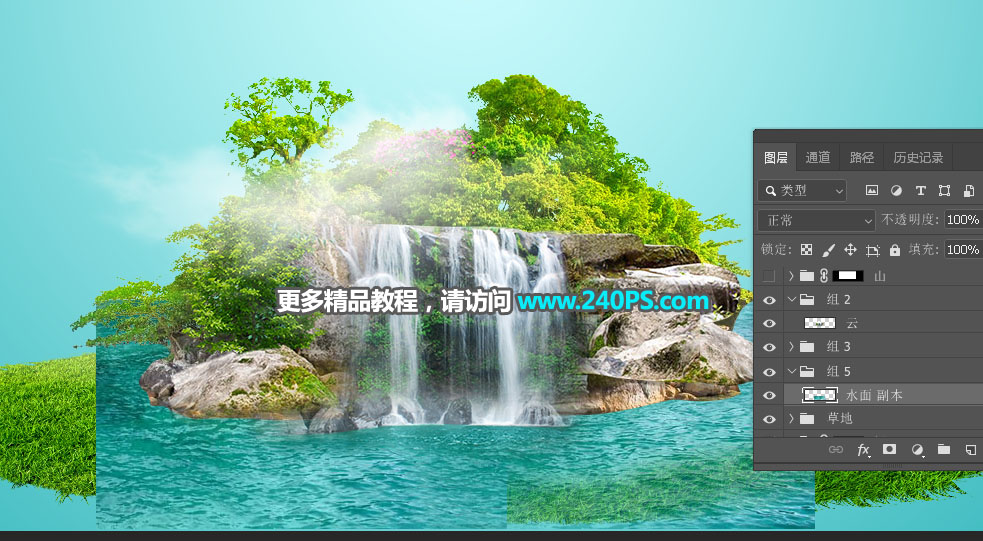
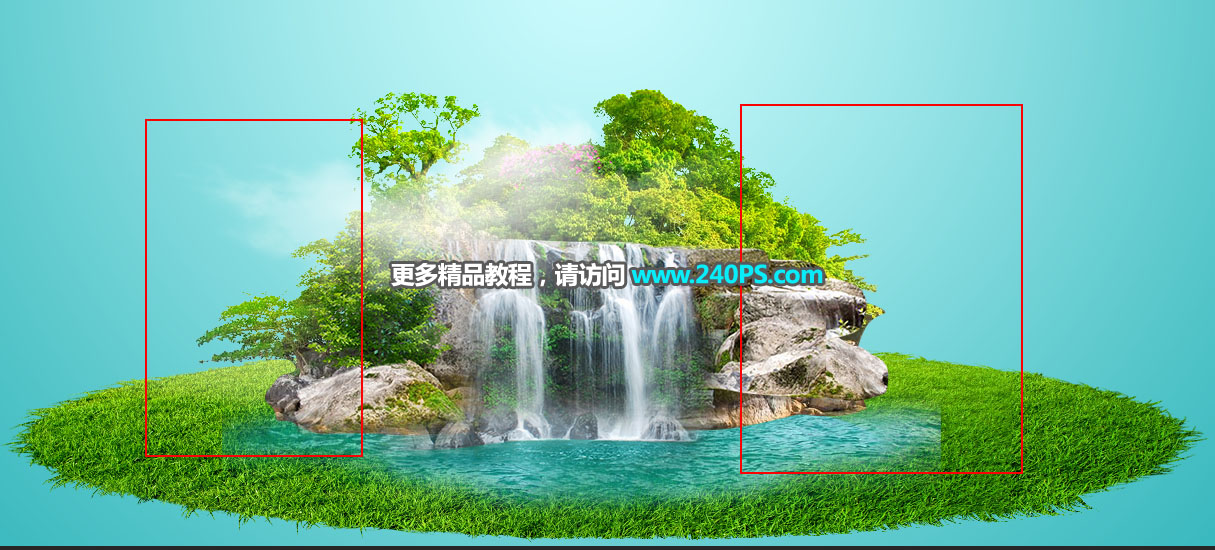
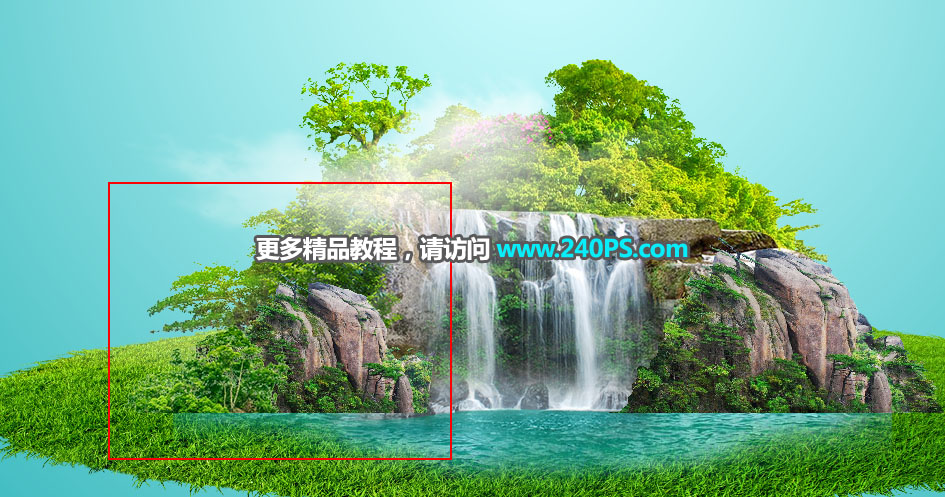
15、這是現在的效果,左右兩側還是有點空,需要處理一下。
![](https://img.lvups.com/d/file/bigpic/190423/23/jc190403_30.jpg)
16、打開下面的石山素材2,用移動工具拖進來,放到右側,調整好大小,把圖層移到圖層的最上面,過程如下圖。
![](https://img.lvups.com/d/file/bigpic/190423/23/jc190403_31.png)
![](https://img.lvups.com/d/file/bigpic/190423/23/jc190403_32.jpg)
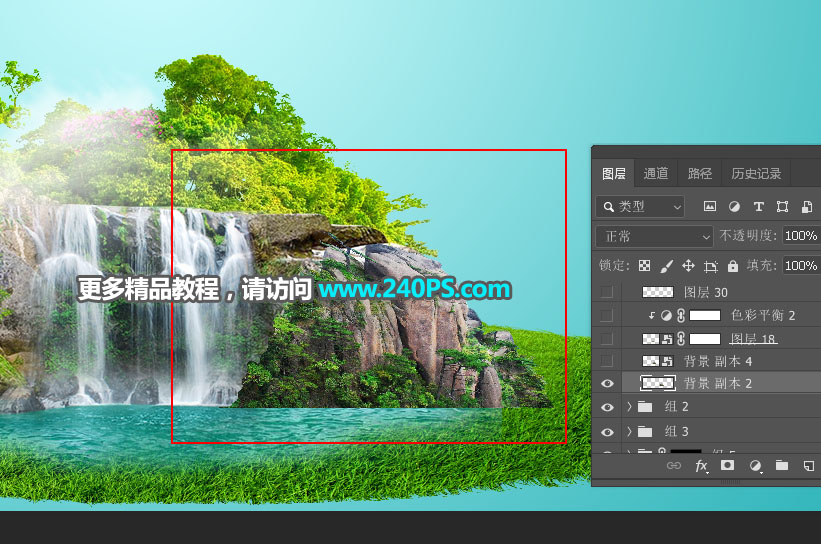
17、把當前圖層復制一層,移到左側,水平翻轉一下,效果如下圖。
![](https://img.lvups.com/d/file/bigpic/190423/23/jc190403_33.jpg)
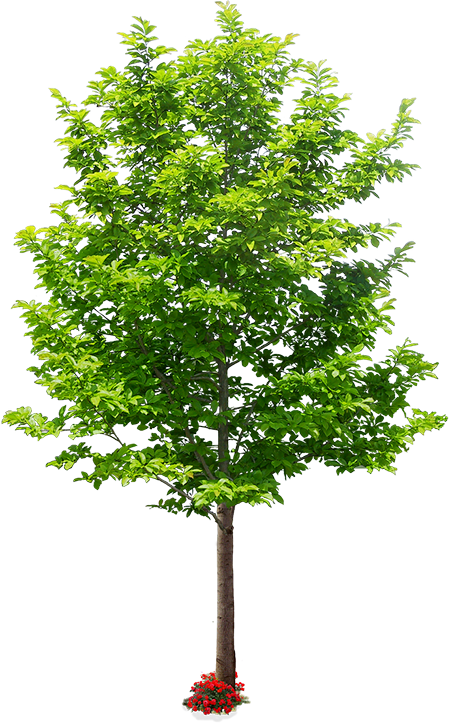
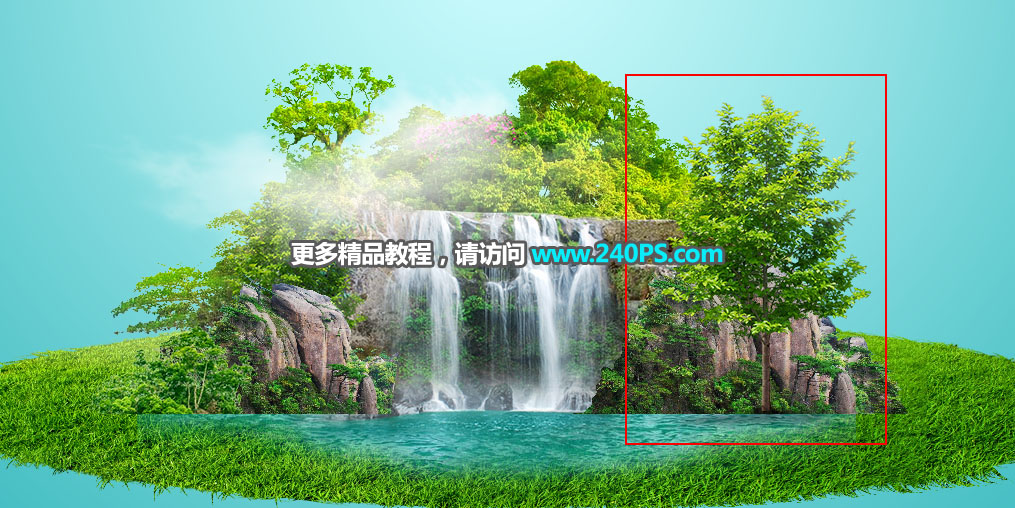
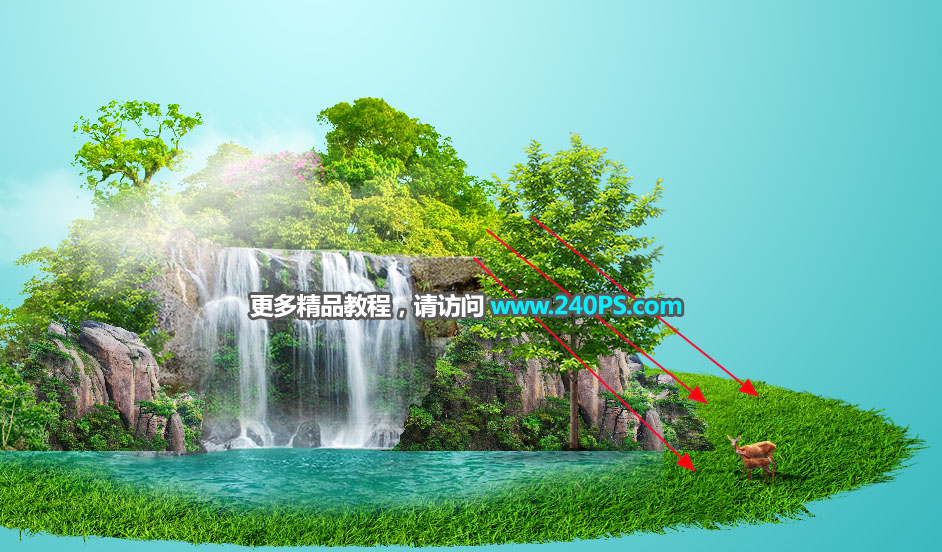
18、加入大樹。打開下圖所示樹木素材,用移動工具拖進來,放到右側位置,如下圖。
![](https://img.lvups.com/d/file/bigpic/190423/23/jc190403_34.png)
![](https://img.lvups.com/d/file/bigpic/190423/23/jc190403_35.jpg)
19、打開下面的鹿素材,摳出來,用移動工具拖進來,然后調整好位置和大小。
![](https://img.lvups.com/d/file/bigpic/190423/23/jc190403_36.jpg)
![](https://img.lvups.com/d/file/bigpic/190423/23/jc190403_37.jpg)
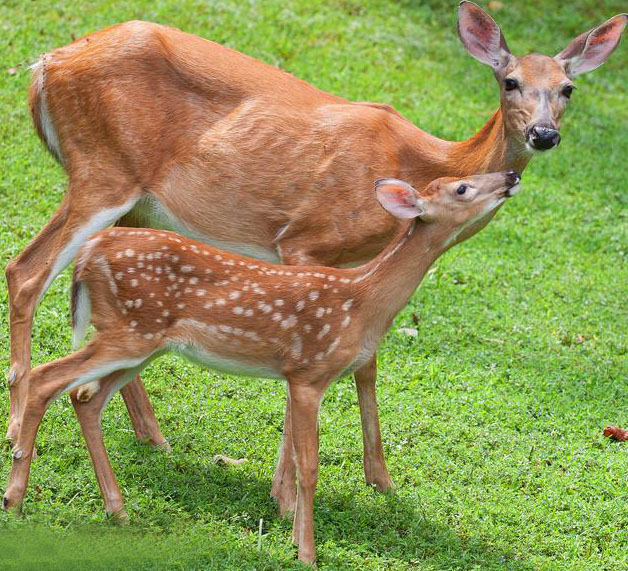
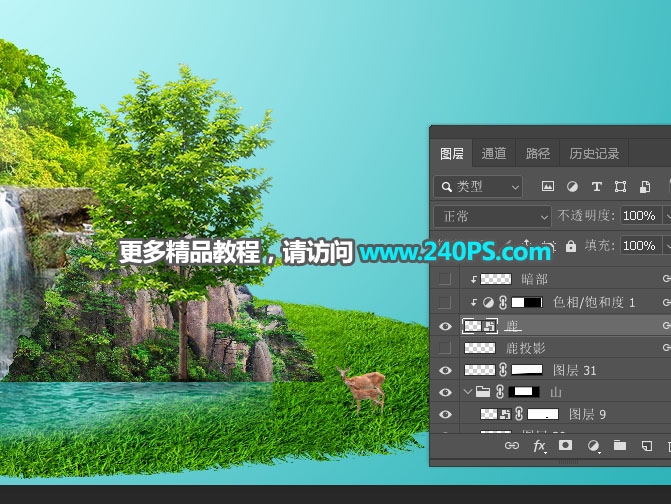
20、根據光源位置,微調鹿的光影,如下圖。
![](https://img.lvups.com/d/file/bigpic/190423/23/jc190403_38.jpg)
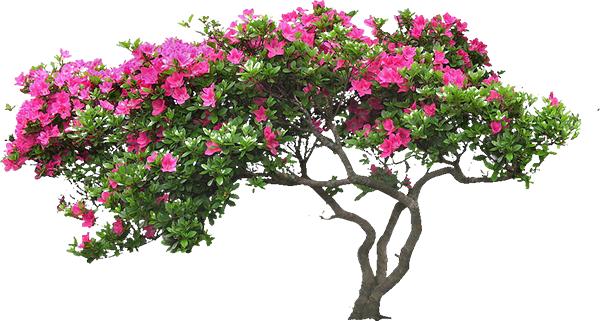
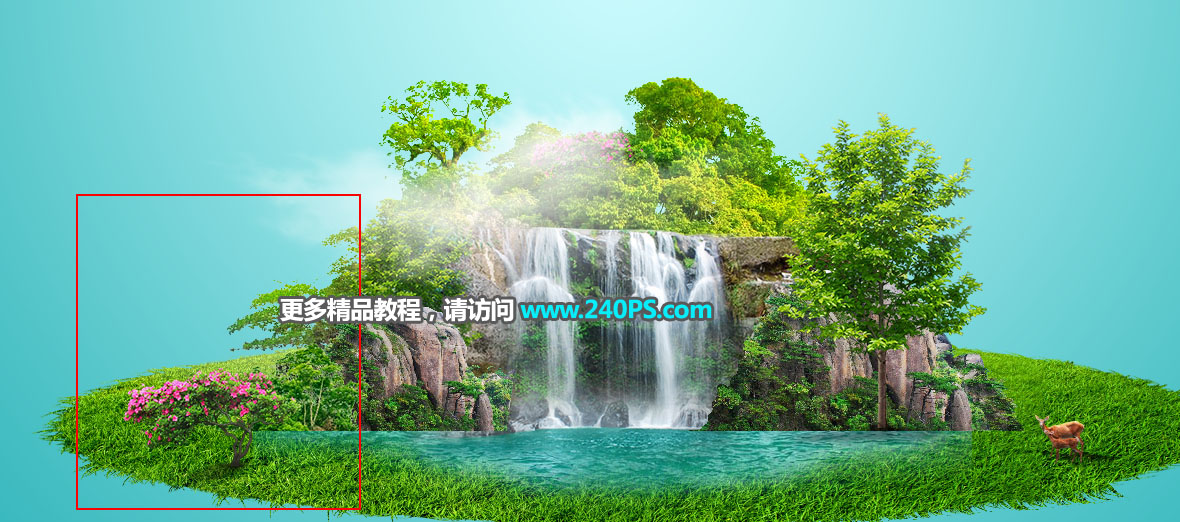
21、加入花樹。打開下面的花樹素材,用移動工具拖進來,放到左側,并調整好大小及光影。
![](https://img.lvups.com/d/file/bigpic/190423/23/jc190403_39.png)
![](https://img.lvups.com/d/file/bigpic/190423/23/jc190403_40.jpg)
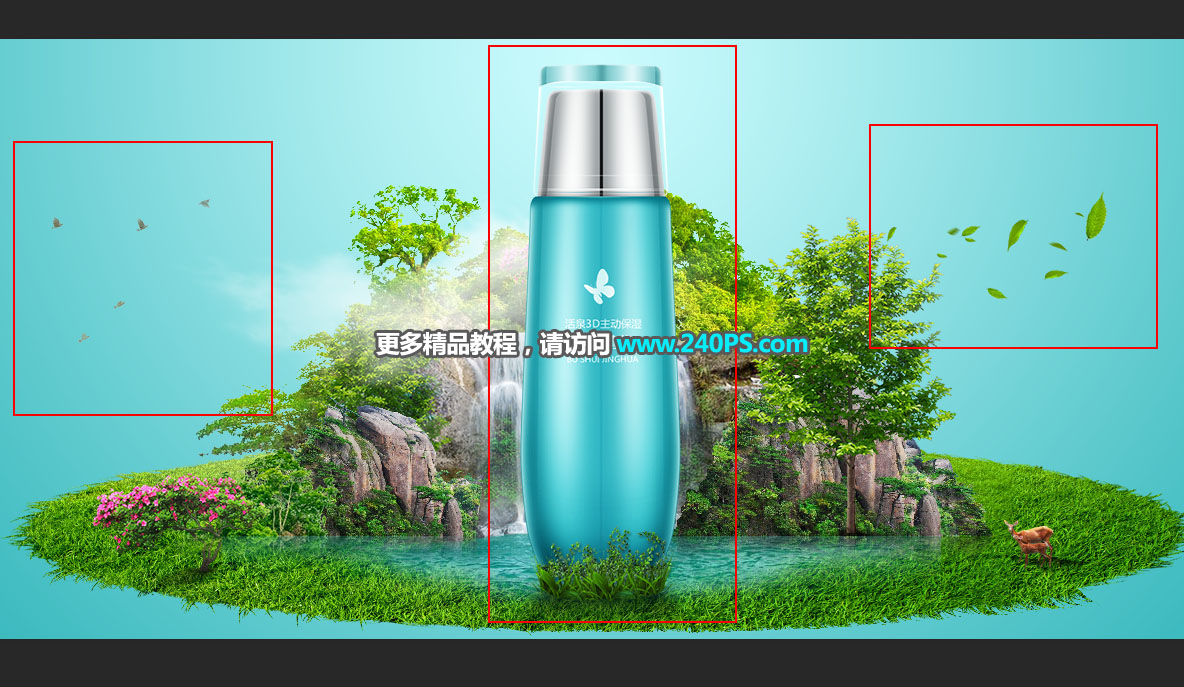
22、加入產品及一些裝飾素材,效果如下圖。
![](https://img.lvups.com/d/file/bigpic/190423/23/jc190403_41.jpg)
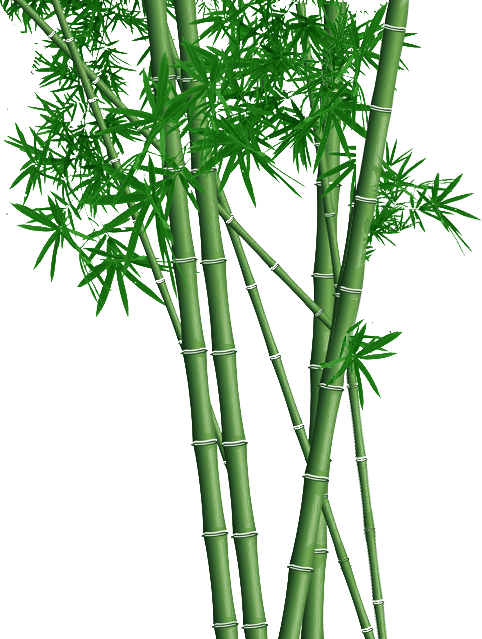
23、加入竹子。打開下面的竹子素材,用移動工具拖進來,按Ctrl + T 變形,然后鼠標右鍵選擇變形,調整一下弧度,過程如下圖。
![](https://img.lvups.com/d/file/bigpic/190423/23/jc190403_42.png)
![](https://img.lvups.com/d/file/bigpic/190423/23/jc190403_43.jpg)
![](https://img.lvups.com/d/file/bigpic/190423/23/jc190403_44.jpg)
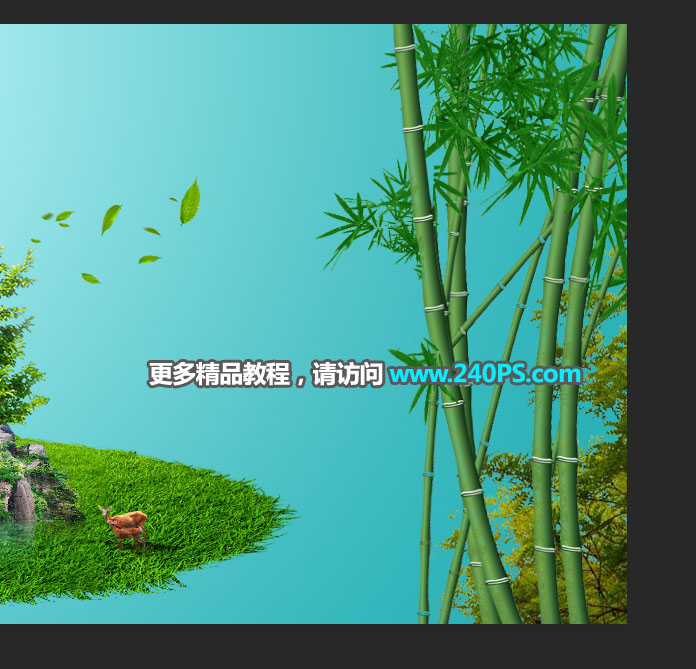
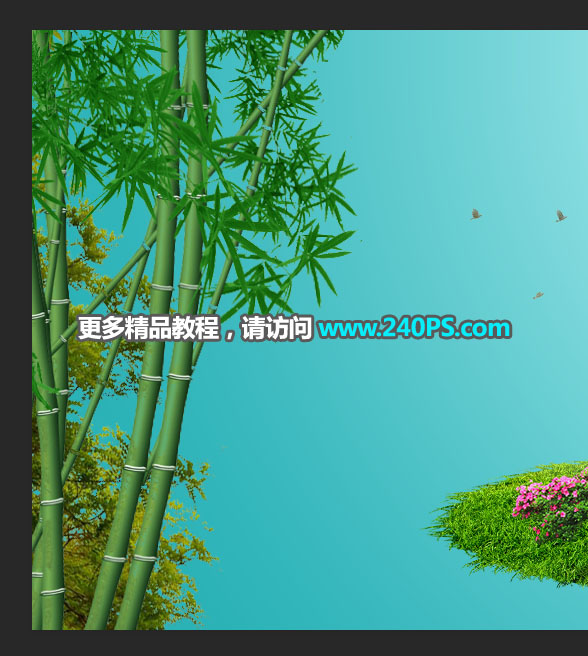
24、左側竹子也是一樣的方法制作,效果如下圖。
![](https://img.lvups.com/d/file/bigpic/190423/23/jc190403_45.jpg)
25、底部再加上一些水面,效果如下圖。
![](https://img.lvups.com/d/file/bigpic/190423/23/jc190403_46.jpg)
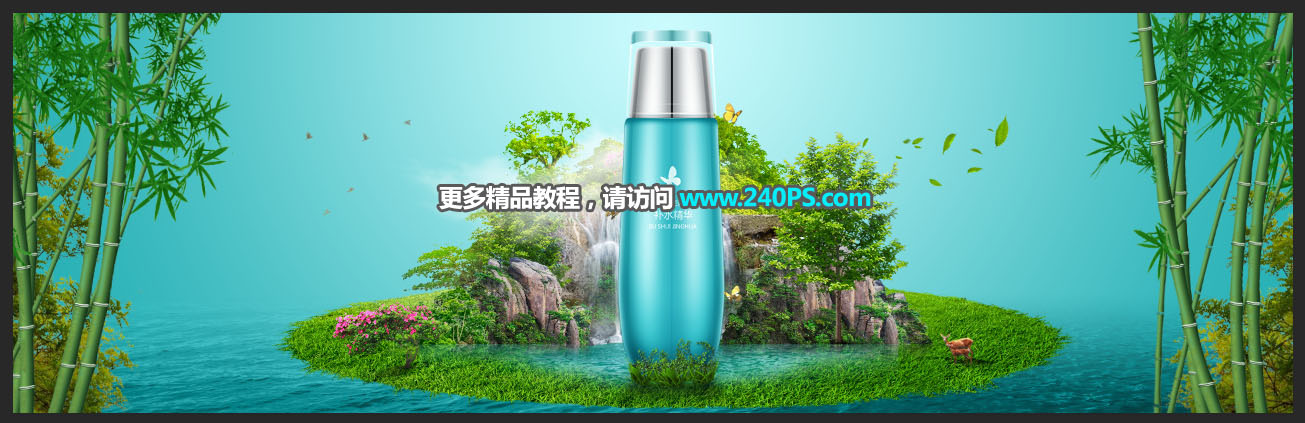
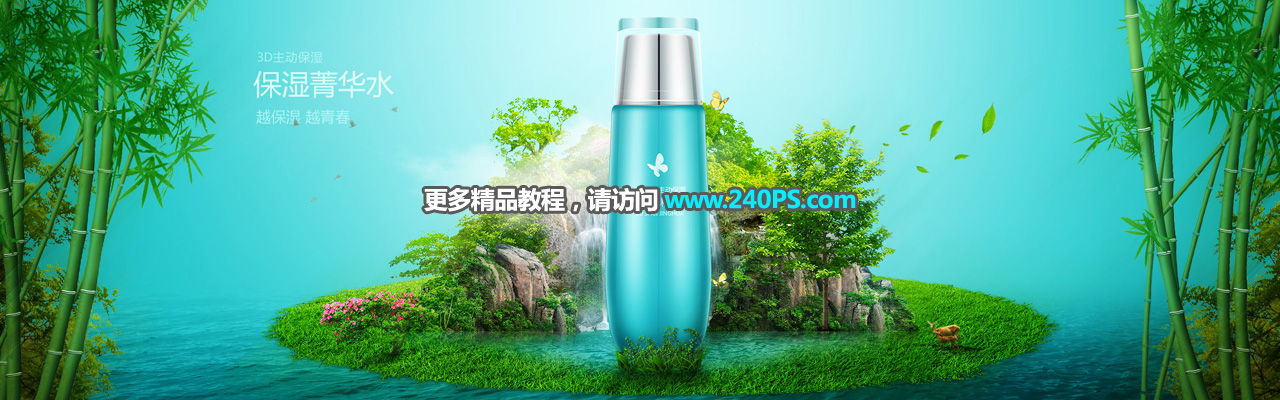
26、最后一步,微調一下細節和光影,再把整體柔化處理,效果如下圖。
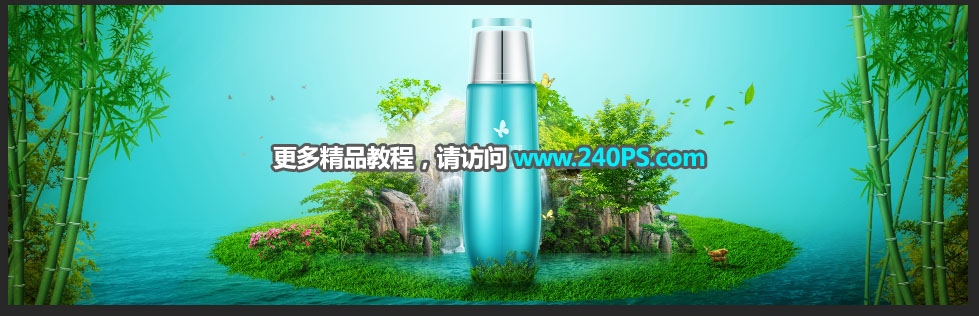
![](https://img.lvups.com/d/file/bigpic/190423/23/jc190403_47.jpg)
最終效果
![](https://img.lvups.com/d/file/bigpic/190423/23/jc190403_1.jpg)