Photoshop制作銀灰色2010文字特效
在這個Photoshop教程中我們將制作新年2010銀色文字特效,教程比較簡單就是利用幾個基礎得Photoshop工具、設置圖層模式完成最終效果。
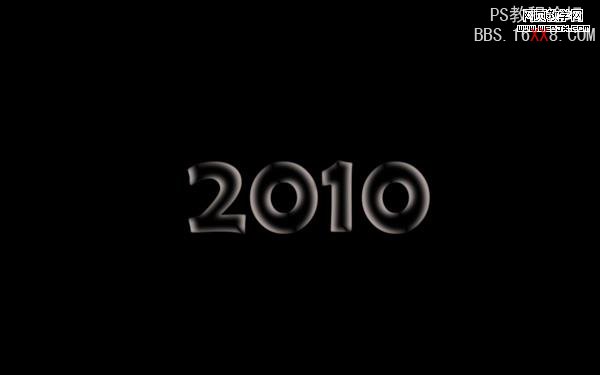
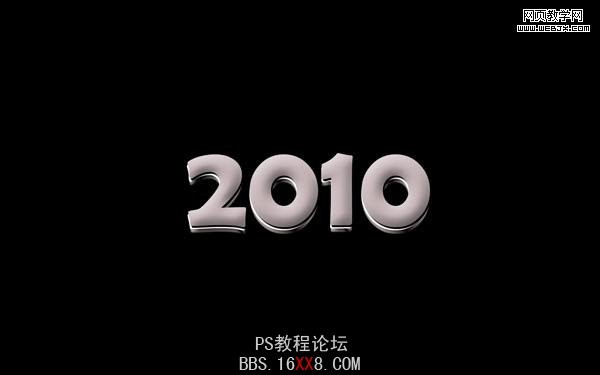
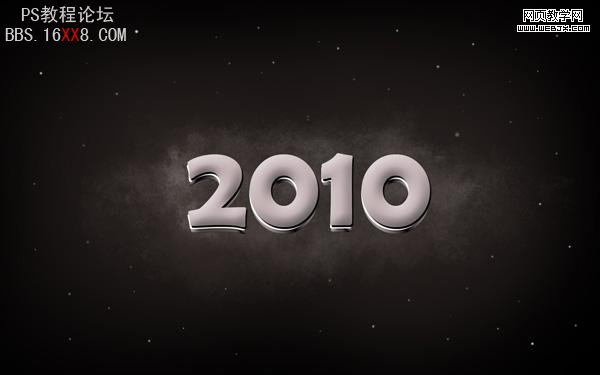
先看最終效果

創建1920px *1200px (RGB顏色模式),分辨率72 pixels/inch,黑色背景的文檔。
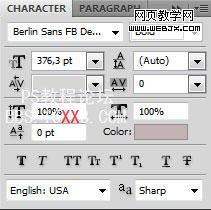
選擇文字工具,打開字符面板設置文字。
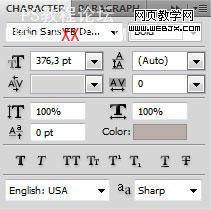
輸入文字

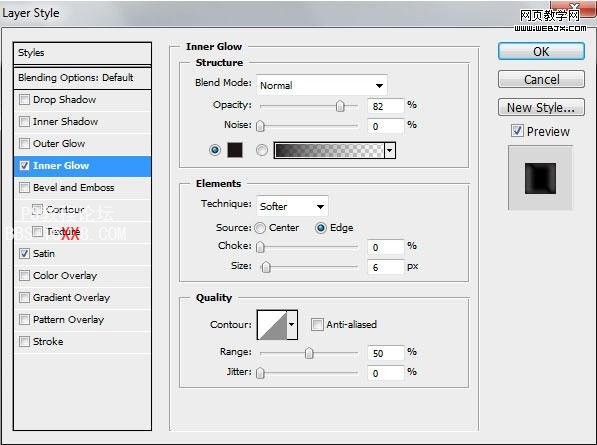
設置圖層模式:內發光
Satin
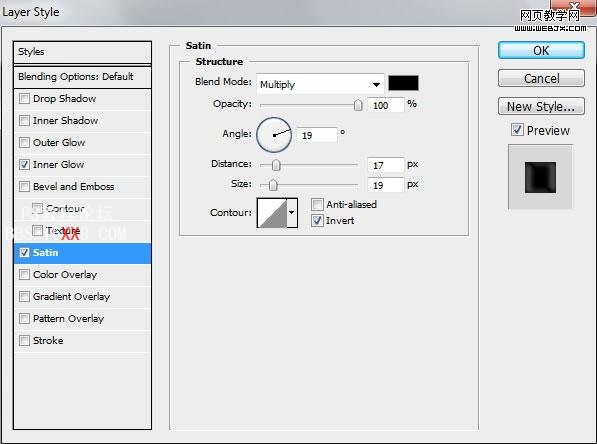
效果:
按Ctrl+J拷貝,然后按Ctrl+T放大,改變文字顏色為白色。

復制圖層,按trl+T變形,顏色變為#C3B3B5。
效果:

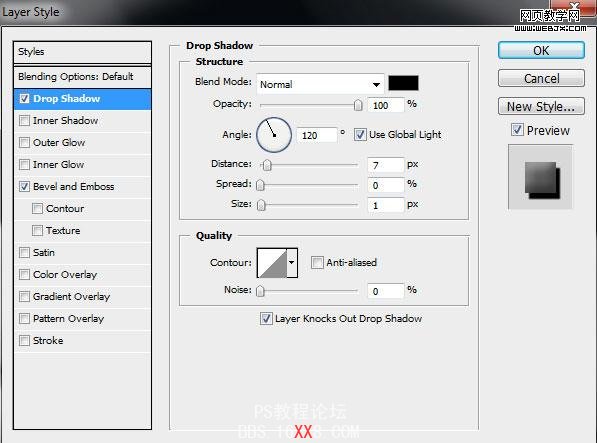
添加陰影:
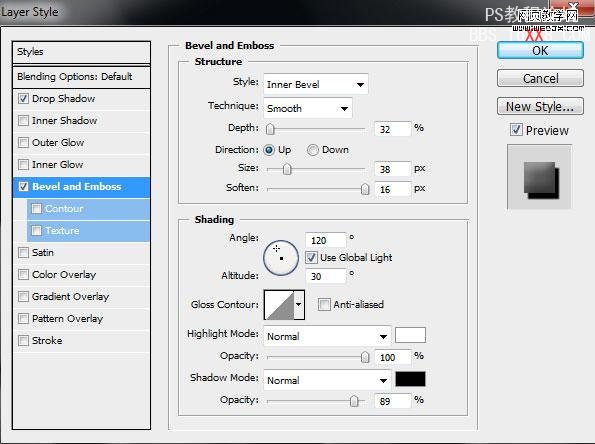
添加浮雕
效果:

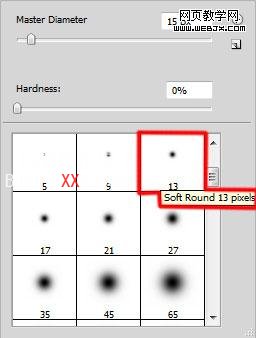
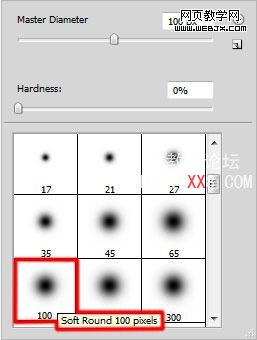
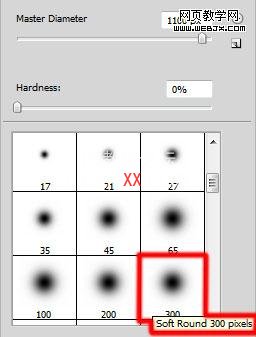
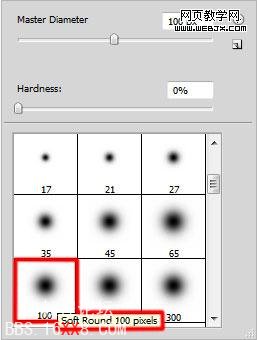
創建新圖層,然后選擇筆刷工具,選擇一個柔角的筆刷。
繪制一些點點

再次創建一個圖層,然后選擇筆刷設置筆刷顏色#26201E和透明度- 15%.
繪制一些,得到最終效果。

在繼續使用一個畫筆
畫筆顏色設置為灰色15%透明,減低文字背景。

設置圖層模式為濾色,填充調整到66%。
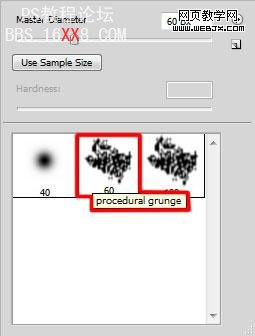
創建一個新圖層,選擇畫筆。
描繪文字周圍。

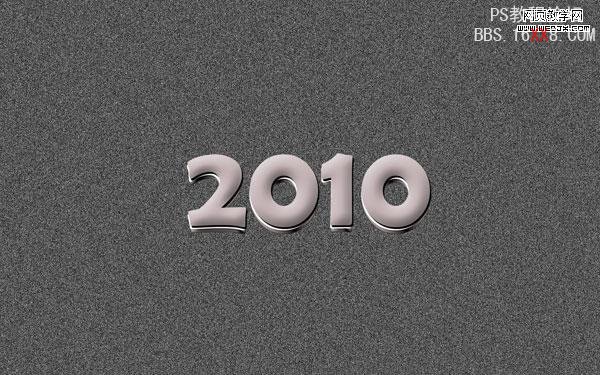
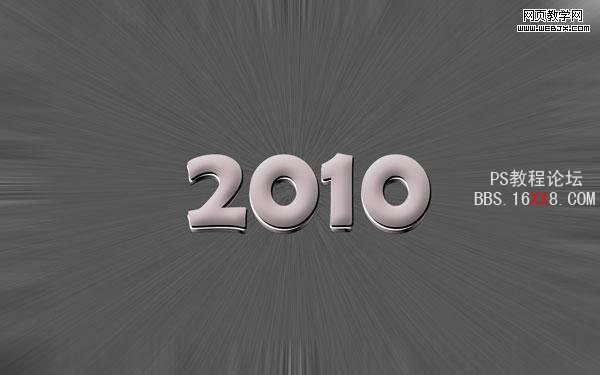
創建新圖層,然后填充為#545454 ,這是效果。

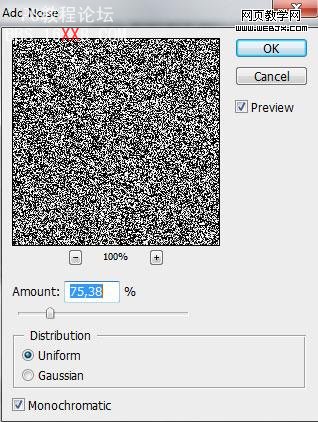
添加雜色濾鏡。
效果
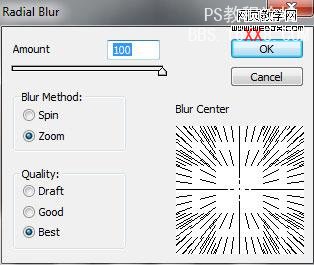
徑向模糊
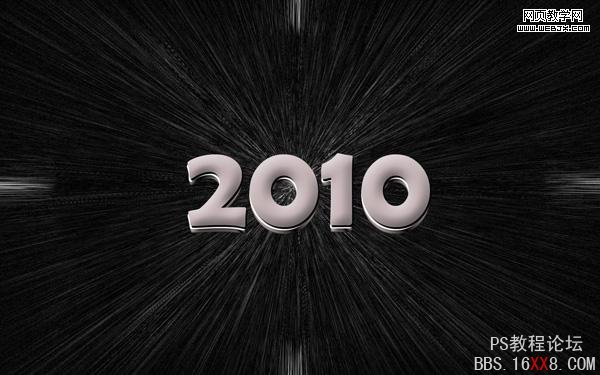
效果。
照亮邊緣濾鏡

效果如下。
添加圖層蒙版,設置柔角畫筆,前景設置黑色。
設置圖層模式為濾色。

創建新圖層,填充為#6A413F。

設置圖層填充25%,改變模式為正片疊底。

新建立一個曲線調整層,天正圖像曲線變暗。
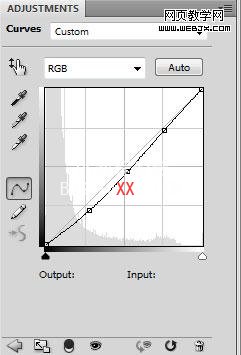
最終效果。

標簽(TAG) 普通字效
上一篇:ps CS6毛皮字效果
下一篇:ps高光藝術字教程
相關推薦

Photoshop快速修復強光照射的非主

Photoshop通道修復偏藍照片的方法

祁連山教你四種用photoshop優化模

卒仔:用photoshop還原真實顔色...

彩繪藝術字, PS液化工具制作彩繪背景設計教程

Photoshop制作非常流行的金沙立體字,細膩的金沙字體,金粉字。

Photoshop制作金色的海報標題文字教程

Photoshop使用筆刷制作書法藝術字教程


