PS熒光燈字教程
2022-12-25 15:21:02
來源/作者: /
己有:31人學習過
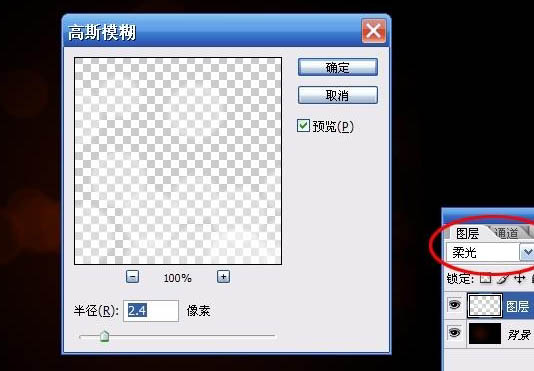
7、將此圖層設為柔光模式,高斯模糊一下。
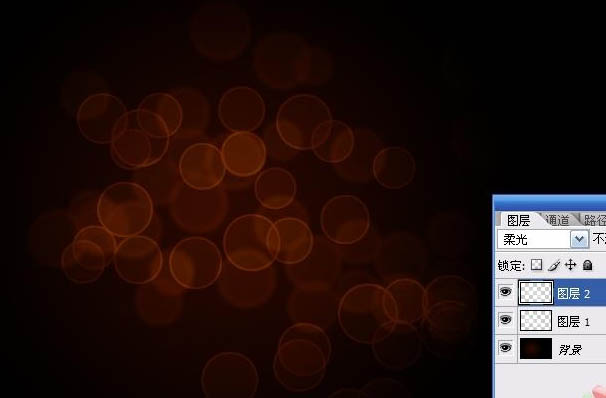
8、新建圖層,再次拖出一些泡泡,改為柔光,這次不用模糊。至此,背景部分制作完成。
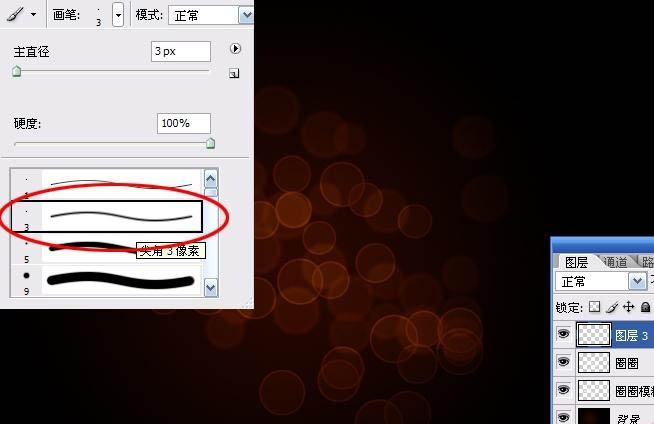
9、新建圖層,選擇3號畫筆。
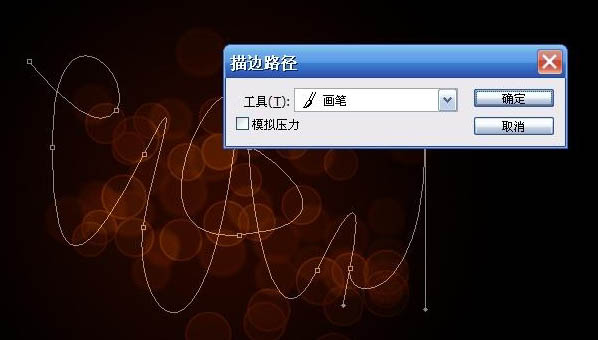
10、用鋼筆工具繪制出你想要的線條形狀。
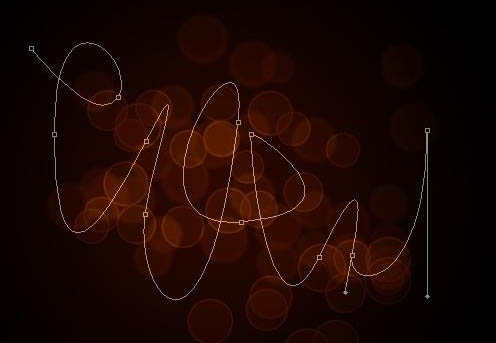
11、在路徑上右擊鼠標——描邊路徑,工具為畫筆。
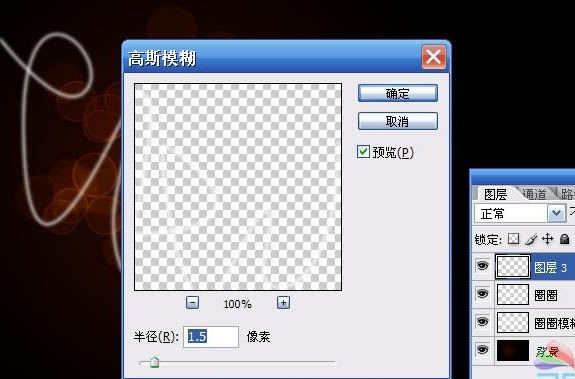
12、按delete鍵刪除路徑,對剛剛的線條高斯模糊一下。
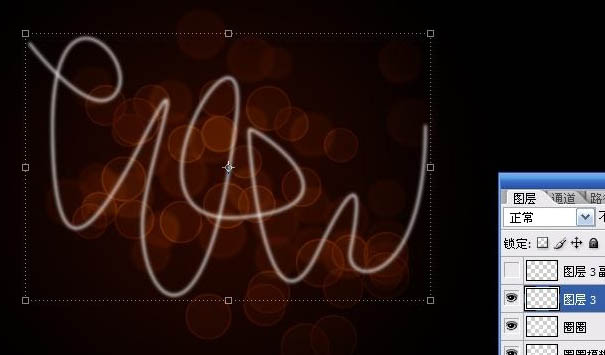
13、ctrl+J復制此線條圖層(下圖中圖層3副本),隱藏顯示。回到圖層3。
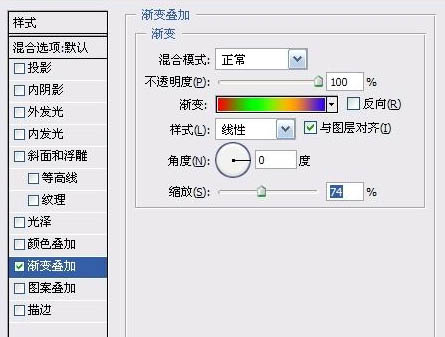
14、為圖層3添加漸變疊加圖層樣式。(建議大家用比較明亮的色彩,那樣做出來的效果比較好)。
上一篇:PS心電圖藝術字效果教程
相關推薦

PS“高反差保留”照片清晰度

PS實用教程:ps修復偏色風景照片

ps利用曲線修正灰蒙蒙花朵圖片

PS用計算選區進行分區銳化方法

彩繪藝術字, PS液化工具制作彩繪背景設計教程

Photoshop制作非常流行的金沙立體字,細膩的金沙字體,金粉字。

Photoshop制作金色的海報標題文字教程

Photoshop使用筆刷制作書法藝術字教程


