PS制作雙重描邊字
2022-12-25 15:30:43
來源/作者: /
己有:180人學(xué)習(xí)過
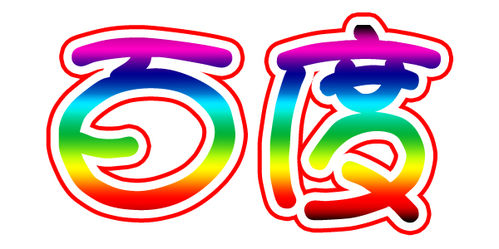
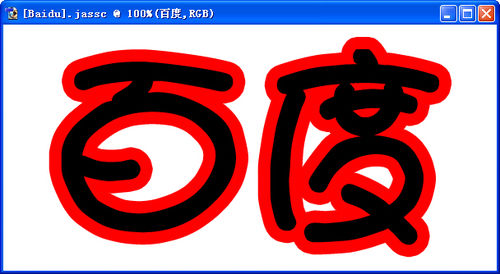
利Adobe Photoshop中的描邊效果和漸變效果,輕松制作雙重描邊字,效果如下。
步驟/方法
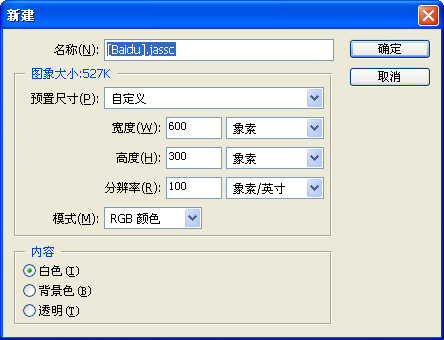
點擊菜單欄“文件”→“新建”,設(shè)定寬度、高度,模式為“RGB顏色”。
點擊工具箱上的文字工具。

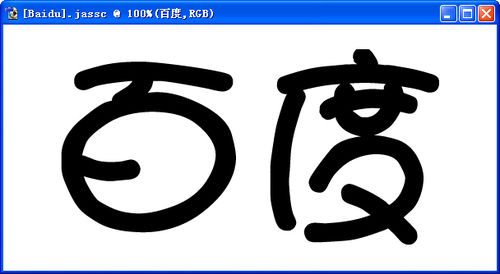
設(shè)定字體、大小、顏色,本例為漢儀娃娃篆簡、180點、黑色。

在畫布上輸入文字。
點擊圖層管理器左下角第一個按鈕,選擇“描邊”。
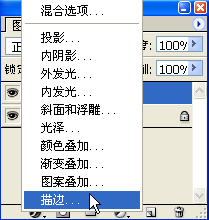
“大小”設(shè)定為15,“顏色”為紅色。
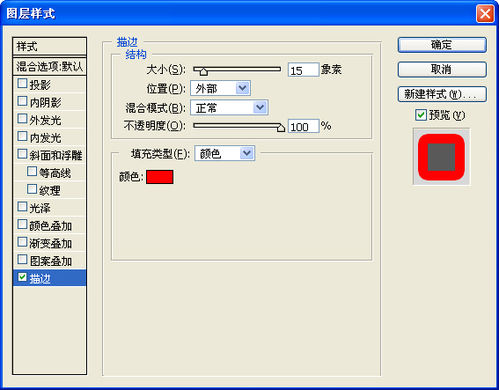
點“確定”后的效果圖。
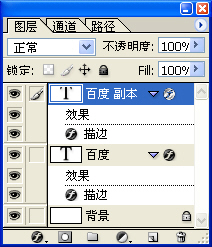
在文字圖層上點右鍵復(fù)制圖層。
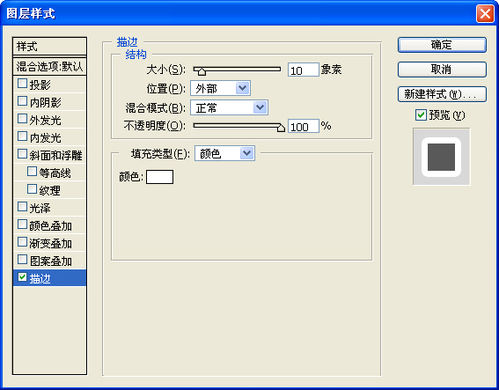
修改文字圖層副本的描邊設(shè)置,“大小”設(shè)定為10,“顏色”為白色。
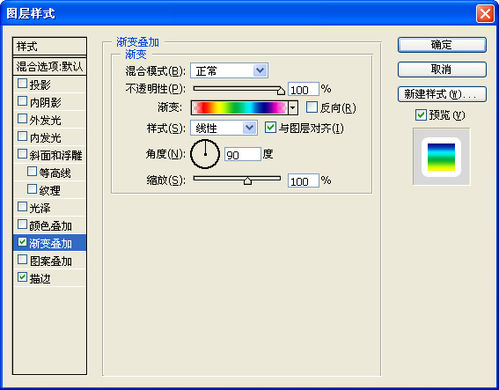
選擇漸變疊加效果,“漸變”選擇透明彩虹漸變,“角度”設(shè)定為90。
最終效果圖。

下一篇:ps教程-氣泡字
相關(guān)推薦

PS“高反差保留”照片清晰度

PS實用教程:ps修復(fù)偏色風(fēng)景照片

ps利用曲線修正灰蒙蒙花朵圖片

PS用計算選區(qū)進行分區(qū)銳化方法

彩繪藝術(shù)字, PS液化工具制作彩繪背景設(shè)計教程

Photoshop制作非常流行的金沙立體字,細膩的金沙字體,金粉字。

Photoshop制作金色的海報標題文字教程

Photoshop使用筆刷制作書法藝術(shù)字教程


