photoshop做夜光漩渦字教程
2022-12-25 14:46:50
來源/作者: /
己有:7人學習過
作者Sener 出處:PS聯盟
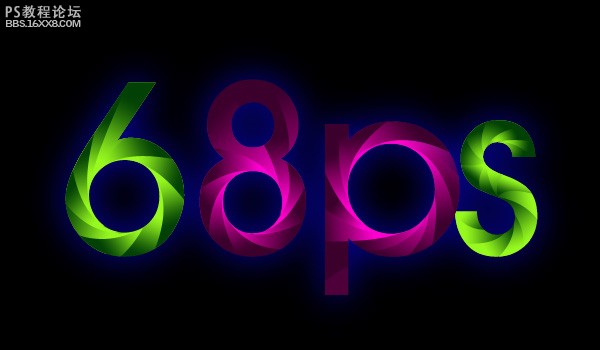
最終效果
1、新建一個600 * 350 像素的photoshop文件,背景填充黑色,然后打上文字,字體顏色可以任意。然后把文字柵格化圖層,如圖1。
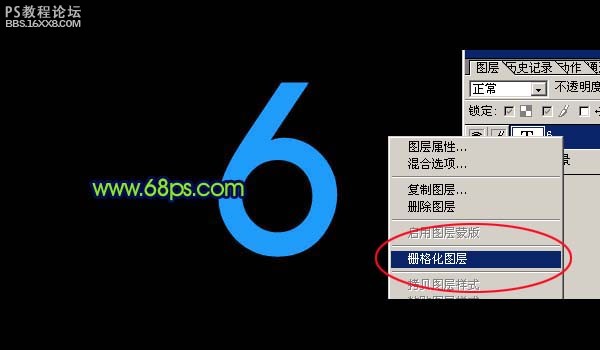
圖1
, 2、把文字圖層復制一層,然后鎖定圖層,如圖2。
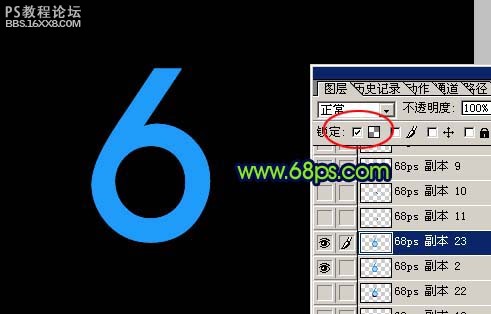
圖2
3、選擇工具工具勾出下圖所示的路徑,路徑弧度要自然。為了方便瀏覽,背景暫時填充了白色。
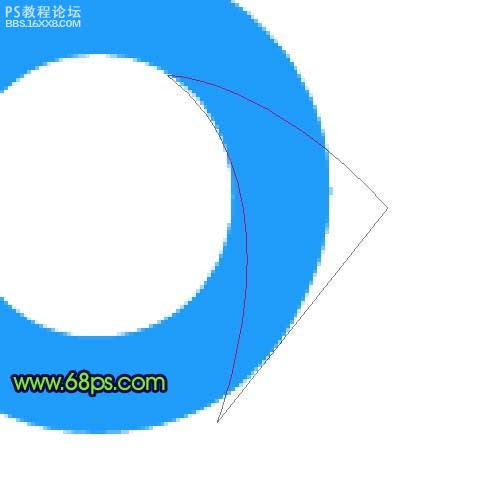
圖3
, 4、按Ctrl + Enter 把路徑轉為選區,按Ctrl + Shift + I 反選,按Delete 刪除。

圖4
5、選擇漸變工具,顏色設置如圖5,也可以設置自己喜歡的漸變色。然后拉出圖6所示的漸變色。
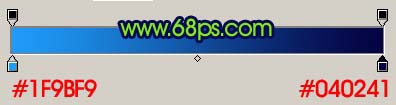
圖5
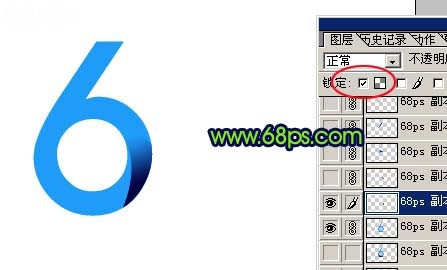
圖6
, 6、把原文字圖層復制一層,同樣的方法制作出下圖所示的漸變色塊。

圖7
7、同樣的方法作出整個文字,如圖8,9。

圖8

圖9
, 8、其它文字的制作方法一樣,如圖10。
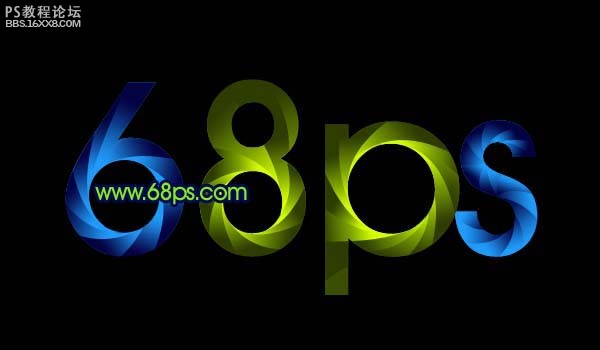
圖10
9、再適當給文字加上投影:先選擇文字工具打上完整的文字,如圖11。
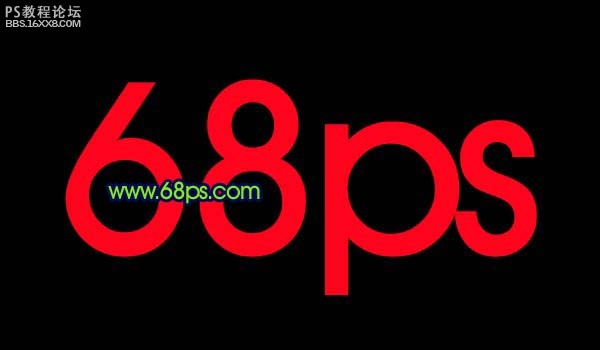
圖11
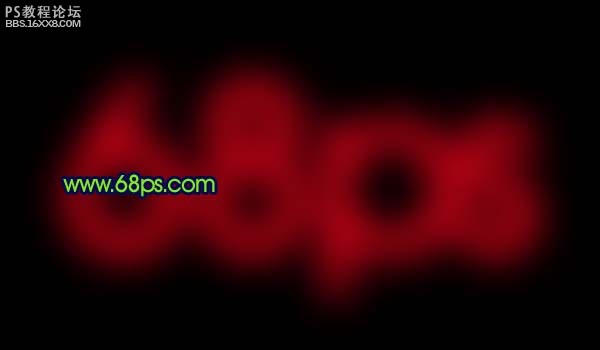
, 10、執行:濾鏡 模糊 高斯模糊,數值為20,效果如圖13,為了能夠更好的看清楚,其它文字圖層暫時給隱藏。
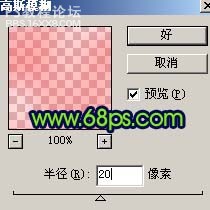
圖12
最終效果
1、新建一個600 * 350 像素的photoshop文件,背景填充黑色,然后打上文字,字體顏色可以任意。然后把文字柵格化圖層,如圖1。
圖1
, 2、把文字圖層復制一層,然后鎖定圖層,如圖2。
圖2
3、選擇工具工具勾出下圖所示的路徑,路徑弧度要自然。為了方便瀏覽,背景暫時填充了白色。
圖3
, 4、按Ctrl + Enter 把路徑轉為選區,按Ctrl + Shift + I 反選,按Delete 刪除。
圖4
5、選擇漸變工具,顏色設置如圖5,也可以設置自己喜歡的漸變色。然后拉出圖6所示的漸變色。
圖5
圖6
, 6、把原文字圖層復制一層,同樣的方法制作出下圖所示的漸變色塊。
圖7
7、同樣的方法作出整個文字,如圖8,9。
圖8
圖9
, 8、其它文字的制作方法一樣,如圖10。
圖10
9、再適當給文字加上投影:先選擇文字工具打上完整的文字,如圖11。
圖11
, 10、執行:濾鏡 模糊 高斯模糊,數值為20,效果如圖13,為了能夠更好的看清楚,其它文字圖層暫時給隱藏。
圖12
上一篇:ps制作立體效果的瓷磚藝術字教程
下一篇:PS金色質感文字教程
相關推薦

彩繪藝術字, PS液化工具制作彩繪背景設計教程

Photoshop制作非常流行的金沙立體字,細膩的金沙字體,金粉字。

Photoshop制作金色的海報標題文字教程

Photoshop使用筆刷制作書法藝術字教程


