ps打造絢麗的高亮光絲字
2022-12-25 15:54:39
來源/作者: /
己有:30人學習過
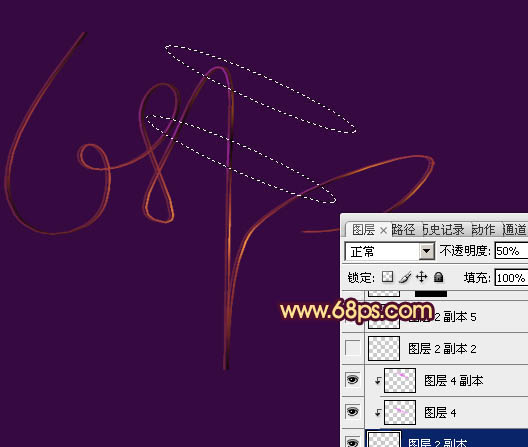
6、新建一個圖層,創建剪貼蒙版,混合模式改為“濾色”,同上的方法制作一些紫色高光,過程如圖8,9。
<圖8>
<圖9>
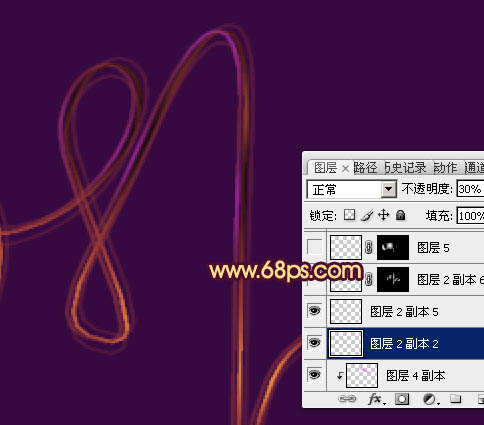
7、把除背景的幾個圖層合并,然后復制,適當調整圖層不透明度及位置,效果如圖10,11。
<圖10>

<圖11>
<圖8>
<圖9>
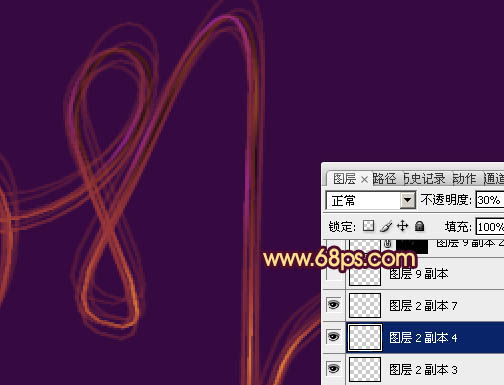
7、把除背景的幾個圖層合并,然后復制,適當調整圖層不透明度及位置,效果如圖10,11。
<圖10>
<圖11>
上一篇:ps制作超強科技感立體藝術字
相關推薦

彩繪藝術字, PS液化工具制作彩繪背景設計教程

Photoshop制作非常流行的金沙立體字,細膩的金沙字體,金粉字。

Photoshop制作金色的海報標題文字教程

Photoshop使用筆刷制作書法藝術字教程


