用Photoshop打造蠶絲文字
2022-12-25 13:39:03
來源/作者: /
己有:9人學習過
用Photoshop打造蠶絲文字
制作過程:
1、新建一個寬度為9厘米,高度為5厘米,分辨率為300的文件。
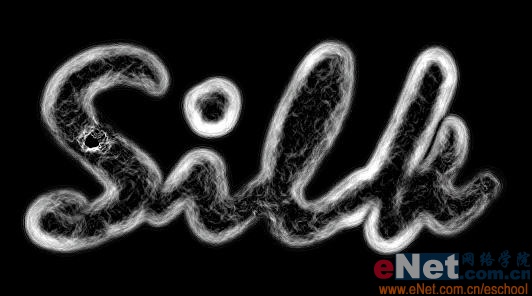
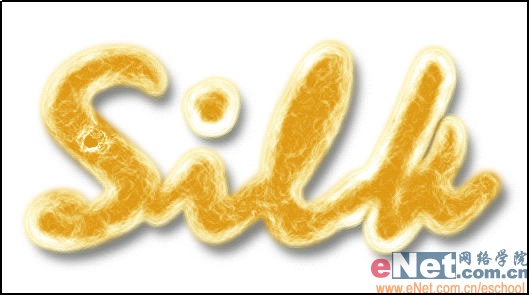
2、填充背景色為黑色,選擇工具箱中的“文字工具”,在窗口中輸入文字效果如圖01所示。

3、將文字進行柵格化處理,按Ctrl鍵單擊文字圖層,調出選區,然后將文字層隱藏。切換到通道面板,單擊底部的“將選區存儲為通道”按鈕,將選區保存為通道Alpha 1,選擇Alpha 1為當前通道,取消選區。
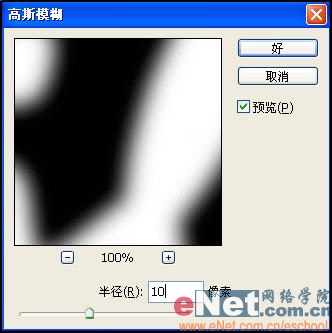
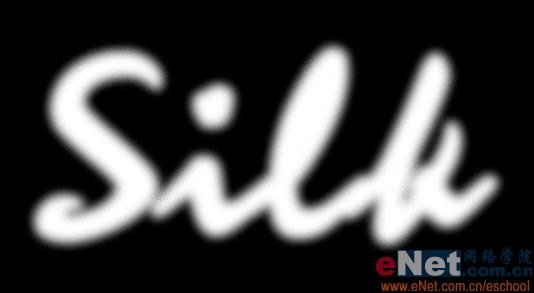
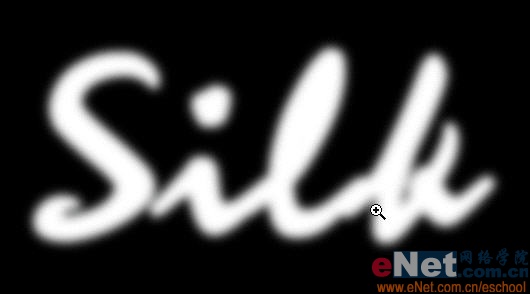
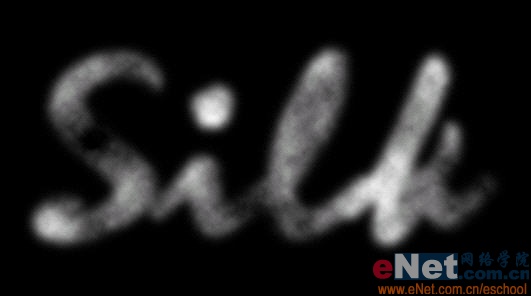
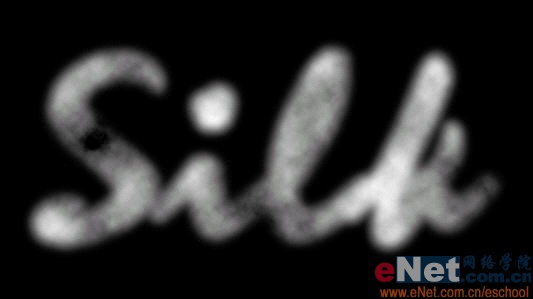
4、執行菜單欄中的“濾鏡”“模糊”“高斯模糊”命令,在彈出的對話框中設置參數為10,如圖02所示,畫面效果如圖03所示。
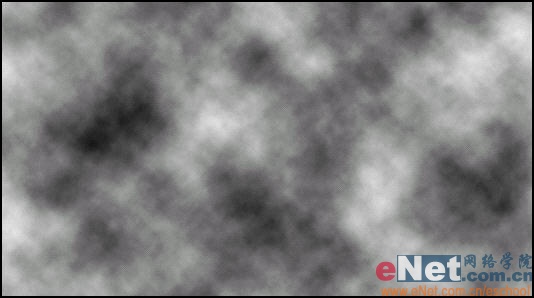
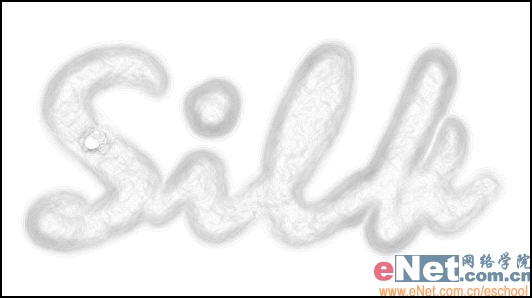
6、在圖層面板中新建圖層1,恢復前景色和背景色的默認設置,執行菜單欄中的“濾鏡”“渲染”“云彩”命令,圖像效果如圖05所示。
8、將圖層1的混合模式設置為“正片疊底”,圖像效果如圖07所示。
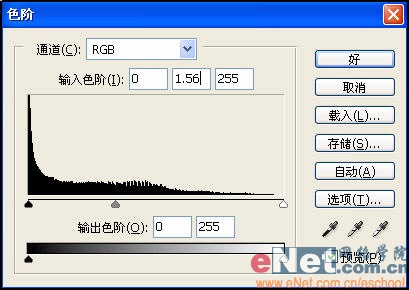
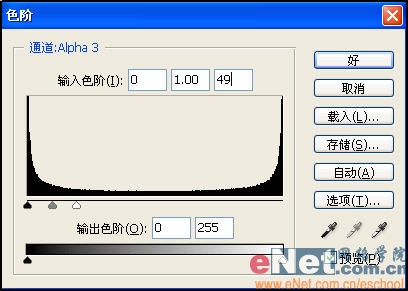
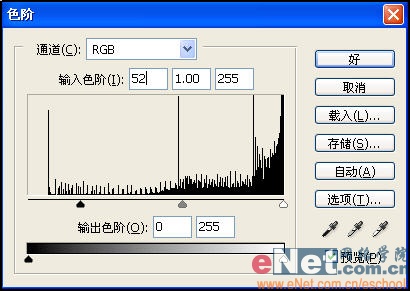
12、在通道面板中選擇通道Alpha 1,按Ctrl L鍵,打開色階對話框,設置參數如圖14所示,圖像效果如圖15所示。


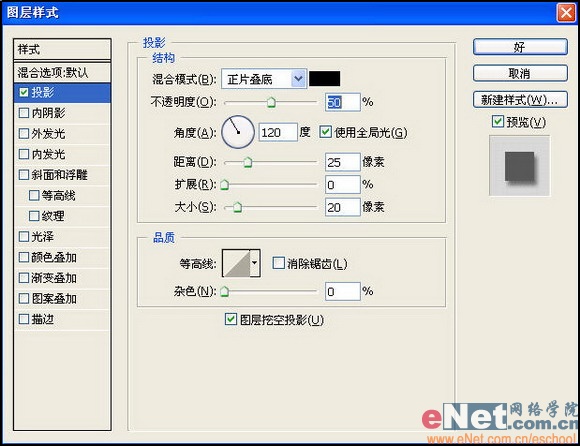
14、雙擊圖層1,打開圖層樣式對話框,在其中設置投影效果,設置參數如圖17所示,圖像效果如圖18所示。

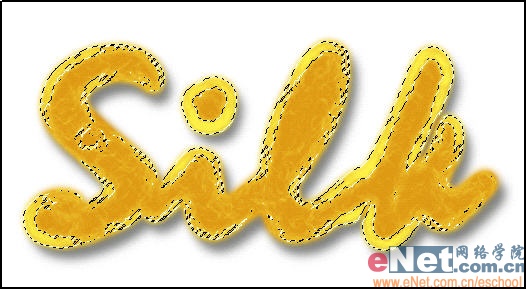
16、保持選取狀態,新建圖層3,在選區中填充白色,按Ctrl D鍵取消選區,圖像效果如圖20所示。
簡單的,我們教你,深奧的,你來分享,非主流照片|qqkongjian|feizhuliu|tupian|luntan|psjiaocheng|bishua|ruanjian|chajian|xiazai|psxiazai|qqkongjiandaima
作者:王偉光 教程來源:eNet
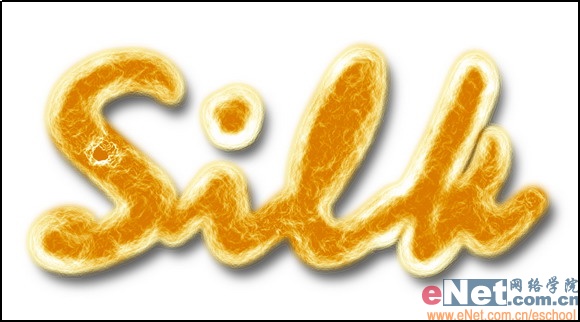
先看一下效果:本新聞共10
制作工具:Photoshop CS制作過程:
1、新建一個寬度為9厘米,高度為5厘米,分辨率為300的文件。
2、填充背景色為黑色,選擇工具箱中的“文字工具”,在窗口中輸入文字效果如圖01所示。
3、將文字進行柵格化處理,按Ctrl鍵單擊文字圖層,調出選區,然后將文字層隱藏。切換到通道面板,單擊底部的“將選區存儲為通道”按鈕,將選區保存為通道Alpha 1,選擇Alpha 1為當前通道,取消選區。
4、執行菜單欄中的“濾鏡”“模糊”“高斯模糊”命令,在彈出的對話框中設置參數為10,如圖02所示,畫面效果如圖03所示。
本新聞共10
5、按Ctrl鍵單擊通道Alpha 1,調出選區后切換到圖層面板,選擇背景圖層,在選區中填充白色,取消選區后的效果如圖04所示。6、在圖層面板中新建圖層1,恢復前景色和背景色的默認設置,執行菜單欄中的“濾鏡”“渲染”“云彩”命令,圖像效果如圖05所示。
本新聞共10
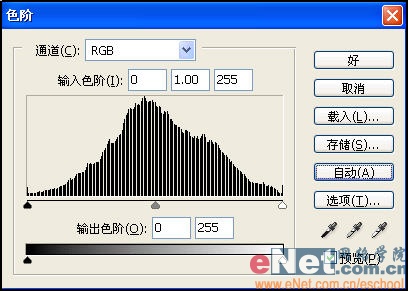
7、按Ctrl L鍵,打開色階對話框,在其中單擊“自動”按鈕,如圖06所示。8、將圖層1的混合模式設置為“正片疊底”,圖像效果如圖07所示。
本新聞共10
9、將圖層1和背景層鏈接后按Ctrl E,將其合并,然后按Ctrl L鍵,打開色階對話框,設置如圖08所示,圖像效果如圖09所示。本新聞共10
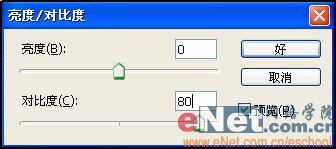
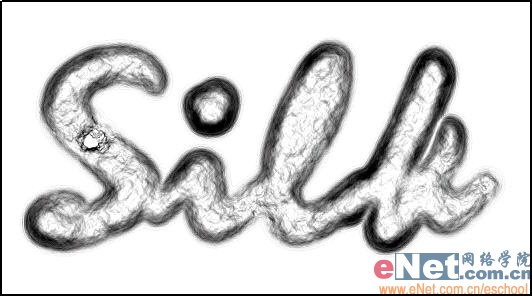
10、執行菜單欄中的“濾鏡”“扭曲”“查找邊緣”命令,圖像效果如圖10所示。接著執行菜單欄中的“圖像”“調整”“亮度/對比度”命令,在彈出的對話框中設置參數如圖11所示,畫面效果如圖12所示。按Ctrl I鍵將圖像反相,效果如圖13所示。本新聞共10
11、按Ctrl A鍵將圖像全選,然后按Ctrl C鍵復制背景層中的圖像,切換到通道面板,新建通道Alpha 2,按快捷鍵Ctrl V鍵黏貼圖像。12、在通道面板中選擇通道Alpha 1,按Ctrl L鍵,打開色階對話框,設置參數如圖14所示,圖像效果如圖15所示。
本新聞共10
13、按Ctrl鍵單擊通道Alpha 1,顯示選區后切換到圖層面板中,新建圖層1。設置前景色的RGB分別為225、150、20,將前景色填充選區,將背景層填充為白色,如圖16所示。14、雙擊圖層1,打開圖層樣式對話框,在其中設置投影效果,設置參數如圖17所示,圖像效果如圖18所示。
本新聞共10
15、切換到通道面板,按Ctrl鍵單擊Alpha 2,然后切換到圖層面板,新建圖層2,設置前景色的RGB分別為255、140、70,將其填充到選區,效果如圖19所示。16、保持選取狀態,新建圖層3,在選區中填充白色,按Ctrl D鍵取消選區,圖像效果如圖20所示。
本新聞共10
17、在圖層面板底部單擊“創建新的填充或調整圖層”按鈕,在彈出的菜單中選擇色階命令,在對話框中設置參數如圖21所示,最終效果如圖22所示。簡單的,我們教你,深奧的,你來分享,非主流照片|qqkongjian|feizhuliu|tupian|luntan|psjiaocheng|bishua|ruanjian|chajian|xiazai|psxiazai|qqkongjiandaima下一篇:PS教程:制作簡單立體字
相關推薦

ps技巧-怎樣得到高質量的銳化圖像

Photoshop修正發灰的室內裝修效果

去水印,去除圖片上不需要的文字

文字簡說八種Photoshop摳圖技巧

彩繪藝術字, PS液化工具制作彩繪背景設計教程

Photoshop制作非常流行的金沙立體字,細膩的金沙字體,金粉字。

Photoshop制作金色的海報標題文字教程

Photoshop使用筆刷制作書法藝術字教程


