ps餅干上的蜜汁文字教程
15、將陰影圖層模式改為線性加深,不透明度40%。添加圖層蒙版,填充蒙版為黑色,用白色柔軟畫筆刷陰影部分。
![](https://img.lvups.com/d/file/bigpic/2022/12/25/pcgbfawoqiu.jpg)
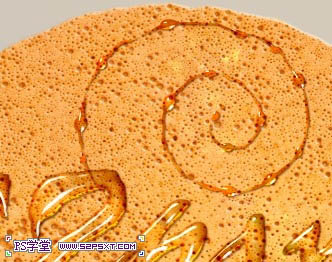
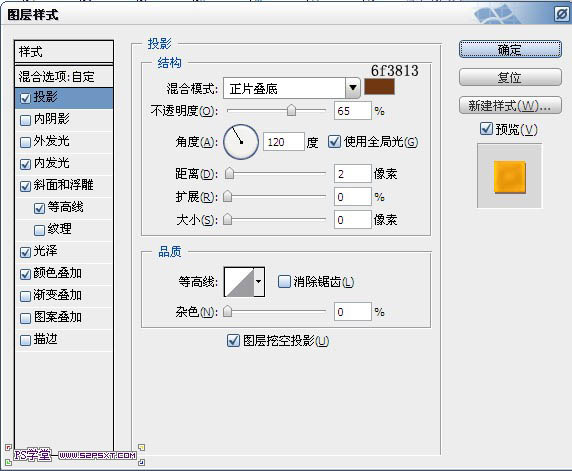
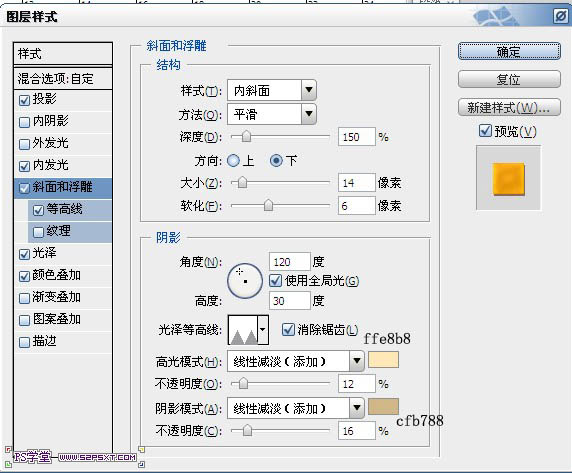
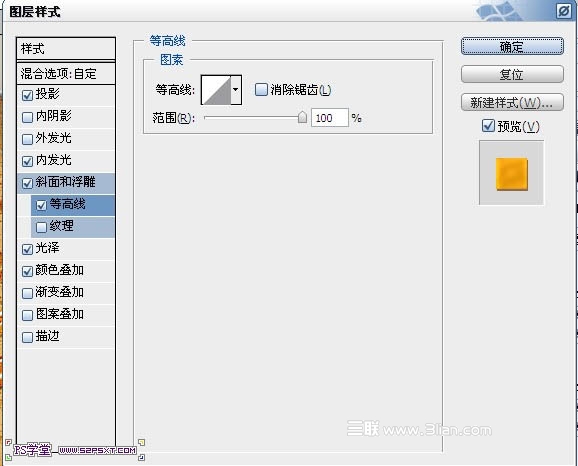
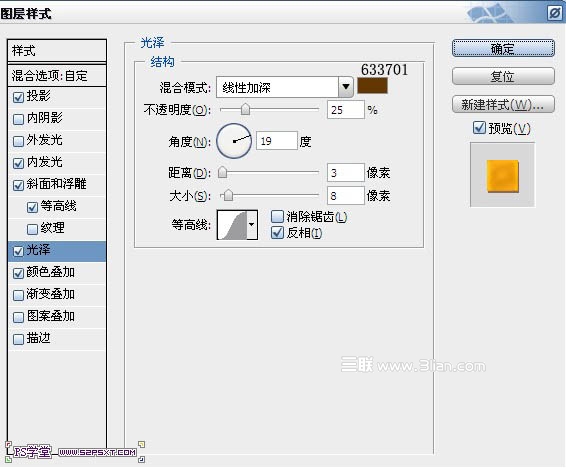
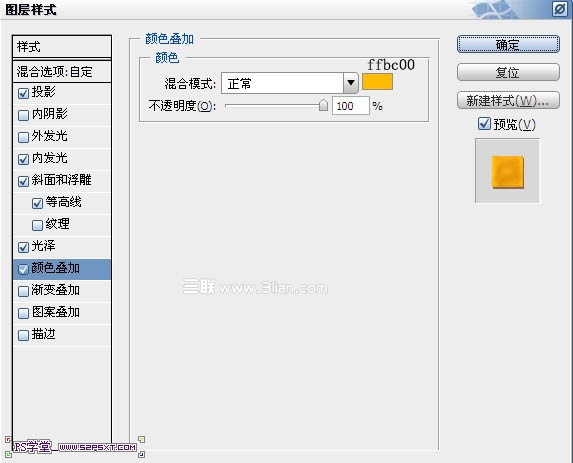
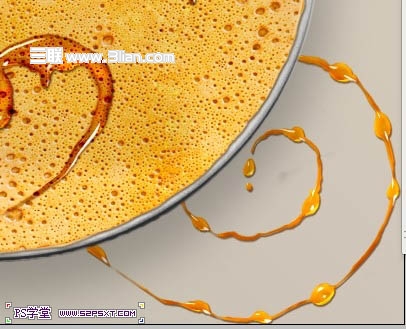
16、將圓圈素材拉入畫布中,擺放好位置,復制三次,和字體合并圖層一樣,設置圖層樣式。除了倒數第一個圖層中的內陰影去掉。
![](https://img.lvups.com/d/file/bigpic/2022/12/25/ii3g13yro04.jpg)
![](https://img.lvups.com/d/file/bigpic/2022/12/25/3eljvdjilkc.jpg)
17、拉入盤子素材,放在煎餅素材下面。
![](https://img.lvups.com/d/file/bigpic/2022/12/25/vjnwtfkoo0p.jpg)
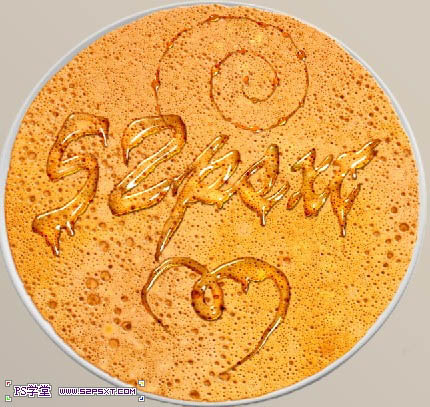
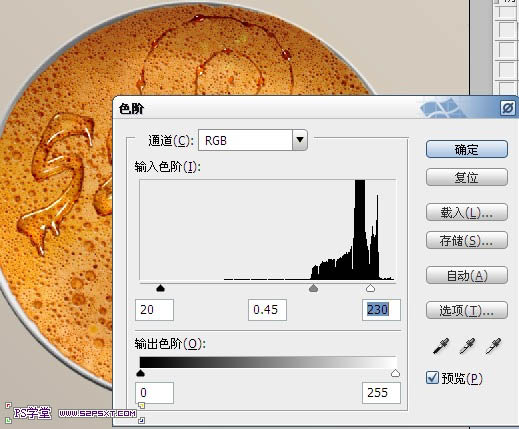
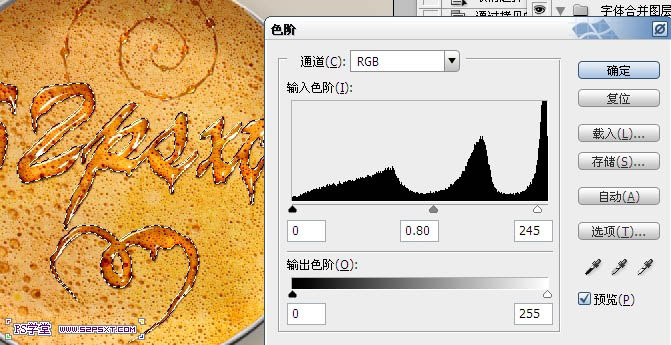
18、復制盤子素材,放在煎餅素材上面,改圖層模式為線性加深,不透明度65%,編輯--調整--色階。
![](https://img.lvups.com/d/file/bigpic/2022/12/25/zn3q4dtkia3.jpg)
19、按住ctrl鍵點擊盤子圖層,得到選區,選擇--修改--擴展10px,羽化15px,新建圖層編輯黑色,改圖層模式正片疊底,不透明度25%。
![](https://img.lvups.com/d/file/bigpic/2022/12/25/v3angpet542.jpg)
20、按住ctrl鍵點擊合并圖層,得到選區,選擇--反選,編輯--色階。
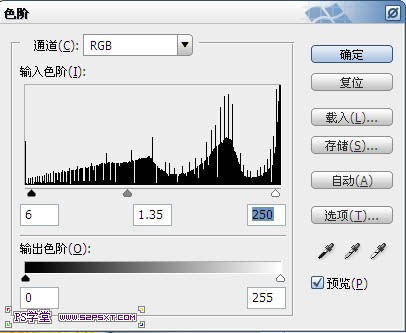
![](https://img.lvups.com/d/file/bigpic/2022/12/25/3hzoqjcxk1p.jpg)
21、再反選,編輯--色階。
![](https://img.lvups.com/d/file/bigpic/2022/12/25/bxlf5vnne1m.jpg)
22、執行濾鏡--銳化--智能銳化。
![](https://img.lvups.com/d/file/bigpic/2022/12/25/x0rpfvuuf43.jpg)
23、拉入圓圈2素材,放在陰影圖層下方,設置圖層樣式如下。
![](https://img.lvups.com/d/file/bigpic/2022/12/25/tn5boup2wwq.jpg)
![](https://img.lvups.com/d/file/bigpic/2022/12/25/waasssd1fel.jpg)
![](https://img.lvups.com/d/file/bigpic/2022/12/25/c2nmrmhqblq.jpg)
![](https://img.lvups.com/d/file/bigpic/2022/12/25/zbso4sngle5.jpg)
![](https://img.lvups.com/d/file/bigpic/2022/12/25/uujapgmwowo.jpg)
![](https://img.lvups.com/d/file/bigpic/2022/12/25/h4j0u5mpx3x.jpg)
24、同樣復制三層,設置圓圈1三個副本的圖層樣式。
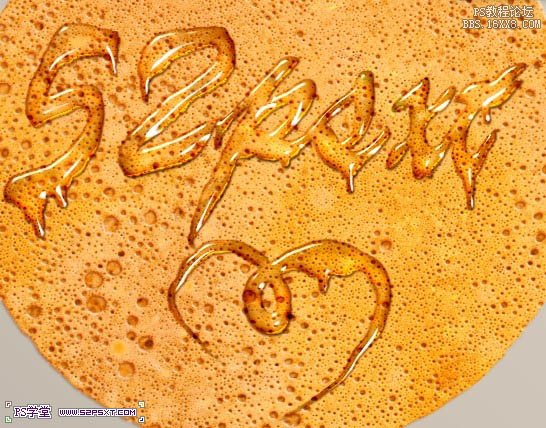
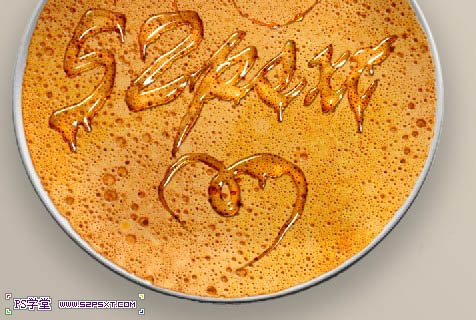
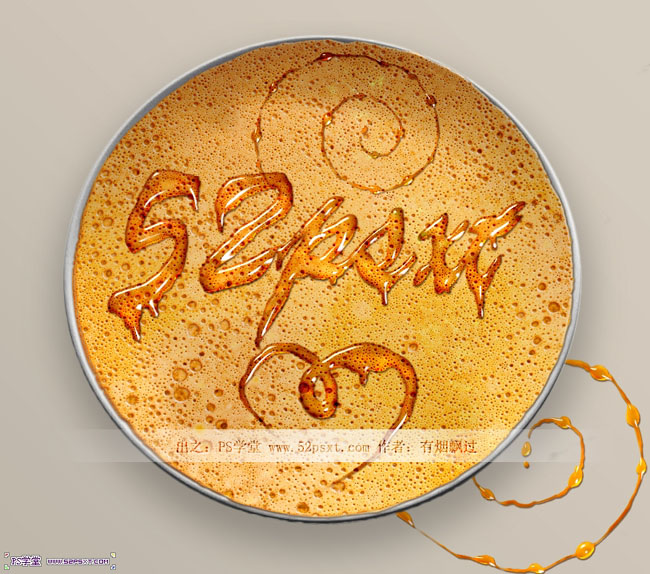
![](https://img.lvups.com/d/file/bigpic/2022/12/25/5vvvxuvvotu.jpg)
最終效果:
![](https://img.lvups.com/d/file/bigpic/2022/12/25/kqm2un5drq1.jpg)
上一篇:巖石字,設計立體的大理石文字教程
下一篇:鉻金字,制作鉻金立體文字效果教程