photoshop做音樂墻紙教程
2022-12-26 07:53:36
來源/作者: /
己有:15人學習過
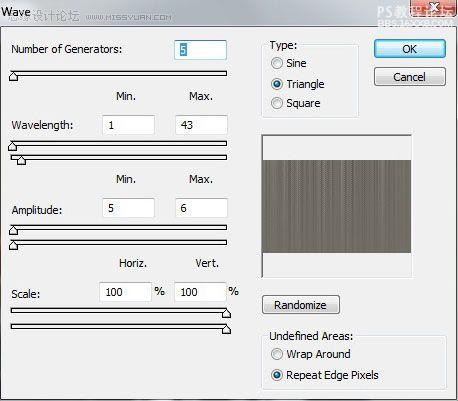
選擇同一圖層:應用濾鏡 扭曲 波紋
圖層參數:混合模式——覆蓋
我們需要創建下一個圖層,同樣應用漆桶工具(G)給它上色(#968D73)。
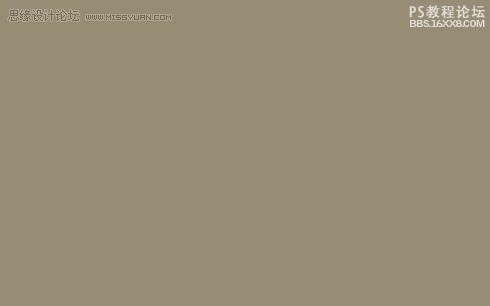
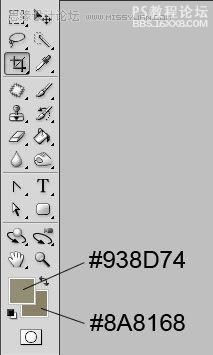
接下來我們要設置前景色和背景色。
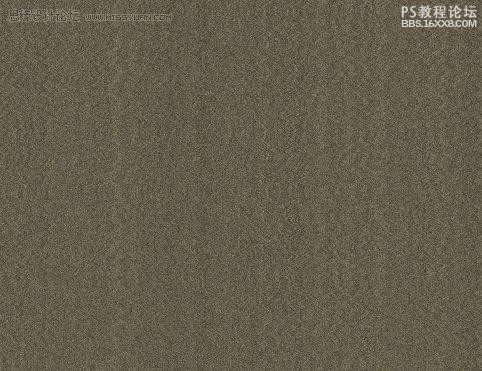
選擇同一圖層:應用濾鏡 渲染 云
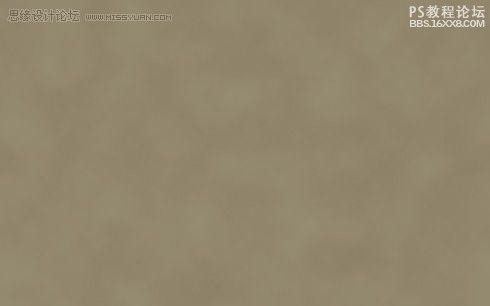
圖層參數:混合模式——覆蓋
我們需要創建下一個圖層,同樣應用漆桶工具(G)給它上色(#968D73)。
接下來我們要設置前景色和背景色。
選擇同一圖層:應用濾鏡 渲染 云
相關推薦

photoshop教程:百事可口可樂LOGO制

logo制作實例:金屬鳳凰logo

虛線移動的友情鏈接logo圖片制作實

腐蝕LOGOPS制作實例

圖片變清晰,使用PS讓模糊圖片變清晰的方法教程

PS調出晶瑩潔白膚色商業人像照片效果

PS調出唯美金黃色樹葉背景甜美女生照片

調出高清質感暗色草原風景圖片的PS教程


