ps制作非常有層次感的水晶心形壁紙
2022-12-26 06:37:33
來源/作者: /
己有:17人學習過
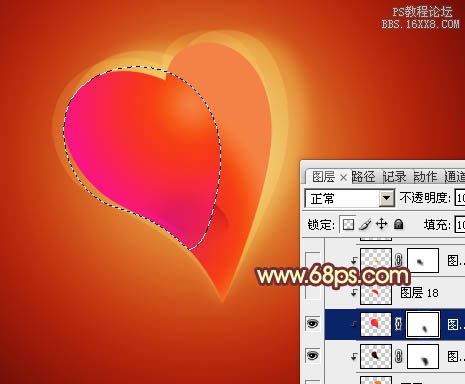
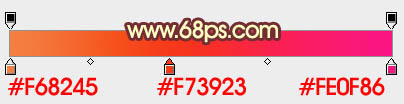
7、同上的操作,新建剪切圖層后,用鋼筆勾出圖15所示的選區,拉上圖16所示的徑向漸變。確定后把圖層混合模式改為“強光”,不透明度改為:60%,效果如圖17。
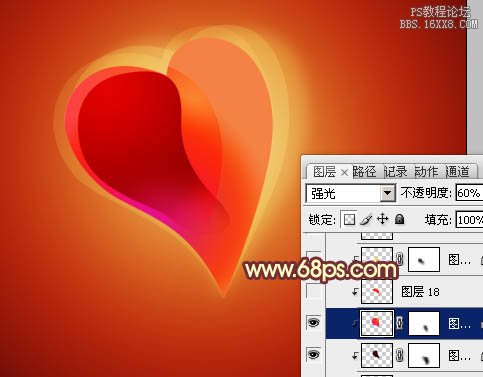
8、同上的方法再制作其它不同選區的色塊,再適當改變圖層混合模式和不透明度。做出心形的透明質感。
8、同上的方法再制作其它不同選區的色塊,再適當改變圖層混合模式和不透明度。做出心形的透明質感。
相關推薦

ps濾鏡制作漸變光線壁紙教程

汽車壁紙,設計黑白動感保時捷壁紙教

Photoshop繪制精美的水下光線壁紙

PS桌面壁紙教程:貝斯壁紙

圖片變清晰,使用PS讓模糊圖片變清晰的方法教程

PS調出晶瑩潔白膚色商業人像照片效果

PS調出唯美金黃色樹葉背景甜美女生照片

調出高清質感暗色草原風景圖片的PS教程


