Photoshop制作絢麗的彩色光束飄帶
2022-12-26 07:02:14
來源/作者: /
己有:11人學習過
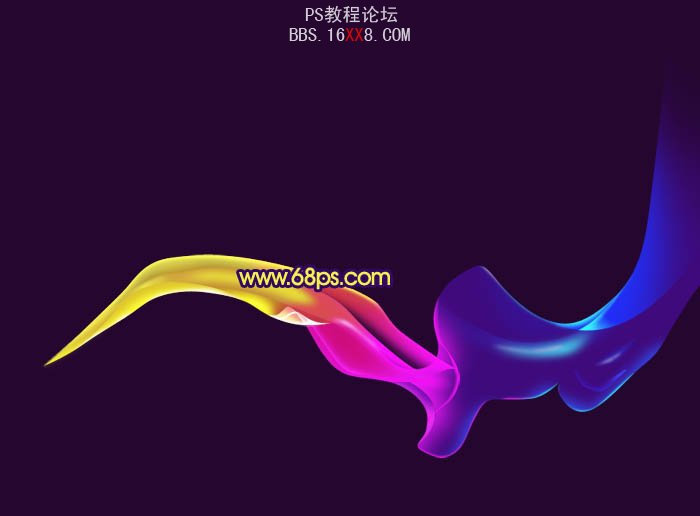
26、新建一個圖層,用鋼筆勾出下圖所示的選區,羽化6個像素后填充紫紅色。
![](https://img.lvups.com/d/file/bigpic/2022/12/26/ejqf1j4wyig.jpg)
<圖29>
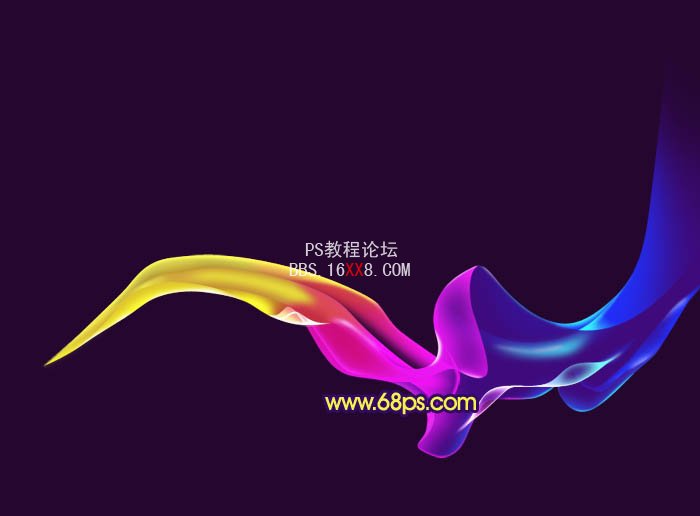
27、新建一個圖層,同上的方法制作邊緣及中間高光部分,過程如圖30 - 32。
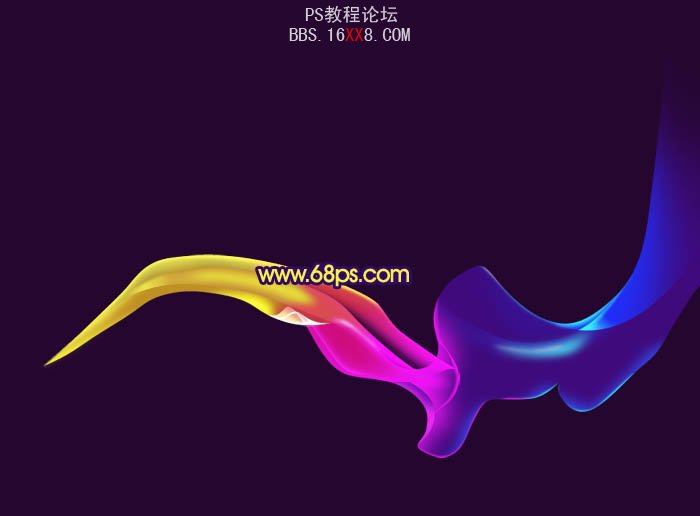
![](https://img.lvups.com/d/file/bigpic/2022/12/26/jpzssjxkpni.jpg)
<圖30>
![](https://img.lvups.com/d/file/bigpic/2022/12/26/yshhxcip0fv.jpg)
<圖31>
![](https://img.lvups.com/d/file/bigpic/2022/12/26/lvdwy4z0ffu.jpg)
<圖32>
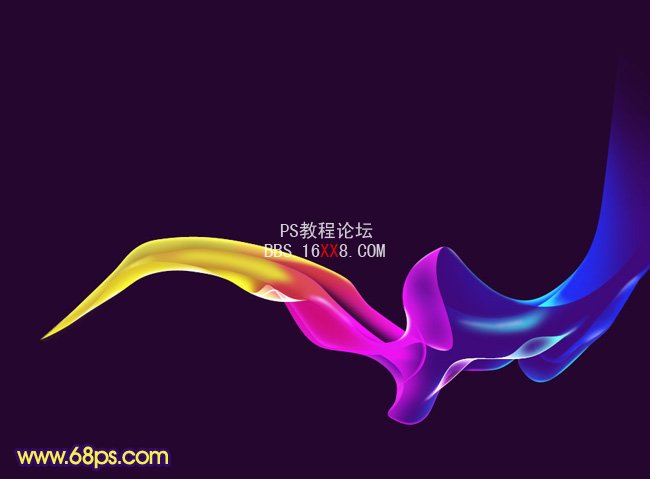
最后調整一下細節,完成最終效果。
![](https://img.lvups.com/d/file/bigpic/2022/12/26/3qxxt22rzqz.jpg)
作者:Sener 作者:佚名 出處:PS聯盟
![](https://img.lvups.com/d/file/bigpic/2022/12/26/ejqf1j4wyig.jpg)
<圖29>
27、新建一個圖層,同上的方法制作邊緣及中間高光部分,過程如圖30 - 32。
![](https://img.lvups.com/d/file/bigpic/2022/12/26/jpzssjxkpni.jpg)
<圖30>
![](https://img.lvups.com/d/file/bigpic/2022/12/26/yshhxcip0fv.jpg)
<圖31>
![](https://img.lvups.com/d/file/bigpic/2022/12/26/lvdwy4z0ffu.jpg)
<圖32>
最后調整一下細節,完成最終效果。
![](https://img.lvups.com/d/file/bigpic/2022/12/26/3qxxt22rzqz.jpg)
作者:Sener 作者:佚名 出處:PS聯盟
下一篇:制作超酷透明MSN娃娃