圖19
21、再對文字圖層做一下變形,調整大小和形狀,使它與立方體的平面貼合,符合透視效果。
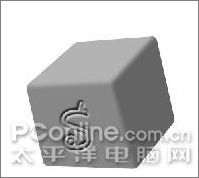
圖20
22、用同樣的方法做出其他兩個面的字符。
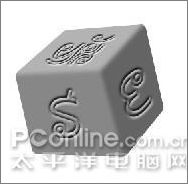
圖21
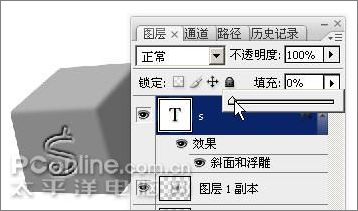
23、將所有的字符層和圖層一
副本合并,石頭做好了
圖22
24、新建圖層,在背景層上,石頭層下
圖23
25、按DEL鍵復位前背景色,做個云彩濾鏡,在“濾鏡>渲染”菜單,按CTRL T調整圖層大小為50%,移到石頭層下,如圖位置:
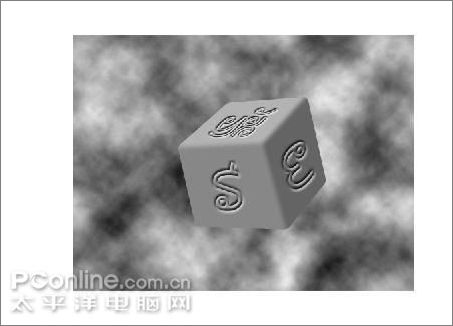
圖24
26、調整圖層亮度/對比度,亮度為 50,對比度為-50
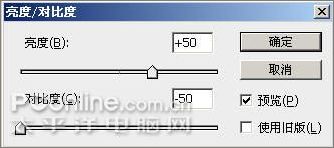
圖25
27、按蒙板按鈕給該層添加空白蒙板
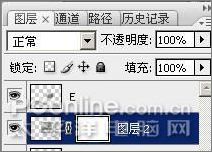
圖26
28、在空白蒙板上做個云彩濾鏡,圖層效果如下
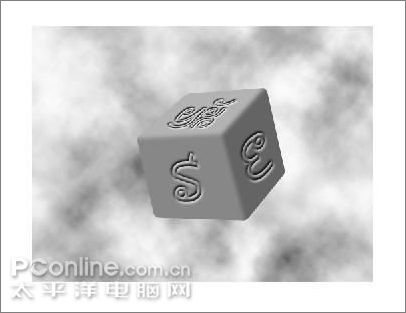
圖27
29、右鍵單擊蒙板,應用圖層蒙板
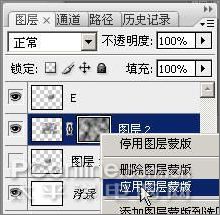
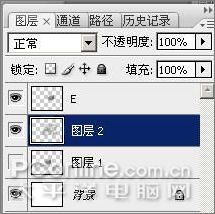
圖28
30、用自由套索工具勾選區如下(不要勾到石頭):

圖29
31、羽化50像素(根據實際可以調整30~60)
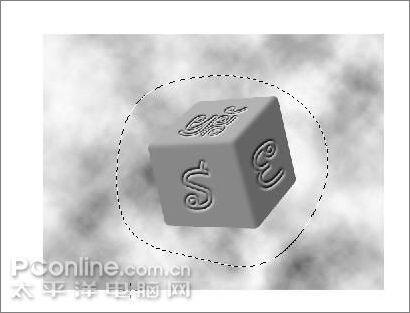
圖30
32、按蒙板按鈕,并應用蒙板
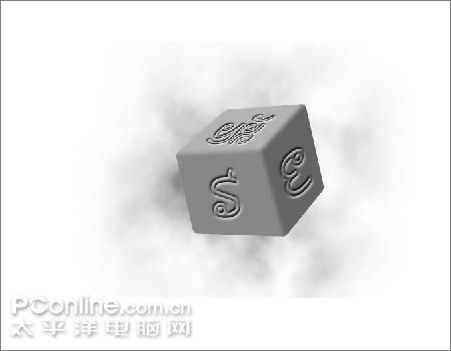
圖31
33、用透明度為50%的橡皮擦擦除邊緣
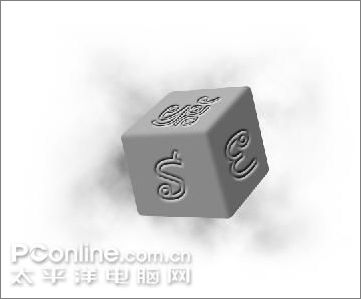
圖32
34、按ctrl單擊石頭層選擇石頭層圖層透明度,擴大選區5像素,羽化5像素。
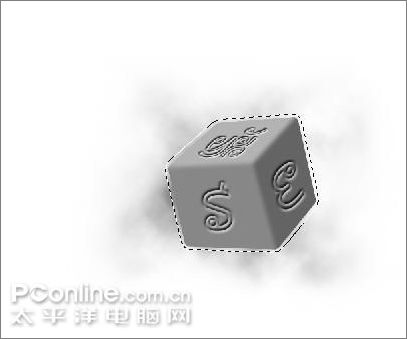
圖33
35、在云霧層上操作亮度/對比度,加亮一下石頭邊緣

圖34
36、在背景層上執行云彩濾鏡
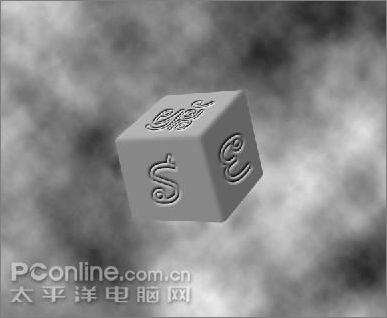
圖35
37、加暗背景層,加亮石頭周圍的小云霧層
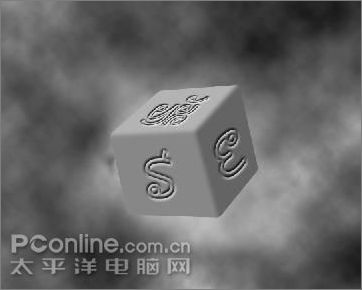
圖36
38、將小云霧層復制一層放在石頭層之上
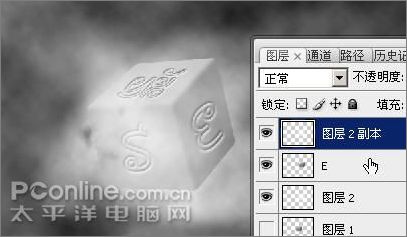
圖37
39、用透明度50%的橡皮擦擦除部分,將石頭稍微露出,造成石頭被云霧籠罩的感覺

圖38
40、在所有圖層之上新建一層
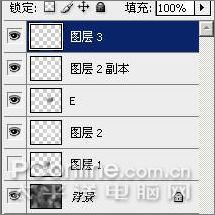
圖39
41、執行云彩濾鏡
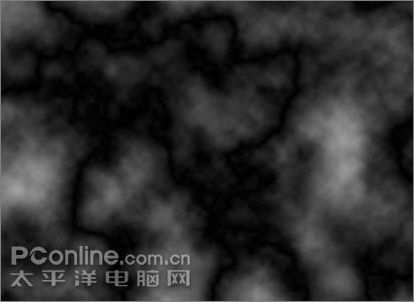
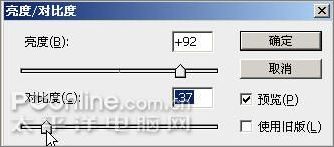
圖40
42、調整亮度/對比度:
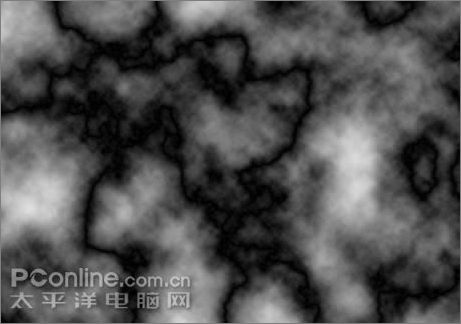
圖41
43、執行菜單命令:圖像>調整>反相:
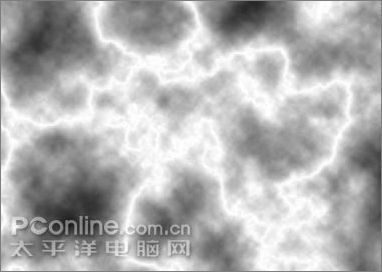
圖42
44、調整大小和位置到石頭上

圖43
45、設置圖層模式為疊加,并載入石頭上那層云霧層的圖層透明度(按ctrl單擊相應圖層),按蒙板按鈕添加蒙板
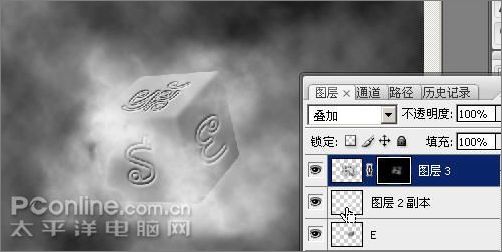
圖44
46、調整蒙板亮度對比度

圖45
47、應用圖層蒙板,復制一層,閃電效果有點意思了
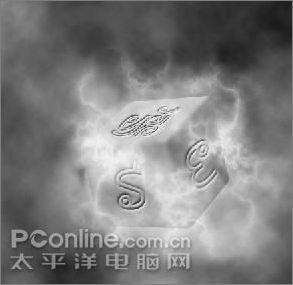
圖46
48、在最上面添加個漸變映射調整圖層,小閃電出來了,整體色調也卻確定了,哈哈
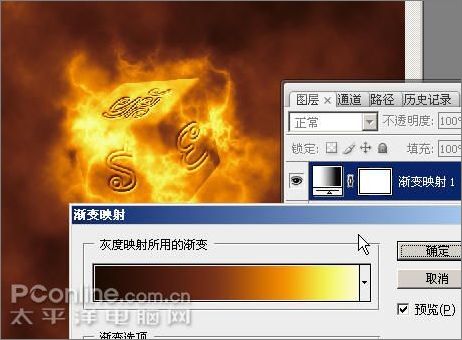
圖47
49、給石頭層加個外發光,大小為20,其他默認
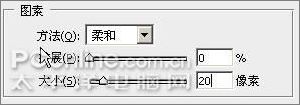
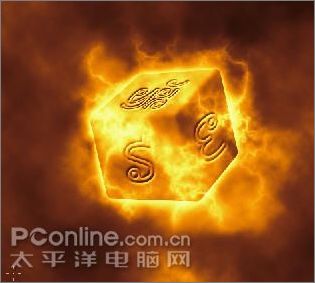
圖48
50、在背景層上新建一層
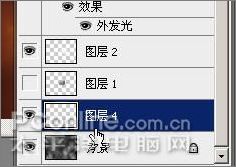
圖49
51、拉個20%灰到50%灰的漸變,圖層模式設為濾色
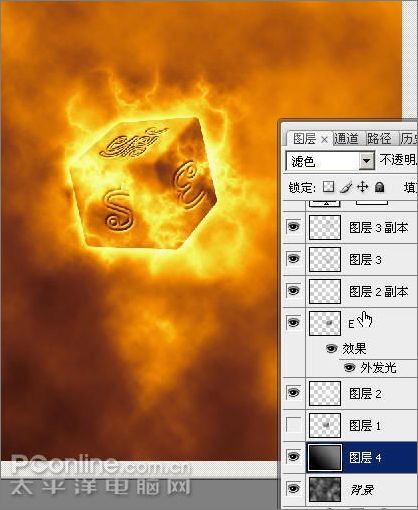
圖50
52、在漸變映射層下新建一層(順序為第二層)
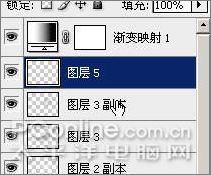
圖51
53、隱藏石頭周圍的云霧和閃電圖層(為了方便下面操作,操作完恢復)
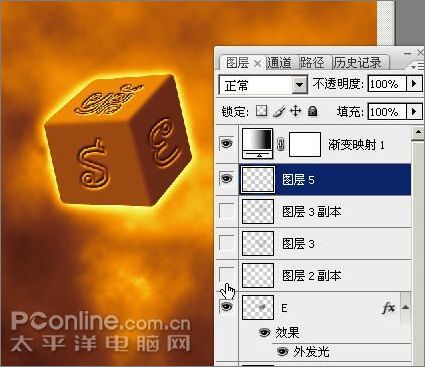
圖52
54、在新建圖層上用
畫筆工具,80%灰的前景色涂出火焰大概方向,然后用涂抹工具調整如下(這步對初學者可能較難,多試幾次就可畫出自己想要的焰型)
圖53
55、選擇焰型圖層透明度
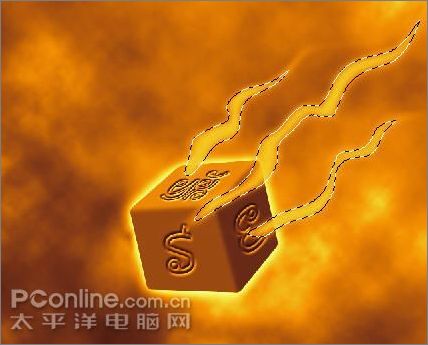
圖54
56、收縮選區
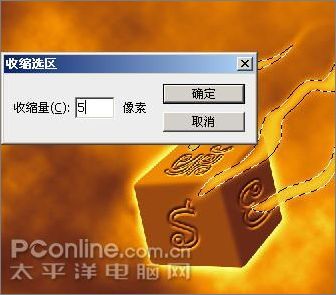
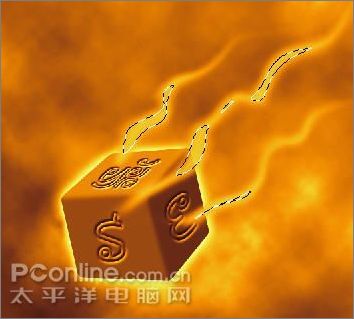
圖55
57、羽化5像素,加亮選中的中間部分。
58、用同樣的方法在石頭下的云霧層下在做一些石頭背部的火焰。
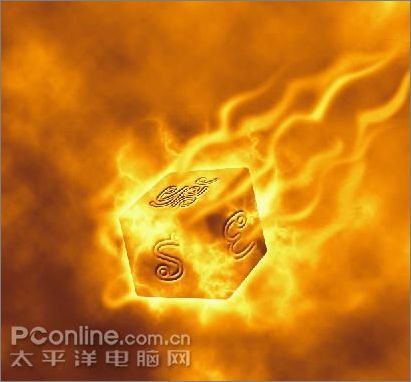
圖56
59、在漸變映射層下新建一層,用畫筆,白色前景色點些小點,可以調整畫筆的不透明度和大小,注意跟隨火焰方向
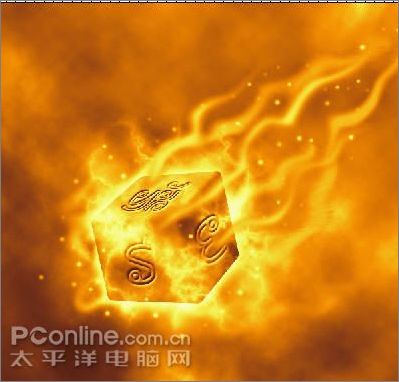
圖57
60、最后再做些微調,包括用30%不透明度的白色畫筆在火焰層上進行涂抹以進一步加亮火焰質感,調整焰尾形狀(涂抹工具)等,用星狀筆刷在背景添加一些星星,以及整個隕石立體感、大小和位置調整等,最后效果如圖:
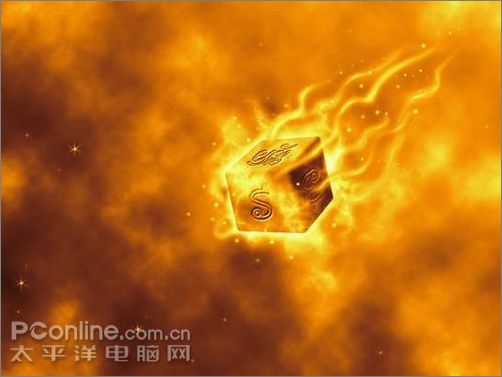
最終效果圖
簡單的,我們教你,深奧的,你來分享,非主流照片|qqkongjian|feizhuliu|tupian|luntan|psjiaocheng|bishua|ruanjian|chajian|xiazai|psxiazai|qqkongjiandaima


