教程是關于Photoshop CS3制作魔幻隕石壁紙_網頁教學網webjx.com原創,主要是濾鏡的應用學習,重點是火焰效果的制作,教程作者步驟描述還是比較詳細,希望大家能更方便的學習,有所收獲~
先來看一下效果圖:
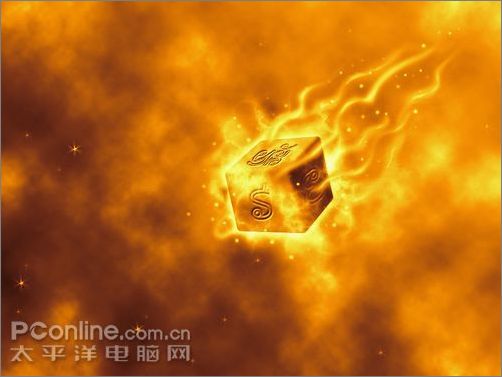
效果圖
1、新建一個文檔1024*768
像素。
2、在背景層上新建一層。

圖1
3、首先我們要先造個立方體,用鋼筆
工具勾個有六個角的
路徑形狀。
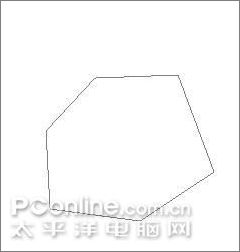
圖2
4、調整六個角的錨點,將路徑形狀調整成下圖所示:
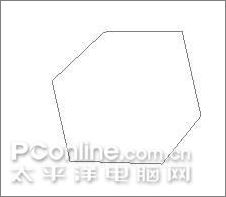
圖3
5、將路徑轉換為
選區填充70%灰,新建一個路徑勾選如下區域。
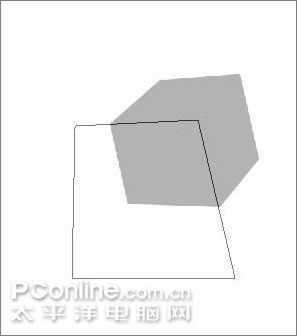
圖4
6、 轉化為選區,執行菜單
命令:
圖像>調整>亮度/
對比度,亮度設為-50 。
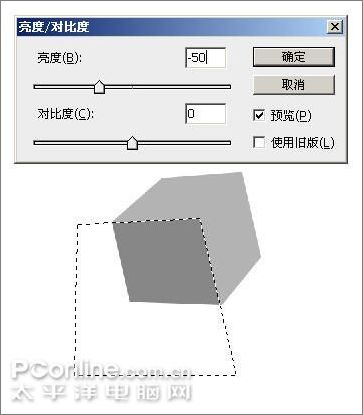
圖5
7、收縮選區1像素,擴邊2像素,羽化1像素,調整亮度/對比度,亮度為 100,加亮立方體平面之間的邊緣。
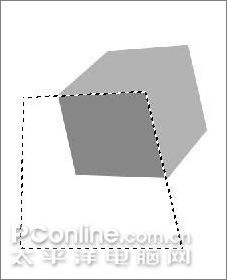
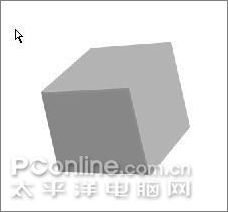
圖6
8、用鋼筆勾選如下路徑。
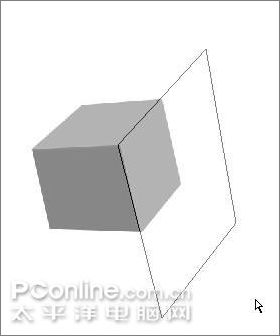
圖7
9、用同樣的方法調暗所選平面和調亮邊緣.
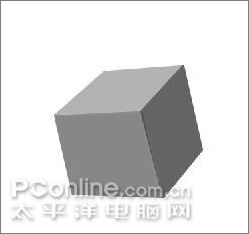
圖8
10、立方體初步顯現出來了,下面鎖定
圖層透明度。
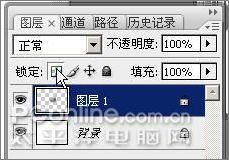
圖9
11、執行菜單命令:濾鏡>模糊>
高斯模糊,值為30(可根據情況自設)。
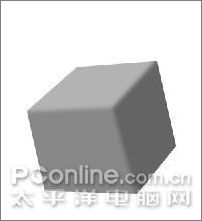
圖10
12、解除圖層透明度鎖定,并按CTRL鍵單擊圖層選擇圖層透明度。

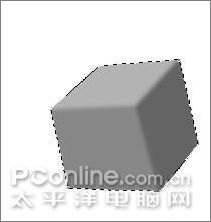
圖11
13、執行菜單命令:選擇>修改>平滑,平滑5像素(根據情況自設3~5像素),然后按圖層面板上的蒙板按鈕添加蒙板。
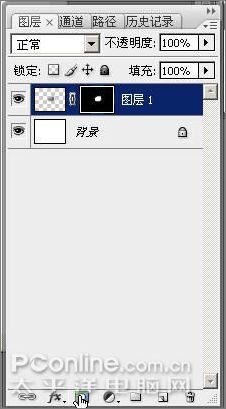
圖12
14、右鍵單擊蒙板,選擇:應用圖層蒙板,將立方體的銳角抹除。
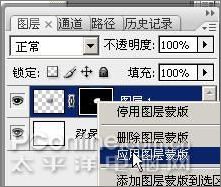

圖13
15、將圖層1備份一層,隱藏圖層1(這步主要是做好立方體的備份,以免后面操作出錯可以調用,可以省略)
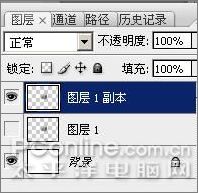
圖14
16、使用文本工具,設置如圖:

圖15
字體下載:AW_Siam English not Thai (該字體僅供學習使用下載)
17、輸入一個
字符“s”:
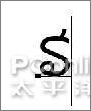
圖16
18、移到立方體上,并旋轉一下方向(菜單:編輯>變形),用變形菜單下的扭曲進行微調,如圖
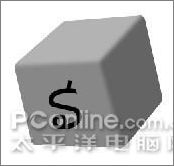
圖17
19、在圖層面板內雙擊
文字圖層,做斜面和浮雕圖層
樣式,設置如下
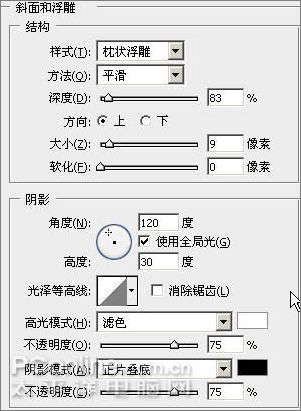
圖18
20、在圖層面板將文字圖層的填充調為0%


