ps制作非常精致的3D動感液滴
2022-12-26 06:00:24
來源/作者: /
己有:26人學習過
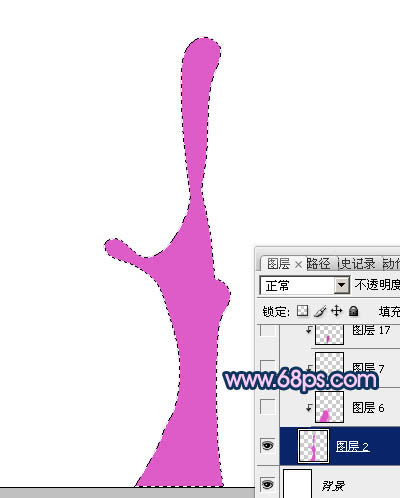
2、新建一個600 * 800像素的文檔,背景選擇白色。新建一個圖層,用鋼筆勾出主體輪廓路徑,轉為選區(qū)后填充紫色:#DE5BC8,效果如下圖。
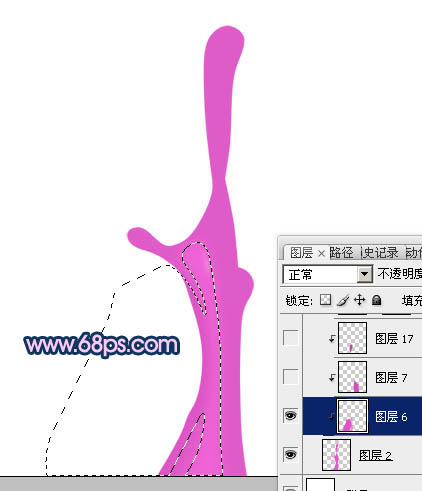
3、新建一個圖層,按Ctrl + Alt + G 與前一圖層編組,然后在當前圖層下面新建一個圖層,用鋼筆勾出中間高光部分的選區(qū),按Ctrl + Alt + D 羽化6個像素后填充比背景稍亮的顏色,局部再用減淡工具稍微涂亮一點,效果如圖4。
3、新建一個圖層,按Ctrl + Alt + G 與前一圖層編組,然后在當前圖層下面新建一個圖層,用鋼筆勾出中間高光部分的選區(qū),按Ctrl + Alt + D 羽化6個像素后填充比背景稍亮的顏色,局部再用減淡工具稍微涂亮一點,效果如圖4。
相關推薦

Photoshop制作實例:卡通壁紙制作教

photoshop制作實例:變幻線

photoshop制作教程: CD封面的制作

photoshop制作實例:制作一張端午節(jié)

圖片變清晰,使用PS讓模糊圖片變清晰的方法教程

PS調出晶瑩潔白膚色商業(yè)人像照片效果

PS調出唯美金黃色樹葉背景甜美女生照片

調出高清質感暗色草原風景圖片的PS教程


