ps打造極具魅力的紫色水晶彩妝眼睛
2022-12-25 16:57:18
來源/作者: /
己有:16人學習過
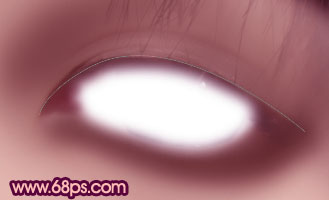
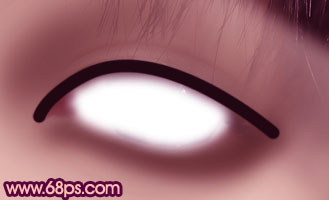
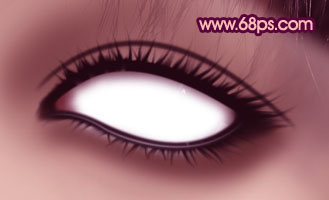
6、鋼筆畫出眼線的路徑,新建一個空白圖層,在拾色器里將前景色設置為#160e0d,筆刷的大小設置為12像素,描邊路徑(不要勾選模擬壓力)。
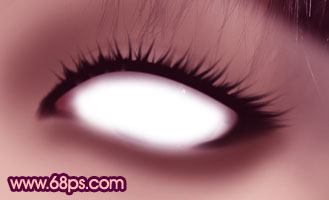
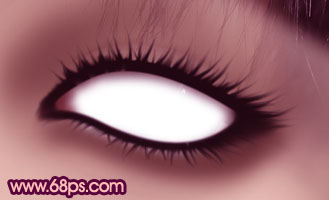
7、將涂抹工具的強度設置為75%,涂抹出眼眶的形狀和睫毛。同樣的方法制作出下眼線和睫毛。
8、橢圓工具畫出眼珠的形狀,填充自己喜歡的顏色,紅色,黑色,藍色。
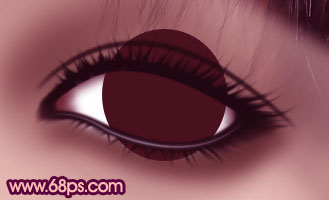
9、用橡皮擦修剪一下;加深工具稍微加深一下周邊和眼球上部分。
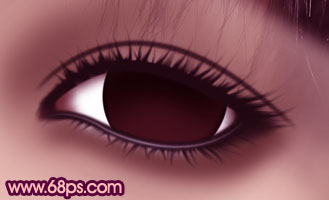
10、繼續(xù)。
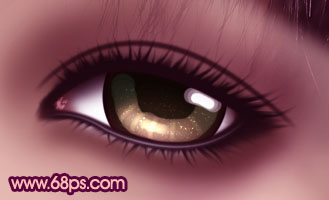
11、用色彩平衡改了下眼珠的顏色。
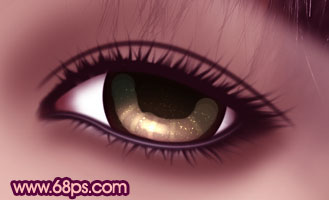
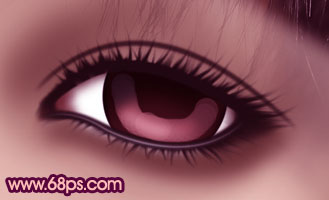
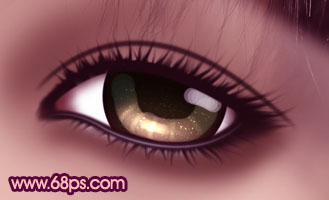
12、高光。
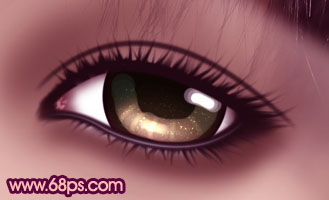
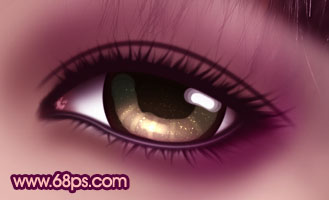
13、眼角高光。
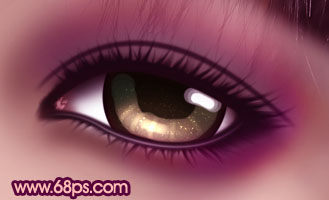
14、陰影。
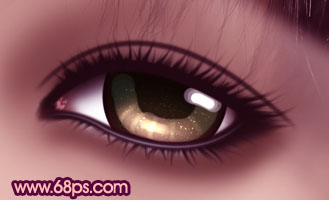
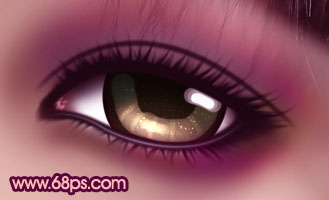
15、眼妝。
下一篇:PS照片處理超炫光影效果圖片
相關推薦

ps打造MM照片童話風格轉手繪教程

PS手機照片轉手繪效果

ps轉手繪之古典衣服

ps照片轉手繪

如何用PS把渾濁的風景照片調出通透清晰

PS商業(yè)修圖師對人物頭發(fā)進行精修教程

如何用PS打造出明亮而有神的眼睛效果

PS商業(yè)修圖給人像增強光影質感的方法介紹


