Photoshop制作炫酷的汽車LED大燈電商海報
2019-04-23 21:58:39
來源/作者: 自媒體 / 振強
己有:350人學習過
![](https://img.lvups.com/d/file/bigpic/190423/23/jc190225_23.jpg)
![](https://img.lvups.com/d/file/bigpic/190423/23/jc190225_24.jpg)
12、加入產品。把精修好的產品加進來,轉為智能對象,然后調整好大小,如下圖。
![](https://img.lvups.com/d/file/bigpic/190423/23/jc190225_25.jpg)
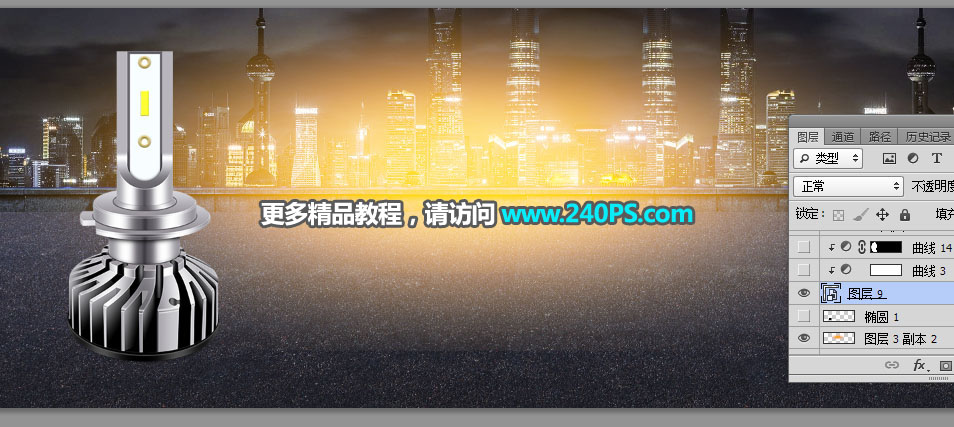
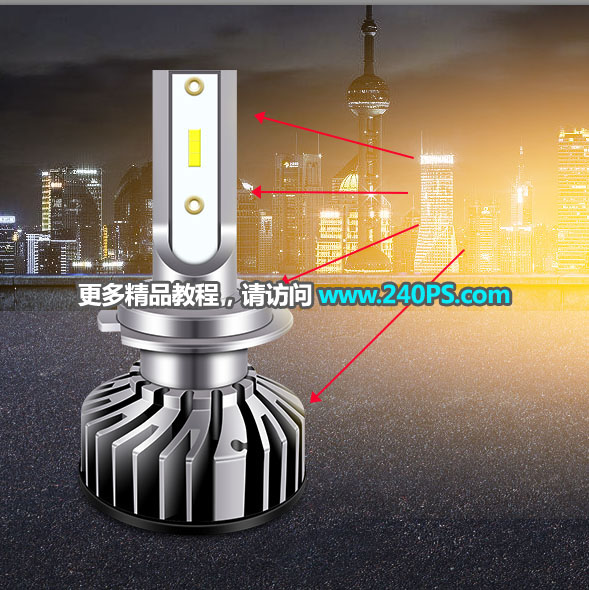
13、調整產品光影。根據光影的位置和顏色,渲染一下產品的光影,如下圖。
![](https://img.lvups.com/d/file/bigpic/190423/23/jc190225_26.jpg)
![](https://img.lvups.com/d/file/bigpic/190423/23/jc190225_27.jpg)
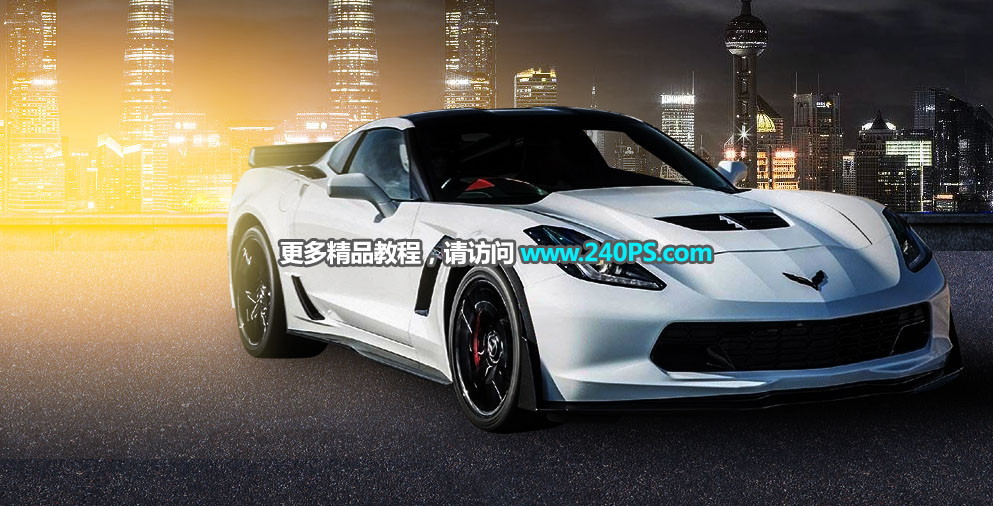
14、加入汽車素材。找合適角度的汽車素材,摳出來,然后拖進來,放到畫布的右側并調整好大小。
![](https://img.lvups.com/d/file/bigpic/190423/23/jc190225_28.jpg)
![](https://img.lvups.com/d/file/bigpic/190423/23/jc190225_29.jpg)
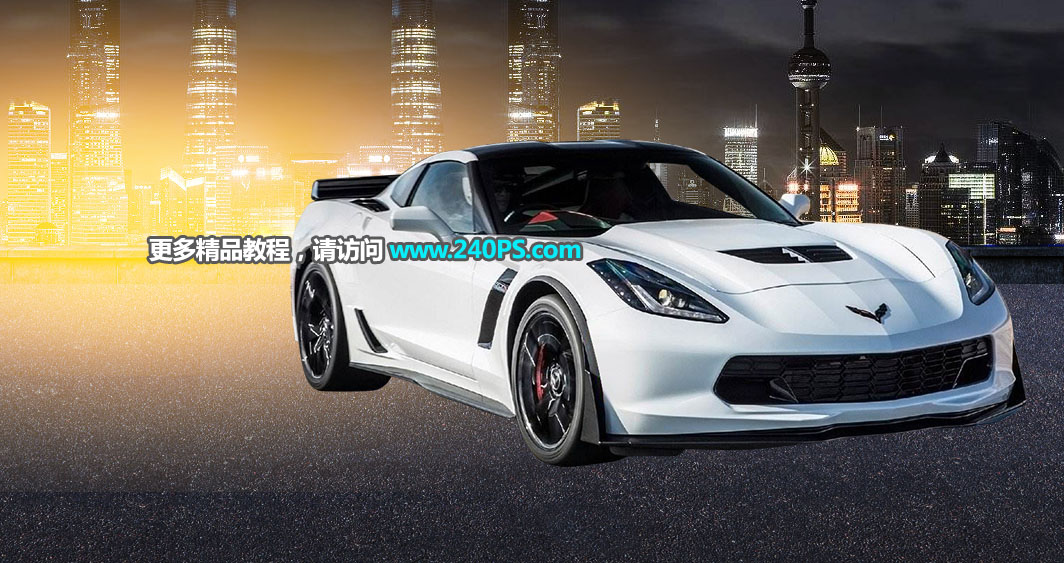
15、調整汽車的光影。根據光源位置渲染一下汽車的光影,效果如下圖。
![](https://img.lvups.com/d/file/bigpic/190423/23/jc190225_30.jpg)
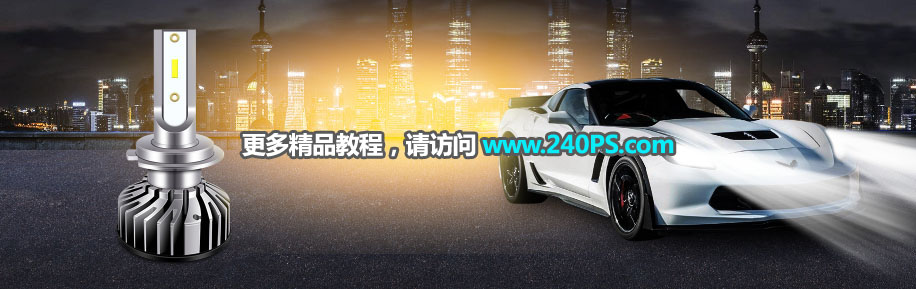
16、給汽車加上燈光。新建一個圖層,找一些光束筆刷,給汽車車燈部分加上燈光光束,如下圖。
![](https://img.lvups.com/d/file/bigpic/190423/23/jc190225_31.jpg)
17、這是現在的整體效果。
![](https://img.lvups.com/d/file/bigpic/190423/23/jc190225_32.jpg)
18、產品部分加上燈光,再加強一些局部明暗,效果如下圖。
![](https://img.lvups.com/d/file/bigpic/190423/23/jc190225_33.jpg)
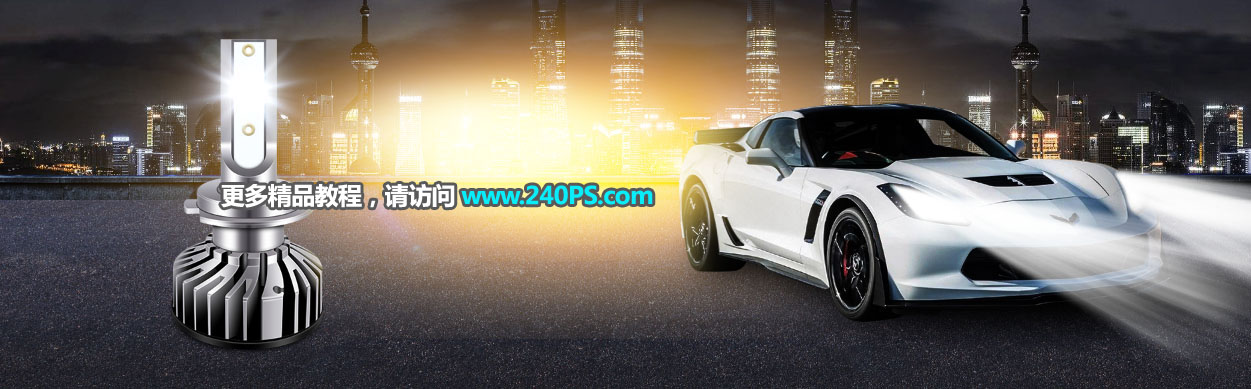
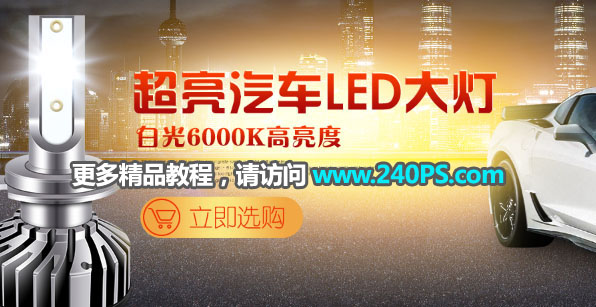
19、添加文案。根據產品的賣點加上文案,如下圖。
![](https://img.lvups.com/d/file/bigpic/190423/23/jc190225_34.jpg)
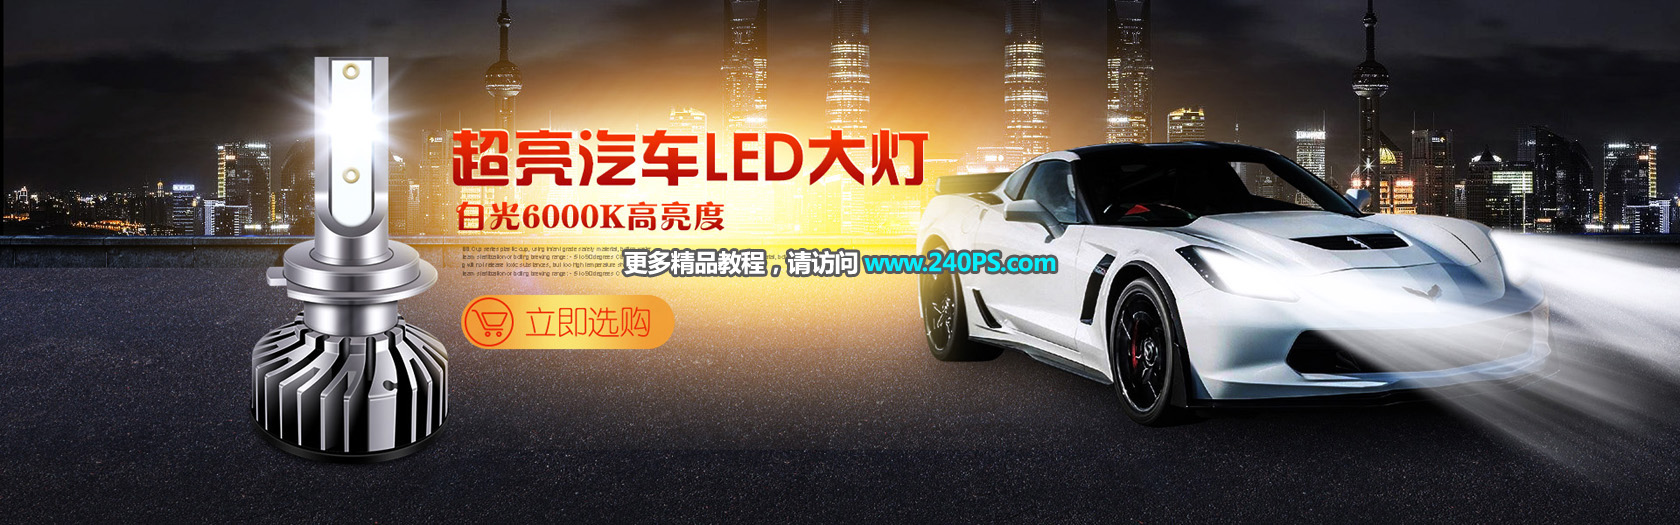
20、最后一步,微調一下整體明暗,效果如下圖。
![](https://img.lvups.com/d/file/bigpic/190423/23/jc190225_35.jpg)
最終效果
![](https://img.lvups.com/d/file/bigpic/190423/23/jc190225_1.jpg)