Photoshop制作精簡的足球人物海報
2019-04-23 21:47:06
來源/作者: PS網 / 胤晨
己有:495人學習過

 38、上大部分陰影都是這么制作的。
  39、下面將它轉換為智能對象并添加一個高斯模糊。
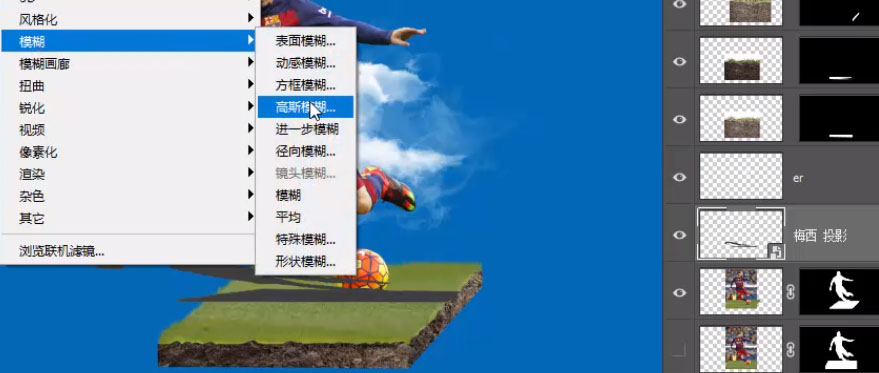
 40、將這個圖層的混合模式設置為正片疊底,不透明度降低一些。
  41、這里老樣子我們按住Ctrl+左鍵單擊獲得選區。
 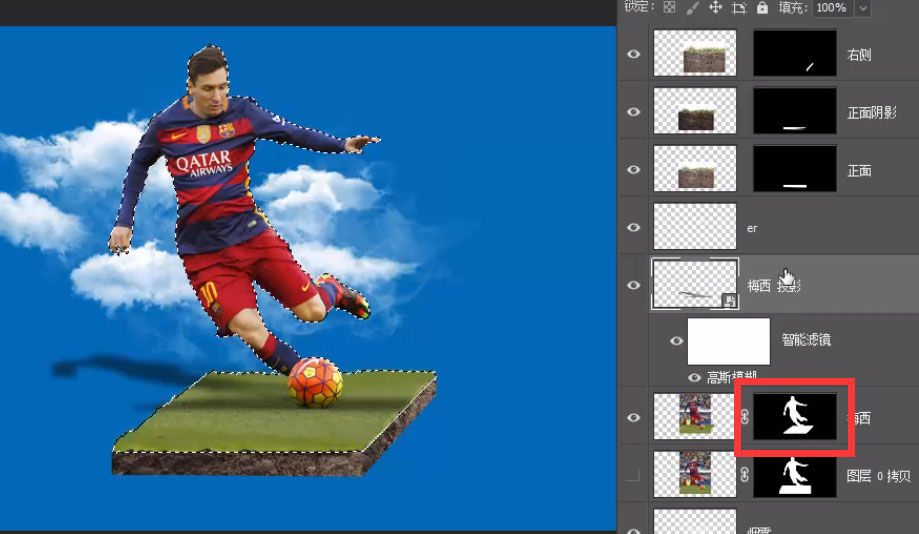 42、并添加給這個陰影圖層。
 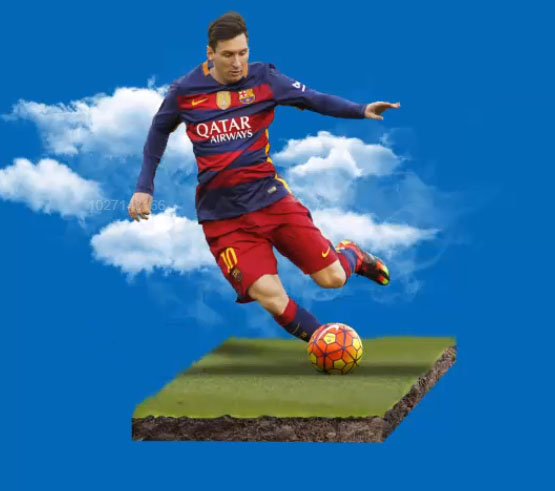 43、再使用黑色畫筆在蒙版中繪制,將不需要的部分隱藏掉。
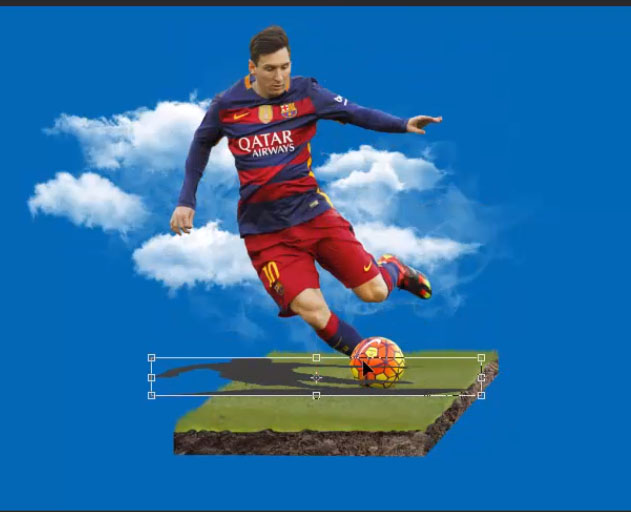
 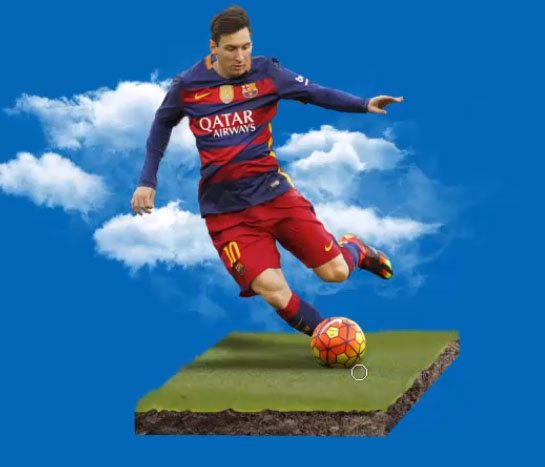 44、這樣一個逼真的陰影就制作完成了,那么做完人物的投影后。我們來制作草坪與地面間的投影,方法非常簡單,使用黑色柔邊圓畫筆在草坪的一角左鍵單擊,按住shift鍵到右邊的角再左鍵單擊。
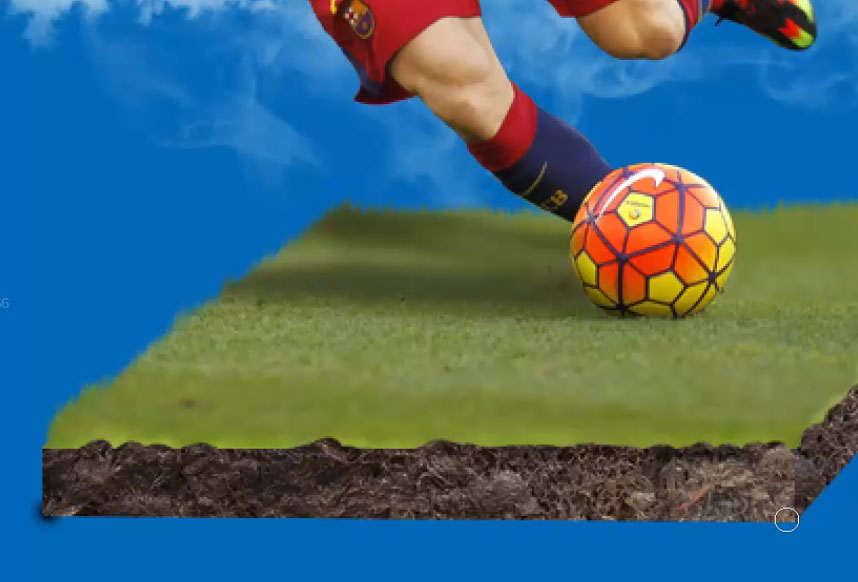
 45、就能繪制一根直線。
 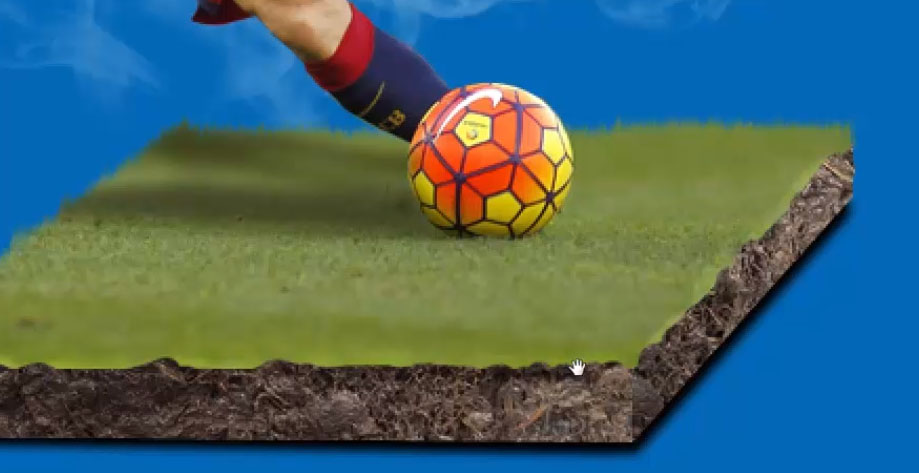 46、右側也用一樣的方法繪制。
 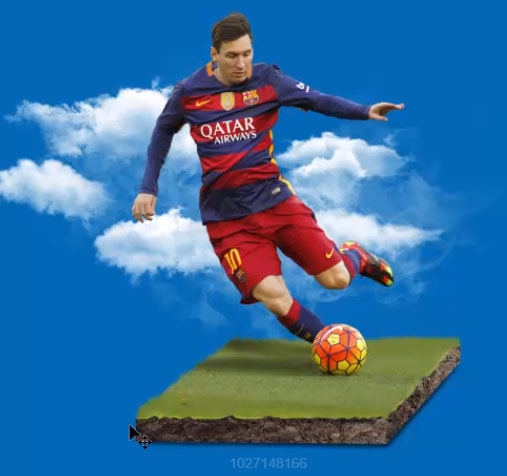 47、使用鋼筆工具繪制這樣一個選區。
 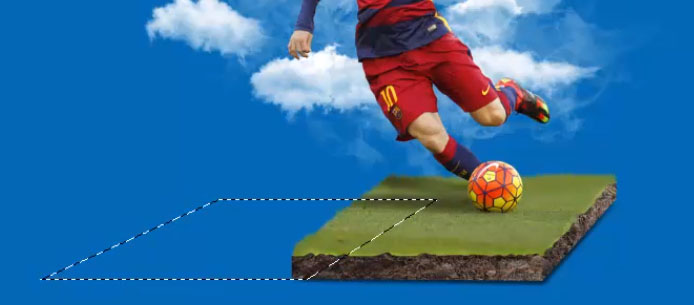 48、使用漸變工具,在這塊位置拉一個從黑到透明的漸變。
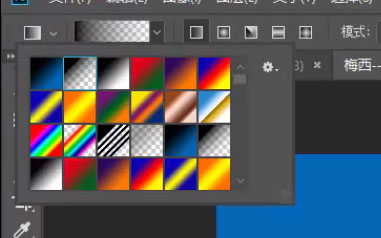
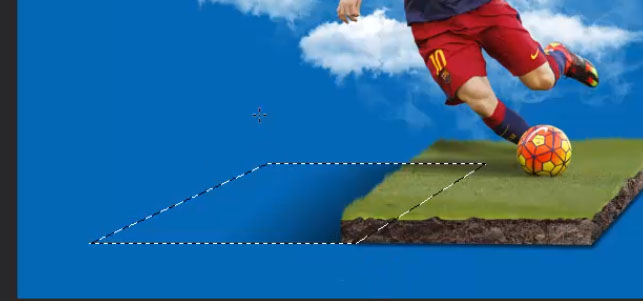 49、同樣使用高斯模糊。
  50、最后將圖層設置為正片疊底,降低不透明度。
 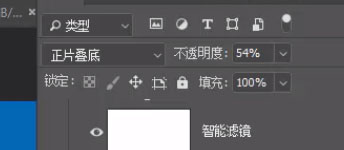 51、這樣草坪的漸變就完成了。
 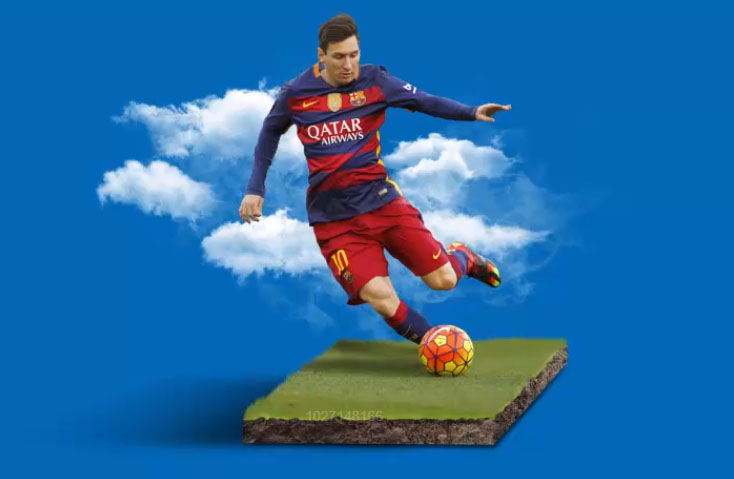 52、最后我們還要在人物身后添加一個亮光來突出人物,在人物身后新建一個圖層使用柔邊圓白色畫筆左鍵單擊繪制一下。
 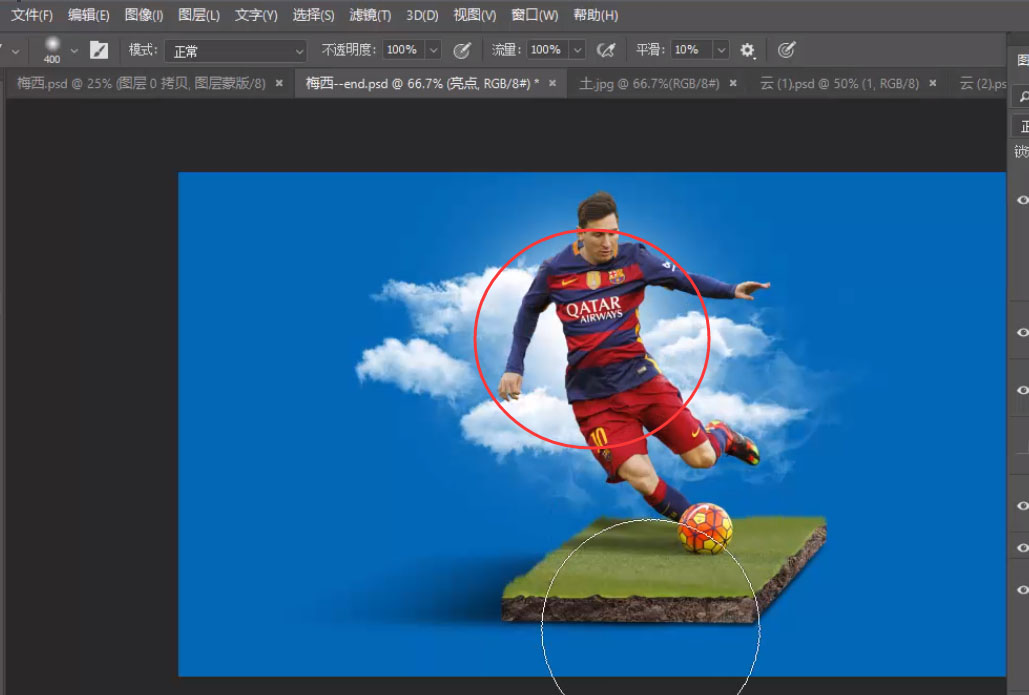 53、將圖層混合模式設置為疊加,就可以讓這個白光偏藍。
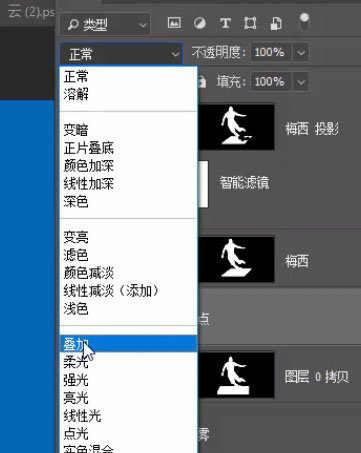
 54、終于來到最后一步。為畫面做整體調整,看過之前幾篇文章的同學都知道,橘子老師還是比較喜歡使用camera raw來調整畫面的整體效果的 ,一般選中頂層的圖層,按鍵盤上的Ctrl+Shift+Alt+E來合并所有的可見圖層。
 55、這樣就可以針對獲取的新圖層來做濾鏡調整,當然不要忘記先轉換為智能對象哦。
 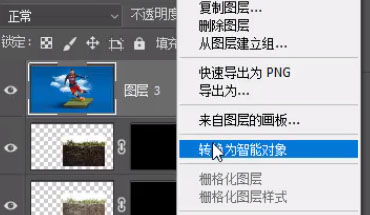 56、現在進入camera raw環節。
 上一篇:返回列表
相關推薦

設計彌散陰影效果海報圖片的PS實例

設計七夕情人節浪漫簡約海報的PS教

PS設計自然精華男士泥漿面膜產品電

設計夢幻夜空桔子banner海報圖片的

Photoshop制作唯美的生態礦泉水海報

海報設計,PS制作科技感失量海報照片設計教程

切割海報,PS制作創意十足的切割海報照片設計

卷邊效果,PS制作翻頁效果的捉妖記海報圖片設計


