ps處理海景婚紗照片淡雅的青紫色
2022-12-25 23:42:50
來源/作者: /
己有:45人學習過
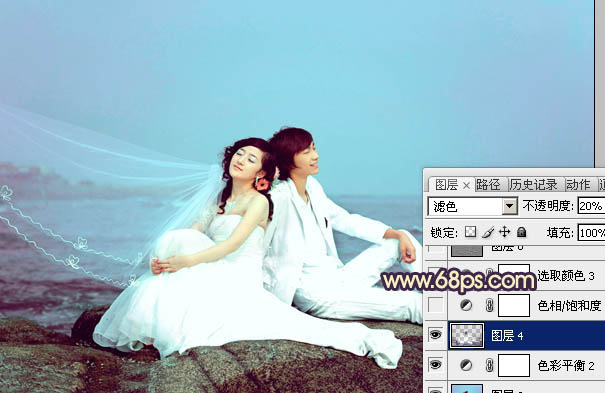
10、按Ctrl + Alt + ~ 調出高光選區,按Ctrl + Shift + I 反選,新建一個圖層填充暗紫色:#2D0A48,混合模式改為“濾色”,不透明度改為:20%,效果如下圖。
11、創建色相/飽和度調整圖層,適當降低全圖及青色飽和度,參數設置如圖22,23,確定后適當降低圖層不透明度,效果如圖24。

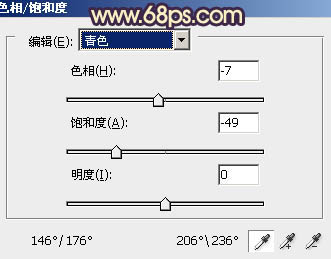
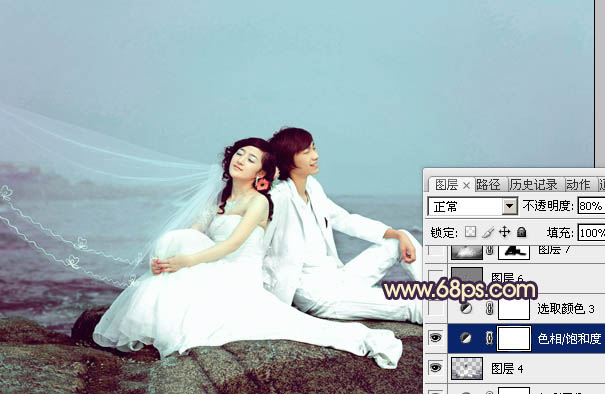
11、創建色相/飽和度調整圖層,適當降低全圖及青色飽和度,參數設置如圖22,23,確定后適當降低圖層不透明度,效果如圖24。
上一篇:ps調婚片流行的橙藍色
下一篇:PS調出金燦燦背景之替換顏色法
相關推薦

ps質感中性色調人物調色教程

ps淡藍色人物調色教程

PS成簽教程:你是我唯一的愛-----人
![[非主流PS教程] 非主流圖片制作教](https://img.lvups.com/d/file/titlepic/2022/12/25/ezubq003eyi.jpg)
[非主流PS教程] 非主流圖片制作教

ps調出高級復古歐美色調教程

PS夜景美化:調出唯美藍色夜景燈光照片效果

調出絢麗藍天白云山水風景圖片的PS教程

調出金色晨曦森林兒童背影照片的PS教程


