用Photoshop制作中秋賀卡
2022-12-26 05:30:58
來源/作者: /
己有:52人學習過
6、把彩虹拖到賀卡的圖層里面,按Ctrl + T適當縮小一點,效果如圖9。

<圖9>
7、在彩虹的下面新建一個圖層,用橢圓選框工具畫一個剛好跟彩虹差不多大小的正圓,然后選擇漸變工具,顏色設置如圖10,拉出圖11所示的徑向漸變,然后把圖層混合模式改為“飽和度”,效果如圖12。
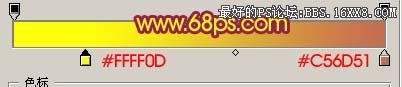
<圖10>
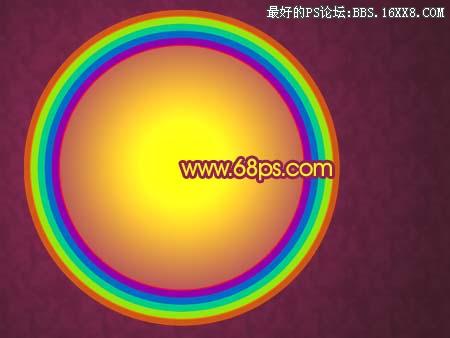
<圖11>

<圖12>
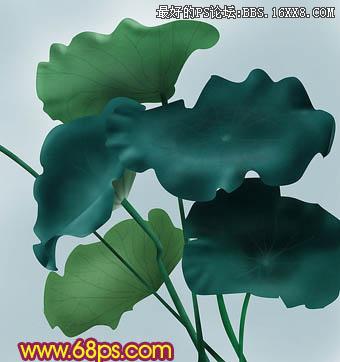
8、打開圖13-16所示的素材圖片,把主體勾出來,適當的調整下顏色和大小,放到彩虹圖層的下面,再配上一些花紋筆刷效果如圖17。這一步要用心去勾取素材圖片,部分素材需要調整色彩。
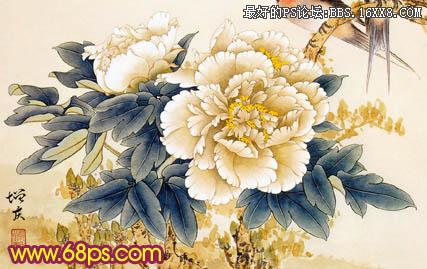
<圖13>
<圖14>
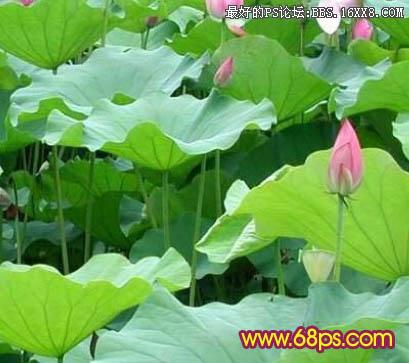
<圖15>

<圖16>

<圖17>
上一篇:印章制作,用PS制作逼真的印章
相關推薦

PS漸變紋理背景

ps制作iphone亞麻布紋背景
ps設計制作墜落的隕石教程

PS制作恐怖雨夜場景圖

圖片變清晰,使用PS讓模糊圖片變清晰的方法教程

PS調出晶瑩潔白膚色商業人像照片效果

PS調出唯美金黃色樹葉背景甜美女生照片

調出高清質感暗色草原風景圖片的PS教程


