Photoshop照片處理后期:決戰灰蒙蒙
2022-12-26 02:05:29
來源/作者: /
己有:19人學習過
Photoshop照片處理后期:決戰灰蒙蒙Photoshopzhao pian chu li hou qi :jue zhan hui meng meng
作者:d4834410 (漁骨頭) 教程來源:中國教程網論壇
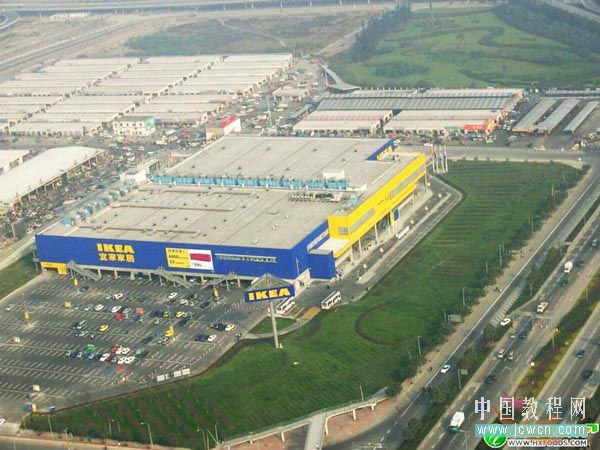
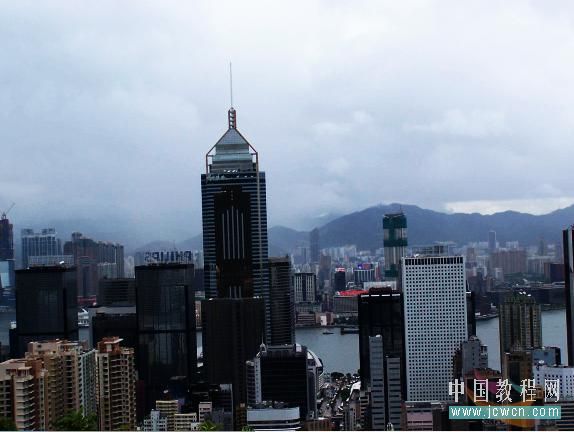
原圖1

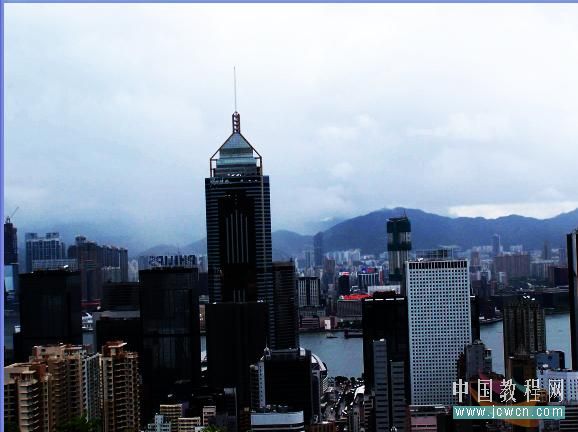
效果圖1
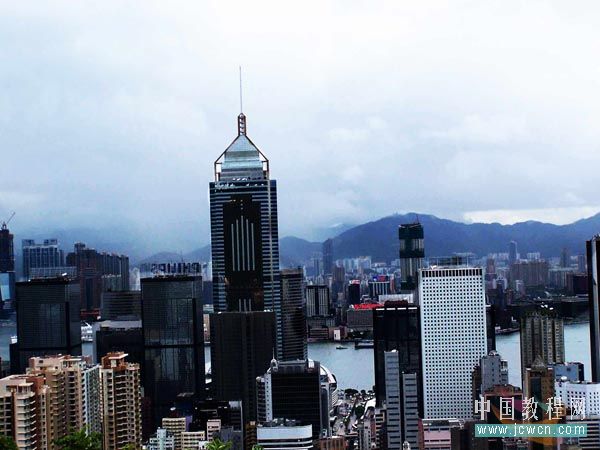
原圖2

效果圖2
本新聞共3
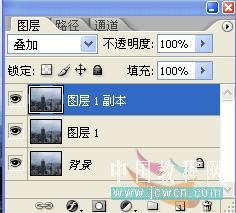
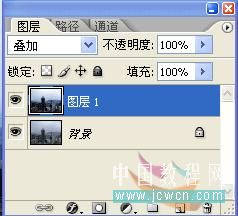
第一張圖很好處理,首先把原圖復制一份,模式為疊加之后,再把圖層1 復制一份,圖層模式也為疊加
這樣灰蒙蒙的效果就沒有了。
下面是2號圖
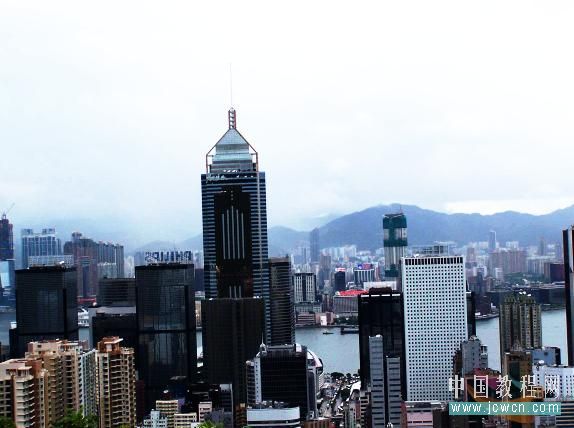
原圖2比較難處理一些,首先,把圖層復制一份,模式為疊加,如圖看看效果怎么樣
效果如圖
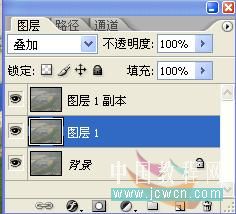
你會發現,整體沒那么灰了,可是房屋變黑了." /> 不要緊,再把層1復制,模式為疊加 如圖
合并層1 和 層2, 如圖
效果如圖
本新聞共3
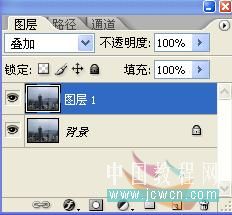
把合成的圖層復制一份,模式為濾色,如圖
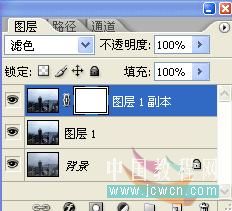
是不是沒有那么黑了
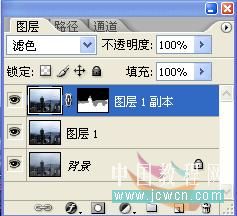
你會發現,天空是白白一片,添加圖層蒙板,對天空進行擦除
也對適當對筆刷進行調整,對房屋進行擦除
如果你覺得還不夠光亮,你可以把濾色層按CTRL J復制一層,適當降低不透明度
大公告成了 ,現在你可以為你的朋友的照片消[灰蒙蒙]了%^" />
他(她)們會好奇的問你:怎么做的?
 簡單的,我們教你,深奧的,你來分享,非主流照片|qqkongjian|feizhuliu|tupian|luntan|psjiaocheng|bishua|ruanjian|chajian|xiazai|psxiazai|qqkongjiandaima
作者:d4834410 (漁骨頭) 教程來源:中國教程網論壇
原圖1
效果圖1
原圖2
效果圖2
本新聞共3
第一張圖很好處理,首先把原圖復制一份,模式為疊加之后,再把圖層1 復制一份,圖層模式也為疊加
這樣灰蒙蒙的效果就沒有了。
下面是2號圖
原圖2比較難處理一些,首先,把圖層復制一份,模式為疊加,如圖看看效果怎么樣
效果如圖
你會發現,整體沒那么灰了,可是房屋變黑了." /> 不要緊,再把層1復制,模式為疊加 如圖
合并層1 和 層2, 如圖
效果如圖
本新聞共3
把合成的圖層復制一份,模式為濾色,如圖
是不是沒有那么黑了
你會發現,天空是白白一片,添加圖層蒙板,對天空進行擦除
也對適當對筆刷進行調整,對房屋進行擦除
如果你覺得還不夠光亮,你可以把濾色層按CTRL J復制一層,適當降低不透明度
大公告成了 ,現在你可以為你的朋友的照片消[灰蒙蒙]了%^" />
他(她)們會好奇的問你:怎么做的?
簡單的,我們教你,深奧的,你來分享,非主流照片|qqkongjian|feizhuliu|tupian|luntan|psjiaocheng|bishua|ruanjian|chajian|xiazai|psxiazai|qqkongjiandaima上一篇:ps增強逆光人物臉部細節
相關推薦

Photoshop快速修復強光照射的非主

Photoshop通道修復偏藍照片的方法

祁連山教你四種用photoshop優化模

調整照片過爆問題<比較容易控制,簡單

一起來學習PS魔棒(魔術棒)摳圖原理
四種PS摳圖完全攻略教程

Photoshop通道摳圖入門通俗講解

PS怎么用通道摳出超細頭發教程


