photoshop網(wǎng)頁設(shè)計(jì): 圓形水晶按鈕
2022-12-26 14:23:11
來源/作者: /
己有:7人學(xué)習(xí)過
6、新建 一個(gè)圖層,用橢圓選框工具拉一個(gè)稍小的正圓,如圖10,然后填充白色,圖層不透明度改為:15%, 加上圖層蒙版用黑色畫筆把下半部分擦掉,如圖11。
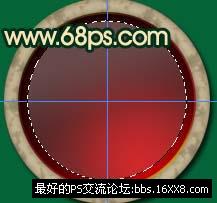
圖10
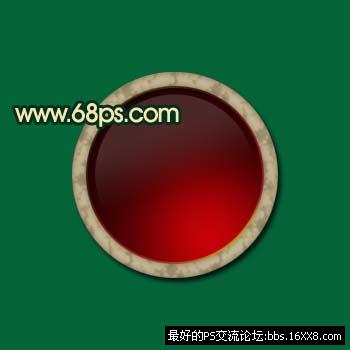
圖11 7、新建一個(gè)圖層,前景顏色設(shè)置為:#B50207,用畫筆工具隨意的刷上一些小點(diǎn),如圖12, 執(zhí)行菜單:濾鏡 模糊 徑向模糊,參數(shù)設(shè)置如圖13,確定后再加上圖層蒙版,把一些不要的地方 用黑色畫筆擦掉,效果圖圖14。
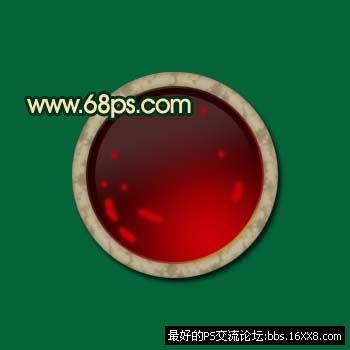
圖12
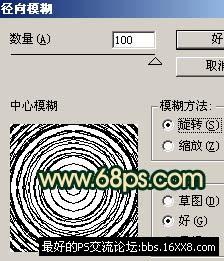
圖13
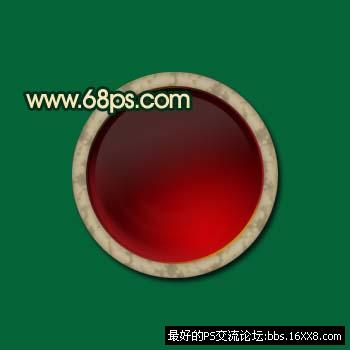
圖14 8、新 建一個(gè)圖層,填充黑色,執(zhí)行菜單:濾鏡 渲染 鏡頭光暈,參數(shù)設(shè)置如圖15,確定后再執(zhí)行菜單 :濾鏡 扭曲 極坐標(biāo),參數(shù)設(shè)置如圖16,效果如圖17。
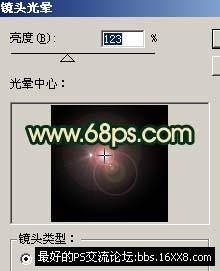
圖15
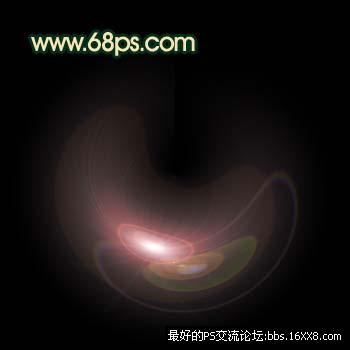
圖16
圖17 9、把濾鏡后的高光圖層模式改為變亮,適當(dāng)?shù)淖冃魏徒?度,放到正圓的右下角,加上圖層蒙版把多余的部分擦掉,效果如圖18。

圖18
10、同樣的方法制作出左 上角的高光。
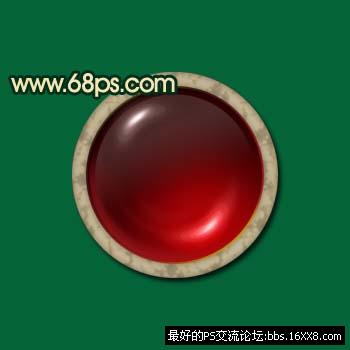
圖19 11、新建一個(gè)圖層加上一些反光和星星筆刷,如圖20。
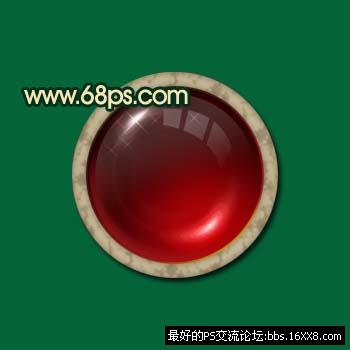
圖20
12、最后加上小裝飾,再加上自己喜愛的照片,完成最終效果。
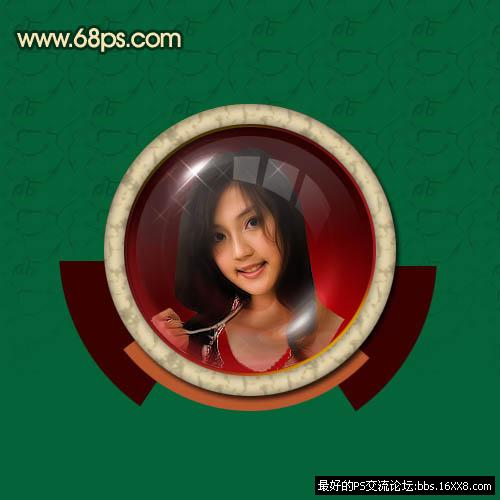
圖21
搜索更多相關(guān)主題的帖子: ps網(wǎng)頁設(shè)計(jì) photoshop教程
圖10
圖11 7、新建一個(gè)圖層,前景顏色設(shè)置為:#B50207,用畫筆工具隨意的刷上一些小點(diǎn),如圖12, 執(zhí)行菜單:濾鏡 模糊 徑向模糊,參數(shù)設(shè)置如圖13,確定后再加上圖層蒙版,把一些不要的地方 用黑色畫筆擦掉,效果圖圖14。
圖12
圖13
圖14 8、新 建一個(gè)圖層,填充黑色,執(zhí)行菜單:濾鏡 渲染 鏡頭光暈,參數(shù)設(shè)置如圖15,確定后再執(zhí)行菜單 :濾鏡 扭曲 極坐標(biāo),參數(shù)設(shè)置如圖16,效果如圖17。
圖15
圖16
圖17 9、把濾鏡后的高光圖層模式改為變亮,適當(dāng)?shù)淖冃魏徒?度,放到正圓的右下角,加上圖層蒙版把多余的部分擦掉,效果如圖18。
圖18
10、同樣的方法制作出左 上角的高光。
圖19 11、新建一個(gè)圖層加上一些反光和星星筆刷,如圖20。
圖20
12、最后加上小裝飾,再加上自己喜愛的照片,完成最終效果。
圖21
搜索更多相關(guān)主題的帖子: ps網(wǎng)頁設(shè)計(jì) photoshop教程
標(biāo)簽(TAG) 按鈕圖標(biāo)
相關(guān)推薦

簡易畫貓頭鷹的步驟 畫貓頭鷹的簡

幼兒簡筆畫烏鴉的畫法 教你如何畫

如何簡單的畫一條魚 5步畫魚簡筆畫

ps切片技巧

Photoshop制作清涼的水中展示網(wǎng)頁

Photoshop制作大氣的網(wǎng)頁設(shè)計(jì)主頁

陰影教程,超詳細(xì)的各種陰影的制作方法

Photoshop制作炫酷的PK類網(wǎng)站Banner


