用photoshop制作photoshop風(fēng)格LOGO圖標(biāo)
2022-12-26 13:44:02
來源/作者: /
己有:3人學(xué)習(xí)過
第5步)添加你需要的文字,注意選擇一個合適的字體。
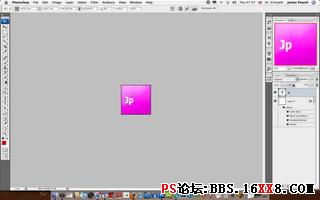
第6步)調(diào)整字體的大小,注意上下左右都要留出一定的空間。
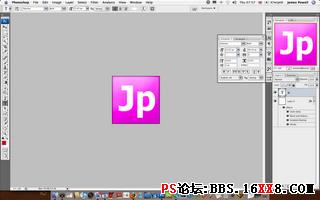
第7步)連接字體和圖象圖層。
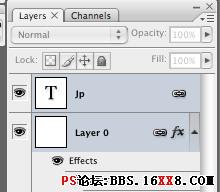
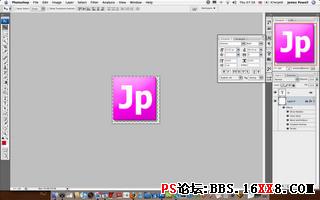
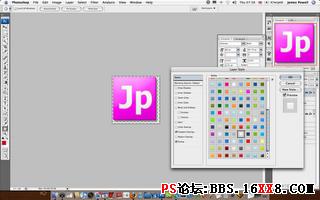
第8步)調(diào)整圖象大小,左邊和上邊減少2 PX,右邊和下邊減少8 PX,并添加陰影。
第9步)在圖象底層增加一個新的圖層,背景添加為白色,然后再添加一個合適的Wed 2.0樣式,作為背景。
第10步)好了大功告成,比較一下看看我們誰做的比較好呢?


標(biāo)簽(TAG) logo教程
相關(guān)推薦

簡易畫貓頭鷹的步驟 畫貓頭鷹的簡

幼兒簡筆畫烏鴉的畫法 教你如何畫

如何簡單的畫一條魚 5步畫魚簡筆畫

ps切片技巧

Photoshop制作清涼的水中展示網(wǎng)頁

Photoshop制作大氣的網(wǎng)頁設(shè)計主頁

陰影教程,超詳細(xì)的各種陰影的制作方法

Photoshop制作炫酷的PK類網(wǎng)站Banner


