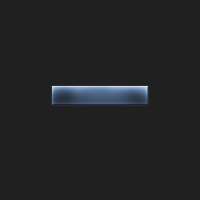
利用PhotoShop制作平滑按鈕
2022-12-26 13:48:22
來源/作者: /
己有:11人學(xué)習(xí)過
利用PhotoShop制作平滑按鈕步驟 1
![](https://img.lvups.com/d/file/bigpic/2022/12/26/jyooakljwyx.gif)
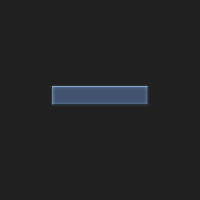
新建一200*200的圖像,背景為黑色。
設(shè)置前景色為#41536E,使用矩形選框工具建立一矩形選區(qū),用前景色填充。
步驟 2
![](https://img.lvups.com/d/file/bigpic/2022/12/26/dlgutegfmag.gif)
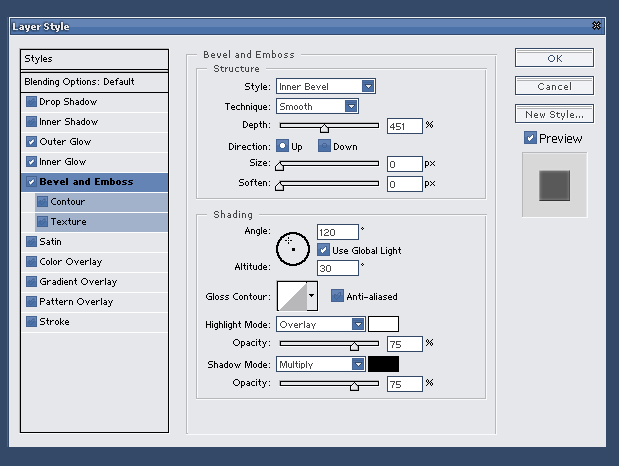
菜單 圖層 >> 圖層樣式 >> 混合選項 >> 外發(fā)光,并按如下設(shè)置:
混合模式 >> 濾色
方法 >> 柔和
方式 >> 內(nèi)斜面
![](https://img.lvups.com/d/file/bigpic/2022/12/26/i1ycrl0dgnk.gif)
步驟 3
![](https://img.lvups.com/d/file/bigpic/2022/12/26/gi22sadnu1j.gif)
![](https://img.lvups.com/d/file/bigpic/2022/12/26/zdsxibghwjt.gif)
![](https://img.lvups.com/d/file/bigpic/2022/12/26/muzseqrt2zb.gif)
創(chuàng)建新圖層,按下CTRL并點(diǎn)擊按鈕層獲得選區(qū),設(shè)置前景色為白色,并用前景色填充。使用矩形選區(qū)工具選
擇白色矩形的下方(大約1/2)刪除,降低該層不透明度為15%。
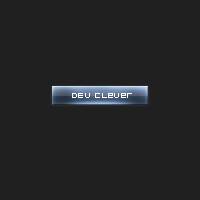
步驟 6
![](https://img.lvups.com/d/file/bigpic/2022/12/26/h0wgs1gdntz.gif)
![]()
![](https://img.lvups.com/d/file/bigpic/2022/12/26/jyooakljwyx.gif)
新建一200*200的圖像,背景為黑色。
設(shè)置前景色為#41536E,使用矩形選框工具建立一矩形選區(qū),用前景色填充。
步驟 2
![](https://img.lvups.com/d/file/bigpic/2022/12/26/dlgutegfmag.gif)
菜單 圖層 >> 圖層樣式 >> 混合選項 >> 外發(fā)光,并按如下設(shè)置:
混合模式 >> 濾色
方法 >> 柔和
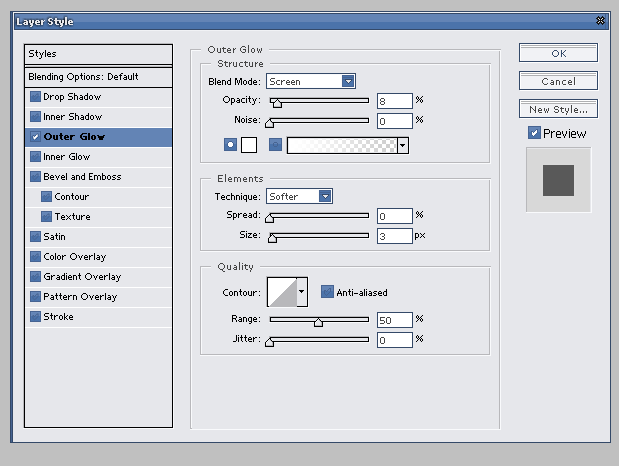
內(nèi)發(fā)光,并按如下設(shè)置:
混合模式 >> 疊加
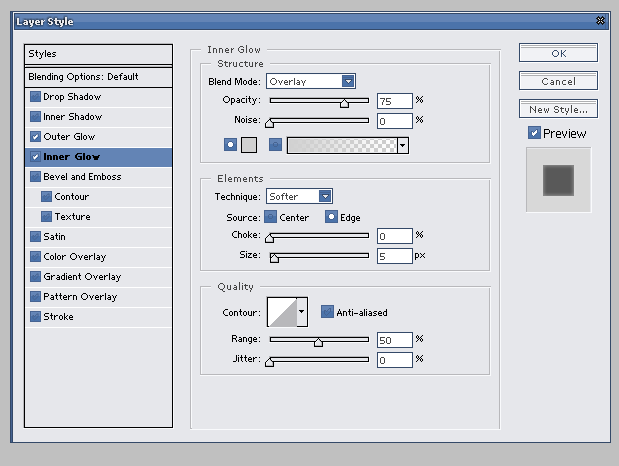
方式 >> 內(nèi)斜面
![](https://img.lvups.com/d/file/bigpic/2022/12/26/i1ycrl0dgnk.gif)
步驟 3
![](https://img.lvups.com/d/file/bigpic/2022/12/26/gi22sadnu1j.gif)
使用“加深工具”涂抹按鈕兩側(cè);利用“減淡工具”使按鈕顏色過渡更加平滑。
步驟 4
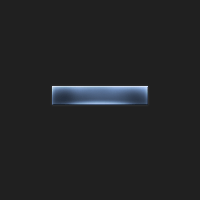
![](https://img.lvups.com/d/file/bigpic/2022/12/26/zdsxibghwjt.gif)
創(chuàng)建新的圖層,按下CTRL并在圖層面板點(diǎn)擊按鈕層,選擇軟筆刷用白色涂抹選區(qū)下方,設(shè)置混合模式為“疊
加” 復(fù)制圖層,并設(shè)置該圖層不透明度為40%。
步驟 5
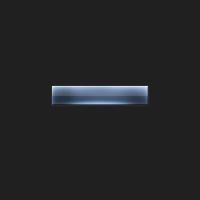
![](https://img.lvups.com/d/file/bigpic/2022/12/26/muzseqrt2zb.gif)
創(chuàng)建新圖層,按下CTRL并點(diǎn)擊按鈕層獲得選區(qū),設(shè)置前景色為白色,并用前景色填充。使用矩形選區(qū)工具選
擇白色矩形的下方(大約1/2)刪除,降低該層不透明度為15%。
步驟 6
![](https://img.lvups.com/d/file/bigpic/2022/12/26/h0wgs1gdntz.gif)