Photoshop簡單繪制精致透明小房子圖標
2022-12-26 08:31:59
來源/作者: /
己有:84人學習過
Photoshop簡單繪制精致透明小房子圖標這個教程教給大家如何制作一個精致的透明小房子圖標,可以用到我們的站點上面,具有一定實用性。

1、首先我們制作一個400 x 300 px,然后使用白色到淺藍色進行漸變填充背景:

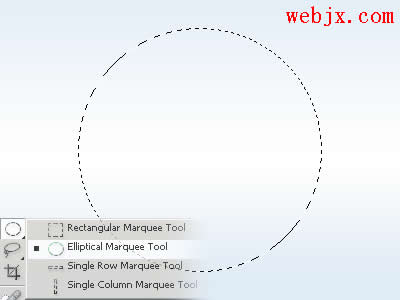
2、新建立一個圖層,然后使用橢圓工具繪制一個正圓:
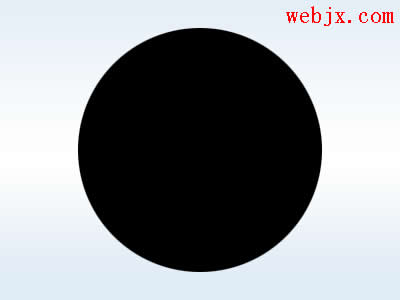
填充為黑色:
然后設置圖層樣式:
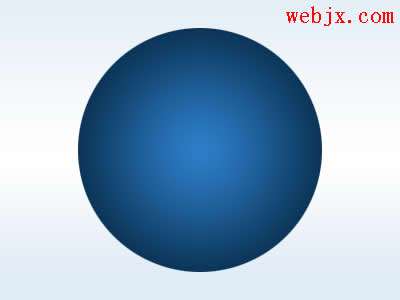
效果如下:
3、然后再使用橢圓工具選擇一個較小的區域:
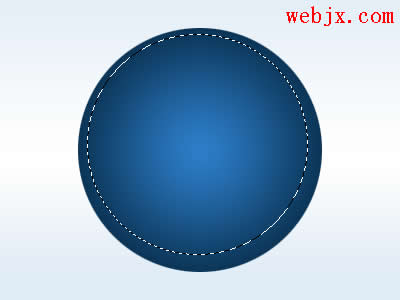
創建一個圖層,設置所選區域進行漸變填充:
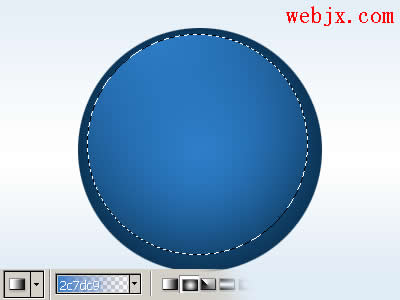
然后在左上方繪制一個正圓:
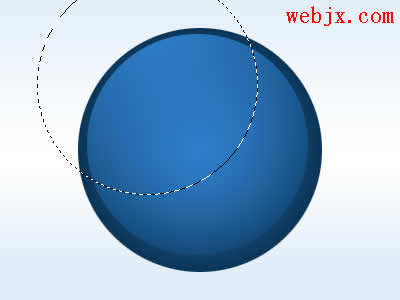
對所選區域進行反相,然后按Del刪除:

設置模式為濾色:

最后在右下方添加一些漸變疊加效果:

4、下面繪制小房子形狀,選擇自定義形狀工具:
確認下面的選項:
然后選擇小房子圖形:
設置如下:

然后進行繪制:

用#9bcae5 顏色填充小房子圖標,然后使用下面圖層樣式:
最終效果如下:

![]()
1、首先我們制作一個400 x 300 px,然后使用白色到淺藍色進行漸變填充背景:
2、新建立一個圖層,然后使用橢圓工具繪制一個正圓:
填充為黑色:
然后設置圖層樣式:
效果如下:
3、然后再使用橢圓工具選擇一個較小的區域:
創建一個圖層,設置所選區域進行漸變填充:
然后在左上方繪制一個正圓:
對所選區域進行反相,然后按Del刪除:
設置模式為濾色:
最后在右下方添加一些漸變疊加效果:
4、下面繪制小房子形狀,選擇自定義形狀工具:
確認下面的選項:
然后選擇小房子圖形:
設置如下:
然后進行繪制:
用#9bcae5 顏色填充小房子圖標,然后使用下面圖層樣式:
最終效果如下:
下一篇:PS紅棗牛奶廣告海報
相關推薦

如何簡單的畫一條魚 5步畫魚簡筆畫

PS仿制圖章工具圖標變成了十字狀怎
PS中快速新建一個和已打開文件大小

Adobe photoshop CS3全套27個新圖

圖片變清晰,使用PS讓模糊圖片變清晰的方法教程

PS調出晶瑩潔白膚色商業人像照片效果

PS調出唯美金黃色樹葉背景甜美女生照片

調出高清質感暗色草原風景圖片的PS教程


