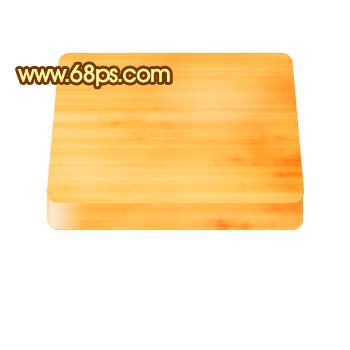
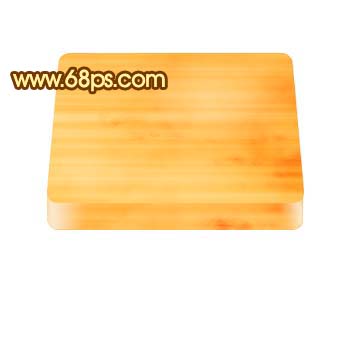
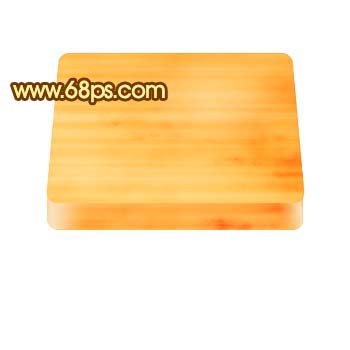
Photoshop制作教程:制作一張木質的小桌子
2022-12-26 08:11:56
來源/作者: /
己有:125人學習過
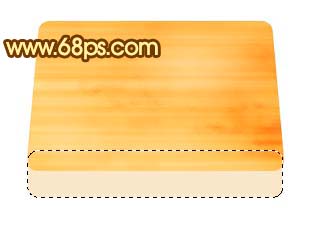
9、調出橢圓矩形選區,新建一個圖層填充顏色:#FAE7CA,加上圖層蒙版只保留左邊角部分,其它部分用黑色畫筆擦掉,如圖14。
![](https://img.lvups.com/d/file/bigpic/2022/12/26/jc2z2pags40.jpg)
<圖13>
![](https://img.lvups.com/d/file/bigpic/2022/12/26/krotm2o5we0.jpg)
<圖14>
10、同樣的方法制作出右邊角反光部分。
![](https://img.lvups.com/d/file/bigpic/2022/12/26/0m0j4hoxipw.jpg)
<圖14> 11、用加深工具稍微把木質部分加深一點如圖15。
![](https://img.lvups.com/d/file/bigpic/2022/12/26/qcfzoaycxlq.jpg)
<圖15>
標簽(TAG) 制作實例 Photoshop制作教程 制作一張木質 ps小桌子
下一篇:七夕海報,PS制作浪漫七夕海報