Photoshop打造夢幻的彩色潮流圓環壁紙
2022-12-26 06:53:10
來源/作者: /
己有:30人學習過
15、再把原小白點圖層的不透明度改為:40%,效果如下圖。
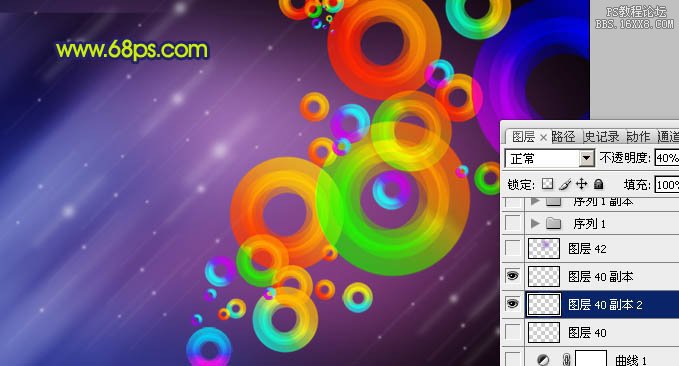
<圖20>
16、根據自己的喜好,在小圓圈上面裝飾一些星光,效果如下圖。
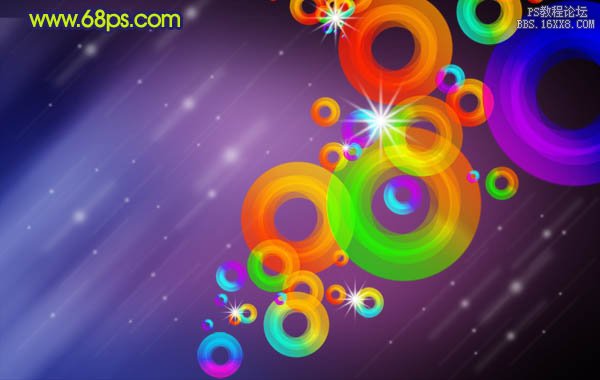
<圖21>
17、再圖層的最上面創建曲線調整圖層,對RGB及藍色進行調整,參數設置如圖22,效果如圖23。
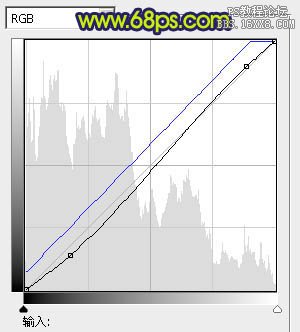
<圖22>
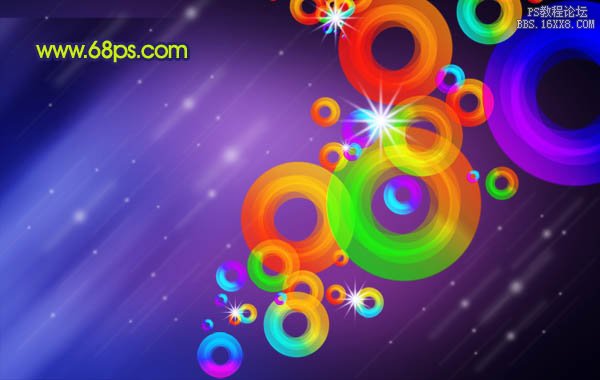
<圖23>
<圖20>
16、根據自己的喜好,在小圓圈上面裝飾一些星光,效果如下圖。
<圖21>
17、再圖層的最上面創建曲線調整圖層,對RGB及藍色進行調整,參數設置如圖22,效果如圖23。
<圖22>
<圖23>
上一篇:海報教程,文字海報設計視頻教程
下一篇:數字星云制作
相關推薦

ps濾鏡制作漸變光線壁紙教程

利用Photoshop設計圣誕主題壁紙教

汽車壁紙,設計黑白動感保時捷壁紙教

Photoshop繪制精美的水下光線壁紙

圖片變清晰,使用PS讓模糊圖片變清晰的方法教程

PS調出晶瑩潔白膚色商業人像照片效果

PS調出唯美金黃色樹葉背景甜美女生照片

調出高清質感暗色草原風景圖片的PS教程


