ps打造好看的紅色疊加光束
2022-12-26 06:32:46
來源/作者: /
己有:13人學習過
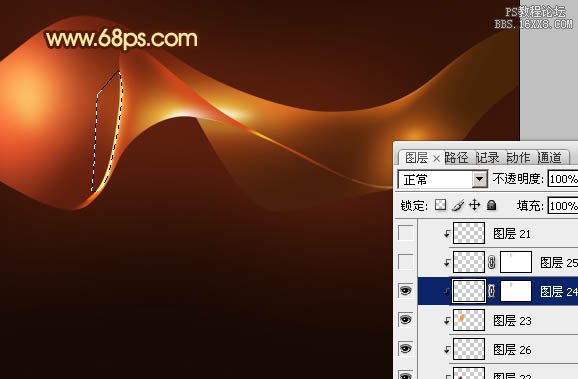
24、新建一個圖層,用鋼筆勾出下圖所示的選區,羽化1個像素后填充橙黃色。
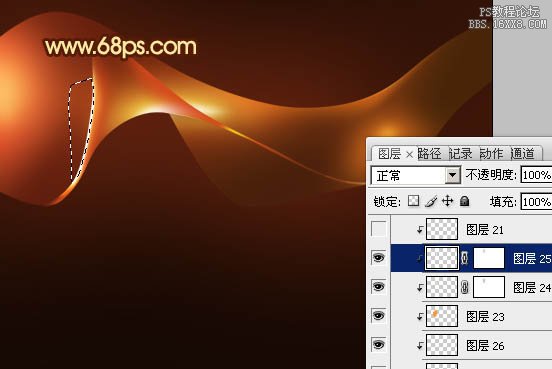
25、新建一個圖層,用鋼筆勾出下圖所示的選區,羽化1個像素后填充白色。
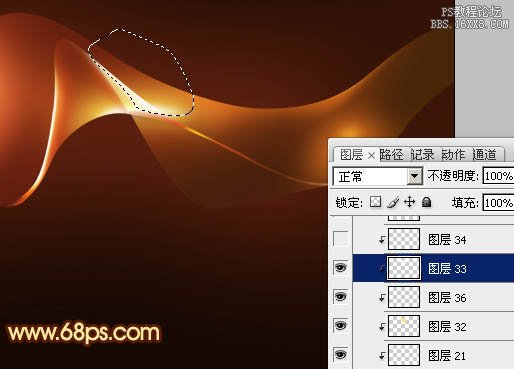
26、新建一個圖層,用鋼筆勾出下圖所示的選區,羽化3個像素后填充顏色:#FEF191。
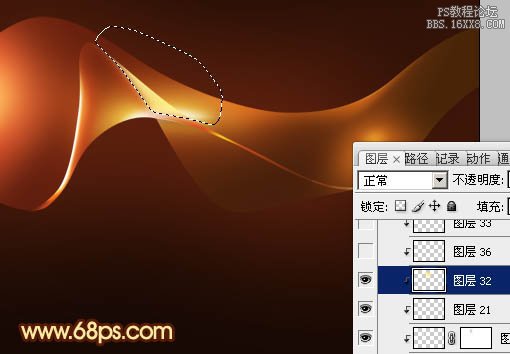
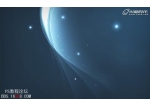
27、新建一個圖層,同上的方法制作高光及暗調部分,過程如圖30,31,效果如圖32。


25、新建一個圖層,用鋼筆勾出下圖所示的選區,羽化1個像素后填充白色。
26、新建一個圖層,用鋼筆勾出下圖所示的選區,羽化3個像素后填充顏色:#FEF191。
27、新建一個圖層,同上的方法制作高光及暗調部分,過程如圖30,31,效果如圖32。
相關推薦

logo制作實例:金屬鳳凰logo

腐蝕LOGOPS制作實例

汽車海報,汽車宣傳廣告海報制作實例
Photoshop制作超簡潔的光束壁紙

圖片變清晰,使用PS讓模糊圖片變清晰的方法教程

PS調出晶瑩潔白膚色商業人像照片效果

PS調出唯美金黃色樹葉背景甜美女生照片

調出高清質感暗色草原風景圖片的PS教程


