photoshop設(shè)計(jì)清涼壁紙
2022-12-26 06:05:57
來源/作者: /
己有:10人學(xué)習(xí)過
8、把樹葉多復(fù)制幾份,適當(dāng)調(diào)整好位置和大小,如圖13,14。
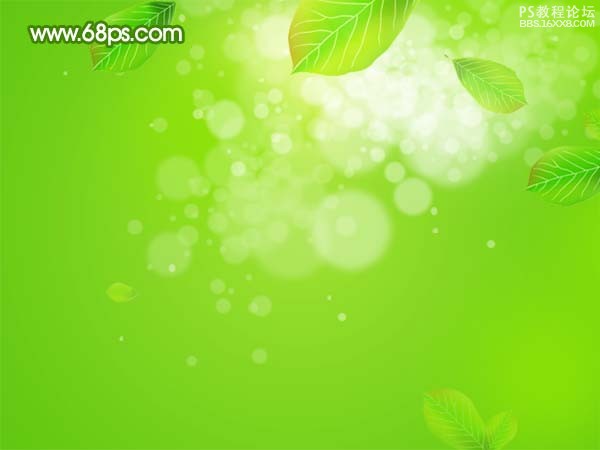
圖13

圖14
9、打開圖15所示的泡泡素材,拖進(jìn)來,效果如圖16。

圖15
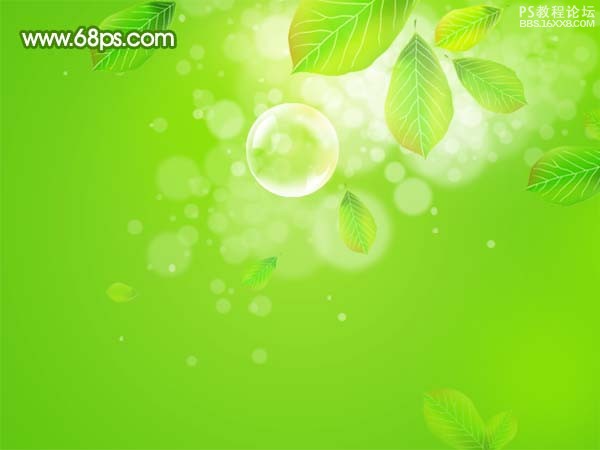
圖16
, 10、把泡泡多復(fù)制幾份,稍微調(diào)整好大小和位置,如圖17。
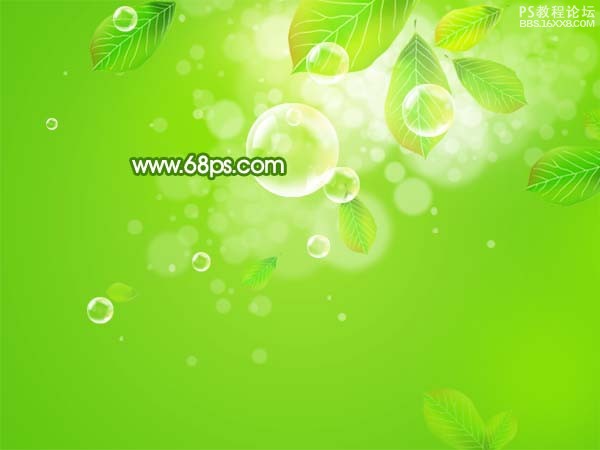
圖17
11、新建一個(gè)圖層,裝飾一些星光筆刷,如圖18。

圖18
, 12、新建一個(gè)圖層,打上裝飾文字。
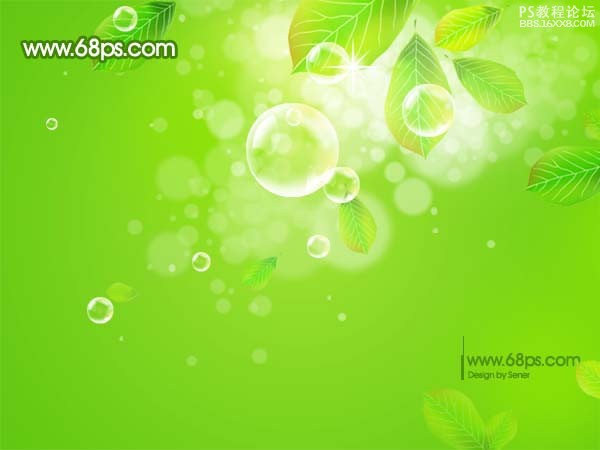
圖19
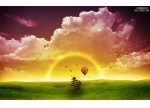
13、最后整體調(diào)整下細(xì)節(jié),完成最終效果。

圖20
圖13
圖14
9、打開圖15所示的泡泡素材,拖進(jìn)來,效果如圖16。
圖15
圖16
, 10、把泡泡多復(fù)制幾份,稍微調(diào)整好大小和位置,如圖17。
圖17
11、新建一個(gè)圖層,裝飾一些星光筆刷,如圖18。
圖18
, 12、新建一個(gè)圖層,打上裝飾文字。
圖19
13、最后整體調(diào)整下細(xì)節(jié),完成最終效果。
圖20
相關(guān)推薦

photoshop設(shè)計(jì)時(shí)尚泡泡壁紙教程

ps設(shè)計(jì)制作向日葵壁紙教程

ps制作很不錯(cuò)的世界地圖壁紙教程

圖片變清晰,使用PS讓模糊圖片變清晰的方法教程

PS調(diào)出晶瑩潔白膚色商業(yè)人像照片效果

PS調(diào)出唯美金黃色樹葉背景甜美女生照片

調(diào)出高清質(zhì)感暗色草原風(fēng)景圖片的PS教程


