PS快速制作精美盒子包裝
2022-12-26 05:40:02
來源/作者: /
己有:17人學(xué)習(xí)過
PS快速制作精美盒子包裝首先找到自己喜歡的一副圖片:

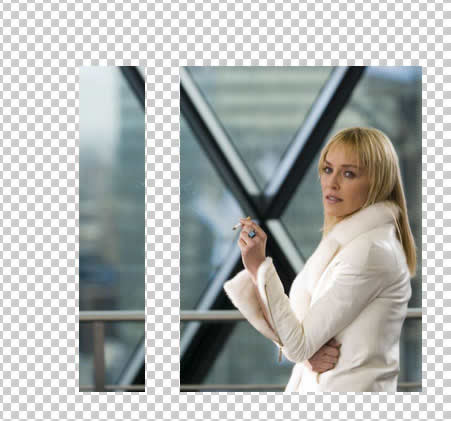
用Photoshop打開原圖,然后剪切為下面的兩個(gè)形狀,分別放在兩個(gè)圖層里:
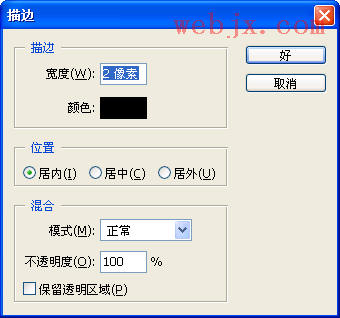
然后分別為兩個(gè)圖層進(jìn)行描邊:
然后執(zhí)行“編輯”->“變換”->“扭曲”
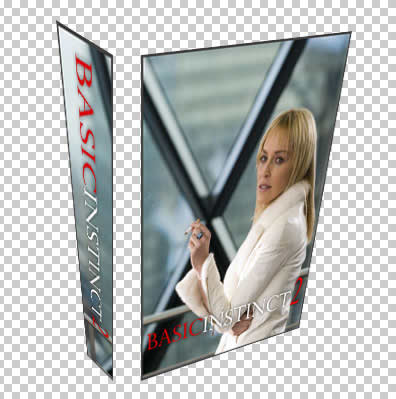
然后用移動(dòng)工具使兩個(gè)圖相接:
 下面我們把頂部給補(bǔ)上,你可以使用另外一張圖,也可以像下面一樣繪制:
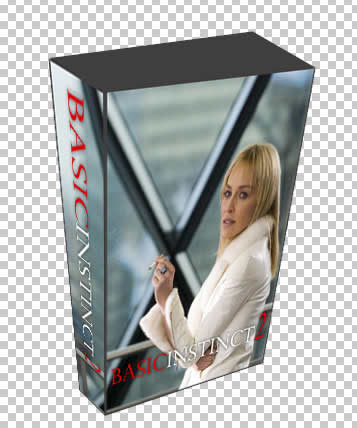
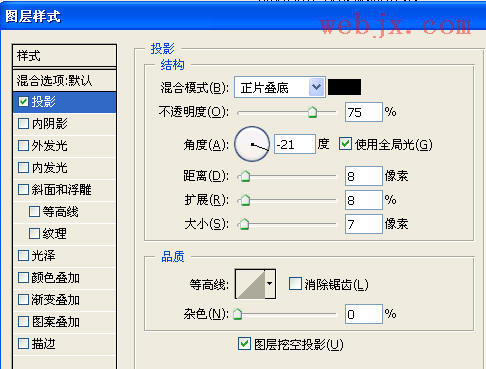
合并這三個(gè)圖層,然后添加一白色背景的圖層,然后添加投影效果
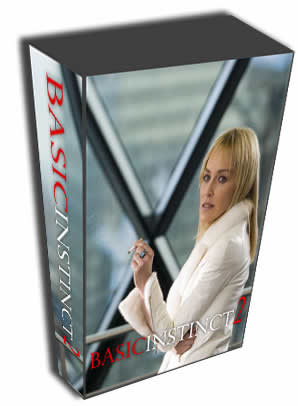
最終效果:
 簡(jiǎn)單的,我們教你,深?yuàn)W的,你來分享
用Photoshop打開原圖,然后剪切為下面的兩個(gè)形狀,分別放在兩個(gè)圖層里:
然后分別為兩個(gè)圖層進(jìn)行描邊:
然后執(zhí)行“編輯”->“變換”->“扭曲”
然后用移動(dòng)工具使兩個(gè)圖相接:
下面我們把頂部給補(bǔ)上,你可以使用另外一張圖,也可以像下面一樣繪制:合并這三個(gè)圖層,然后添加一白色背景的圖層,然后添加投影效果
最終效果:
簡(jiǎn)單的,我們教你,深?yuàn)W的,你來分享相關(guān)推薦

ps制作iphone亞麻布紋背景
ps設(shè)計(jì)制作墜落的隕石教程

PS制作恐怖雨夜場(chǎng)景圖
PS水晶鈕扣與徽章制作教程

圖片變清晰,使用PS讓模糊圖片變清晰的方法教程

PS調(diào)出晶瑩潔白膚色商業(yè)人像照片效果

PS調(diào)出唯美金黃色樹葉背景甜美女生照片

調(diào)出高清質(zhì)感暗色草原風(fēng)景圖片的PS教程


