photoshop摳圖攻略:完全教程
2022-12-25 21:52:32
來源/作者: /
己有:43人學(xué)習(xí)過
十二,執(zhí)行細(xì)微處的調(diào)節(jié),獲得完成效果圖。

圖三十
技法三:混合色彩+蒙板
一,打開照片,并移到一幅背景照片,以供扣圖參考。
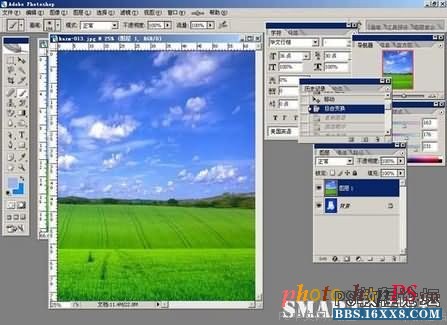
圖三1 二,拷貝背景層一份,并置于頂層;
圖三2
圖三十
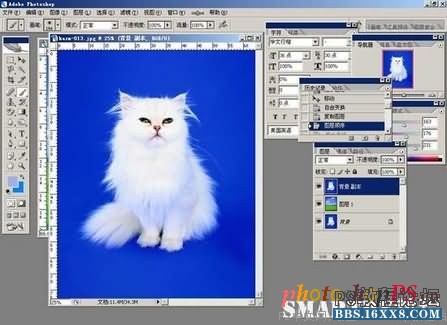
技法三:混合色彩+蒙板
一,打開照片,并移到一幅背景照片,以供扣圖參考。
圖三1 二,拷貝背景層一份,并置于頂層;
圖三2
標(biāo)簽(TAG) 其它摳圖 學(xué)photoshop
下一篇:ps巧妙的摳出白色透明的婚紗
相關(guān)推薦

零基礎(chǔ)學(xué)photoshop,18節(jié)課從小白到

用Photoshop去除圖片中的鋸齒

PS如何把與背景顏色相近帶反光的頭發(fā)摳出

Photoshop摳圖教程:摳出發(fā)絲并去除環(huán)境色技巧

去除修復(fù)雜亂頭發(fā)絲的PS人像修圖教程


