用ps給長發妹妹摳圖換背景
2022-12-25 21:40:50
來源/作者: /
己有:36人學習過
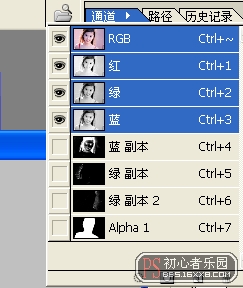
3、下面我們來摳飛散高光的頭發。我選擇了用綠色通道。復制綠色通道。分析左右兩個的顏色相差好多,我們分開來摳,調整色階如圖。用畫筆把要摳的部分以外涂黑。
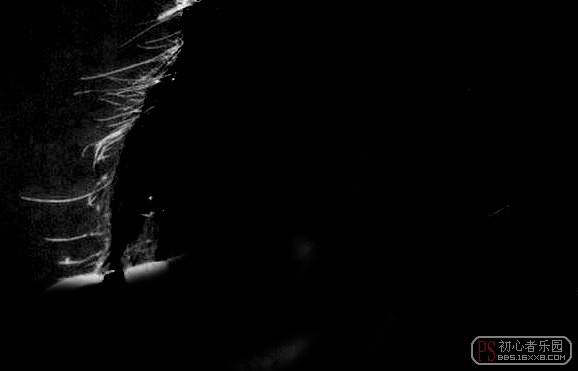
4、再復制一個綠色通道,同樣方法處理右邊頭發。
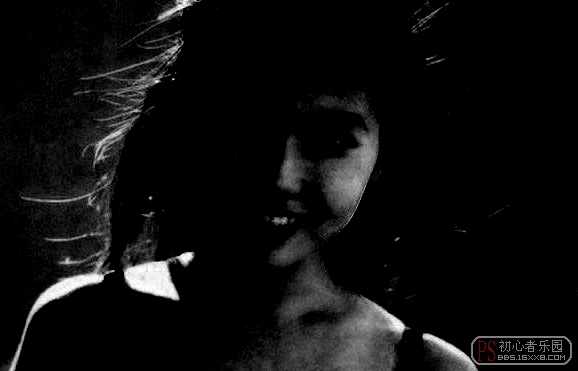
5、回到圖層,我們用鋼筆工具把人物主體勾出來。變成選區,羽化。
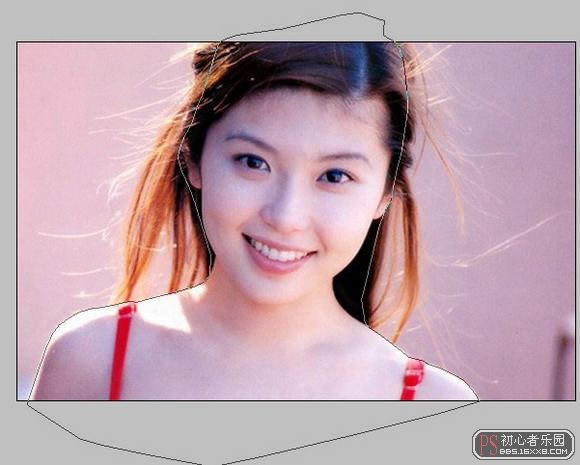

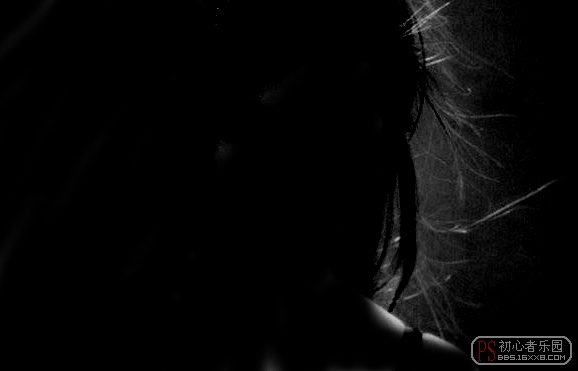
6、將選區存儲為通道。
上一篇:ps通道摳出透明紗布教程
相關推薦

Photoshop摳圖:魔棒摳圖為照片換背

利用Photoshop蒙板輕松簡單摳頭發

關于--抽出濾鏡----摳頭發

混合顏色帶,ps顏色通道為花卉照片換

用Photoshop去除圖片中的鋸齒

PS如何把與背景顏色相近帶反光的頭發摳出

Photoshop摳圖教程:摳出發絲并去除環境色技巧

去除修復雜亂頭發絲的PS人像修圖教程


