photoshop做立體感的葉子
2022-12-25 21:53:57
來源/作者: /
己有:9人學習過
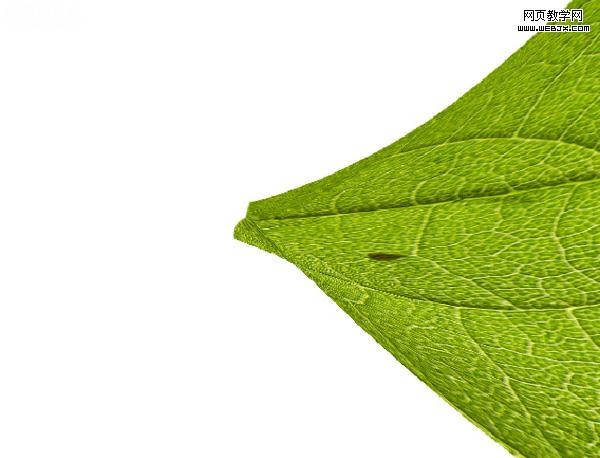
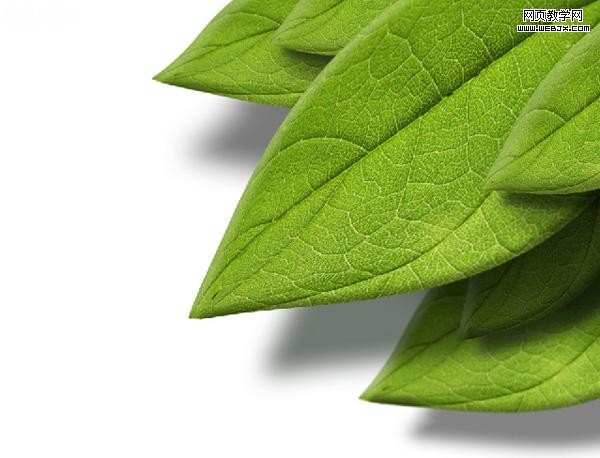
先看效果
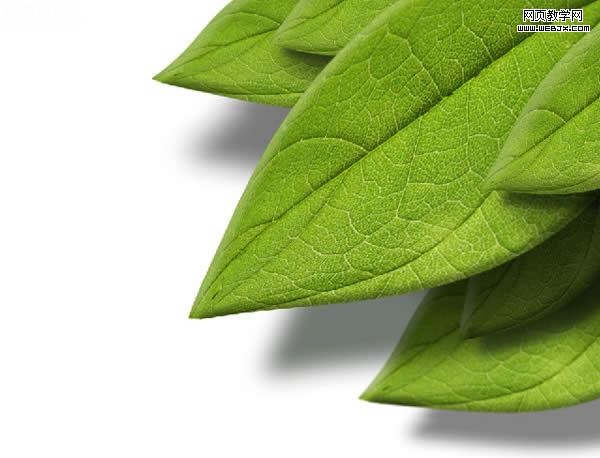


,
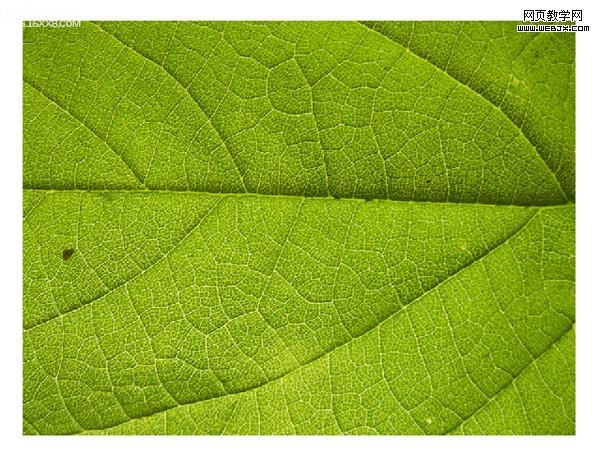
以下是詳細的photoshop教程步驟:我們選擇一個素材
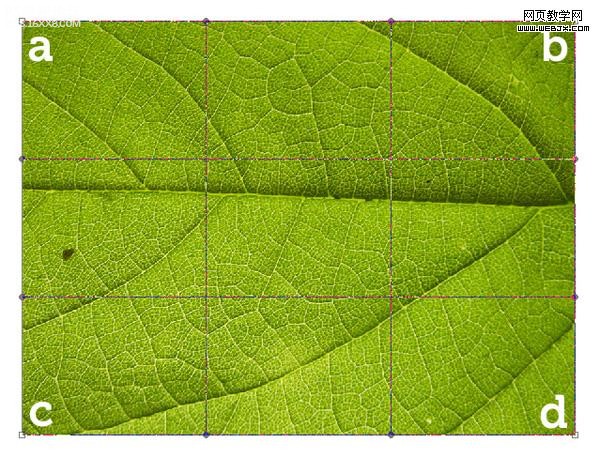
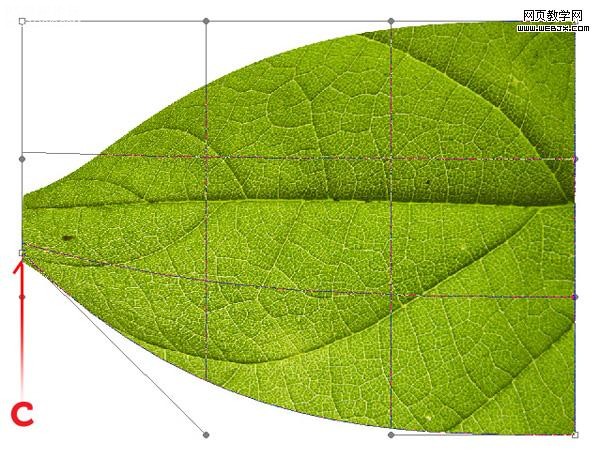
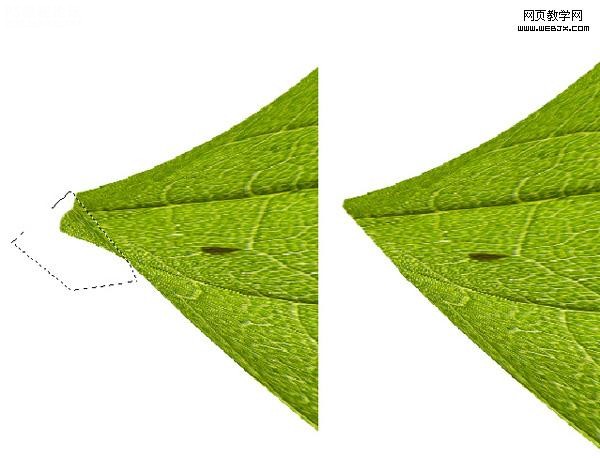
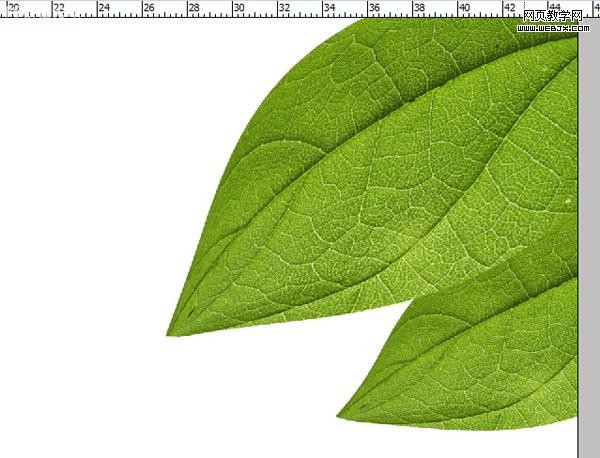
打開素材,使用矩形選區工具右擊選擇的形狀自由變換,然后再選擇透視,效果如下。
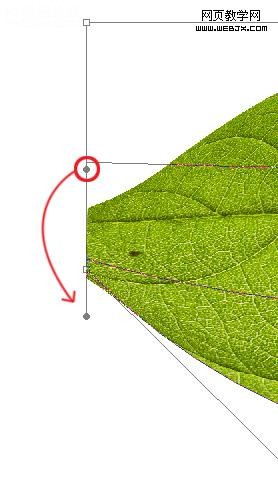
制作一個彎曲的拐角。
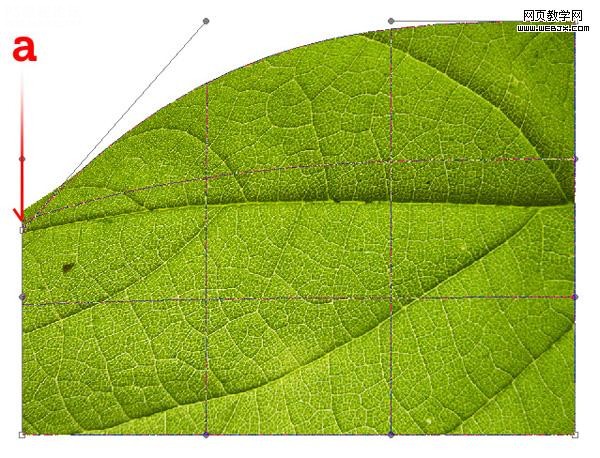
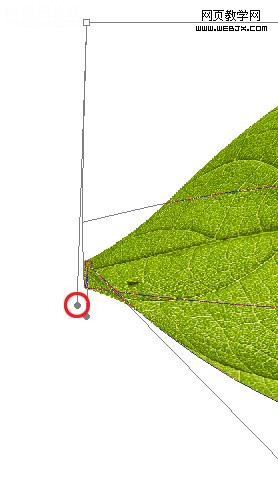
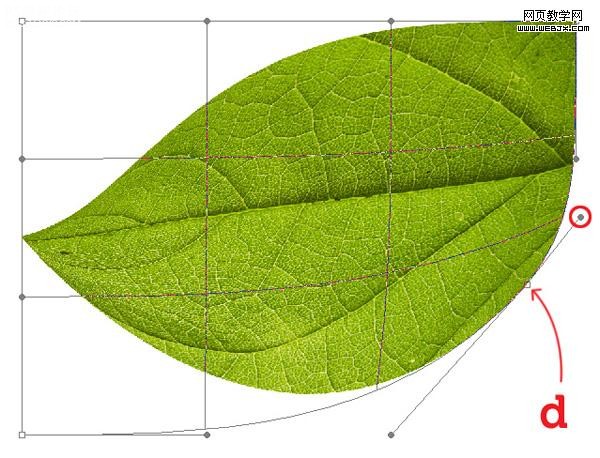
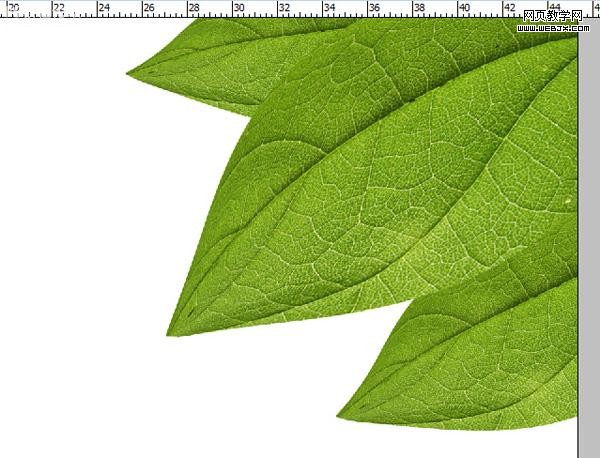
同樣再制作頁面的下面。
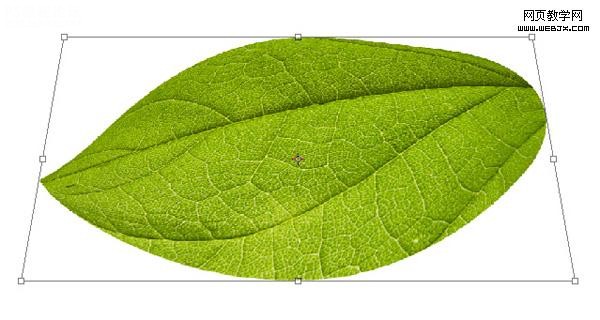
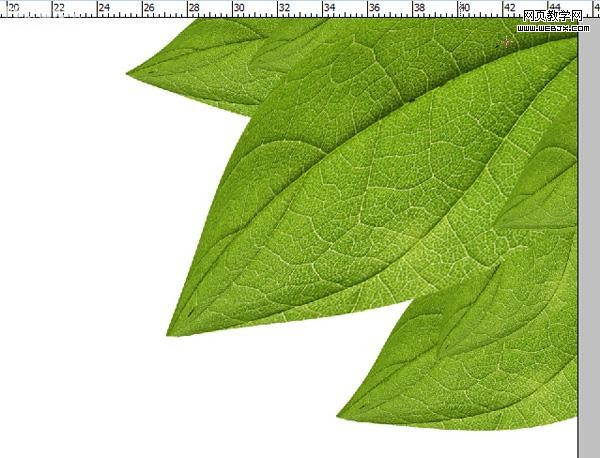
,制作每個拐角的選區。
,

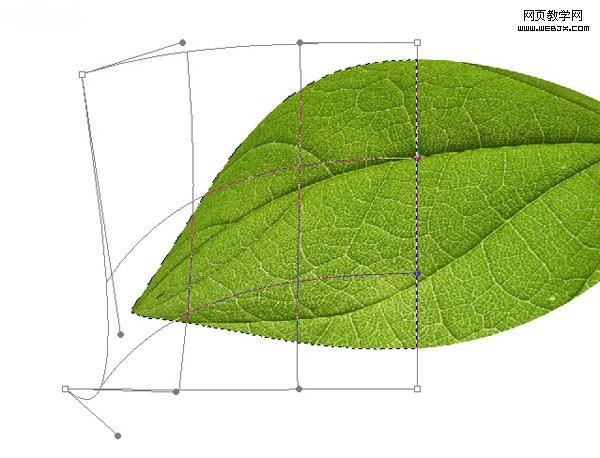
,
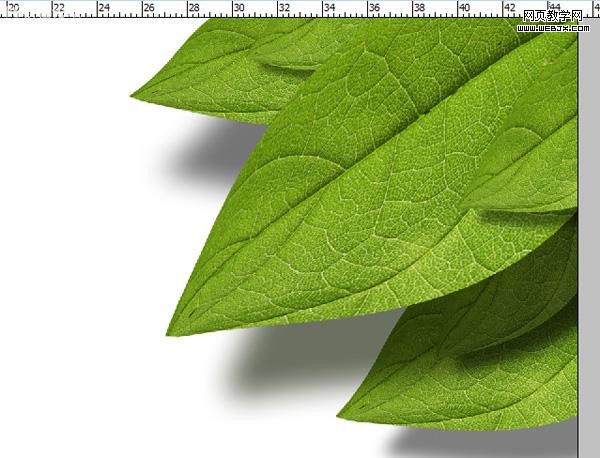
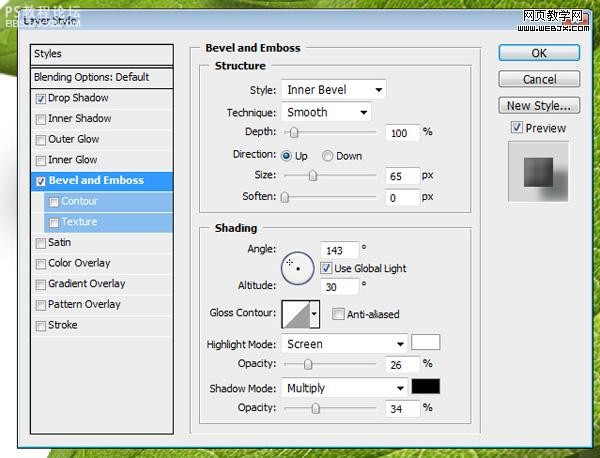
,設置圖層樣式。
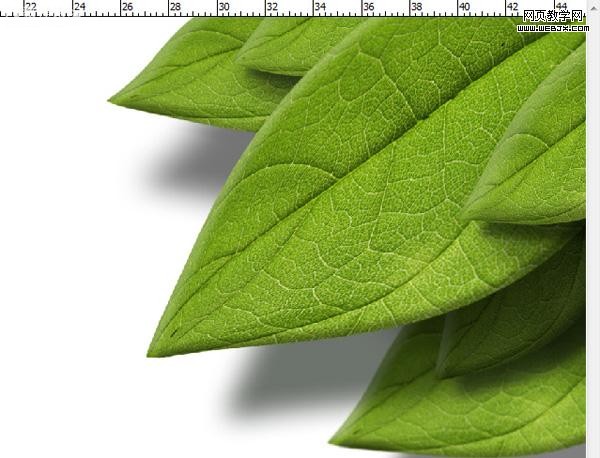
最終效果
其他用途
,
以下是詳細的photoshop教程步驟:我們選擇一個素材
打開素材,使用矩形選區工具右擊選擇的形狀自由變換,然后再選擇透視,效果如下。
制作一個彎曲的拐角。
同樣再制作頁面的下面。
,制作每個拐角的選區。
,
,
,設置圖層樣式。
最終效果
其他用途
下一篇:做彩虹,給照片添加逼真的彩虹教程
相關推薦

ps cs6制作涂鴉字效果教程

ps cc給黑夜加上星星效果教程

ps cc做塑料質感效果教程

ps cc中國風照片效果教程

如何用PS把渾濁的風景照片調出通透清晰

PS商業修圖師對人物頭發進行精修教程

如何用PS打造出明亮而有神的眼睛效果

PS商業修圖給人像增強光影質感的方法介紹


