photoshop教程:把MM處理成森林之王的眼睛
2022-12-25 22:13:52
來源/作者: /
己有:6人學習過
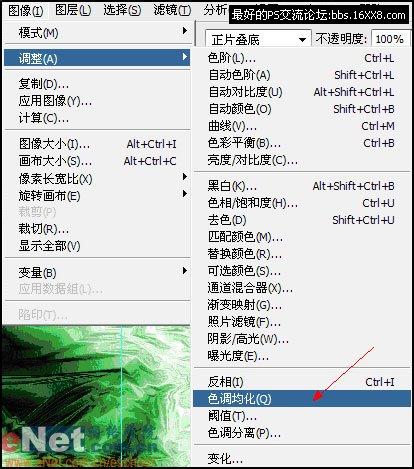
4,使用圖象---調整---色調均化
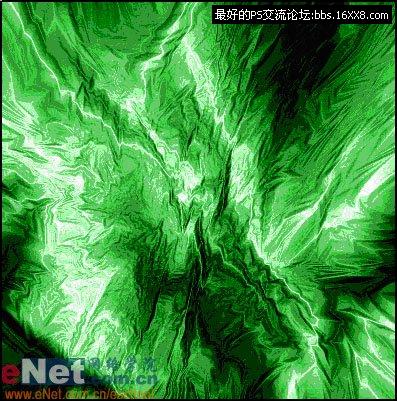
5,色階調整 將中間灰調為0.5。

6,打開素材1 將它去色(快捷鍵是Ctrl+Shift+U)另存為格式為 photoshop(*.PSD,PDD) 文件名為待用文件的文件。
7,關閉素材1文件,回到已經做好的背景文件,對該圖層復制1份。對副本圖層 使用濾鏡---紋理---紋理化,設置參數如下圖所示。
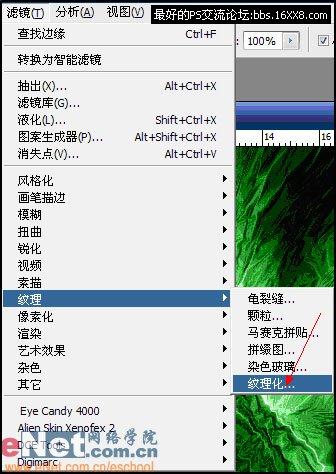
點擊小三角---載入紋理
 選擇前面已經作好的待用文件紋理參數設置如下
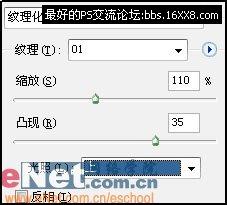
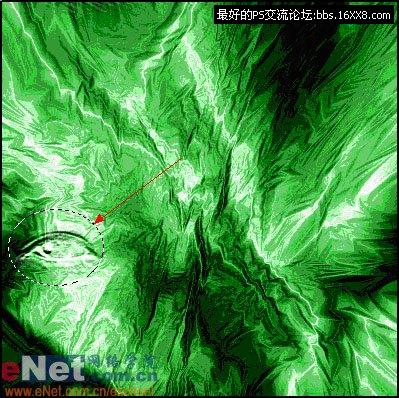
8,用橢圓選框工具選取左眼,并羽化該選區(羽化值為15)快捷鍵 是Ctrl+Alt+D,然后反選(快捷鍵是Ctrl+Shift+I),按Delete鍵刪除。
[table][/table]
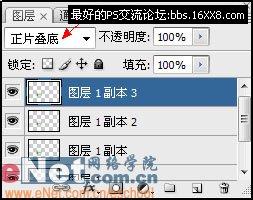
將眼睛圖層復制份,將混合模式為正片疊底,再復制兩份加強效果(快捷鍵是Ctrl+J)
9,拼合所有圖層..(點擊圖層面板中的小三角 )

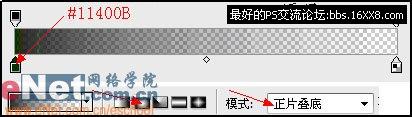
10,使用漸變給圖象加上暗調。
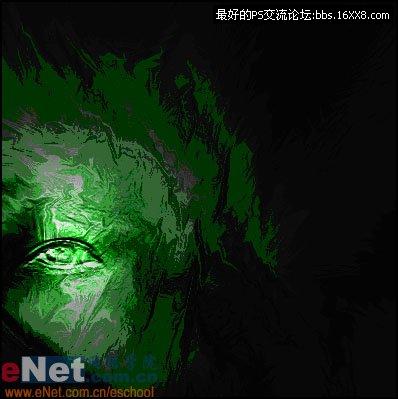
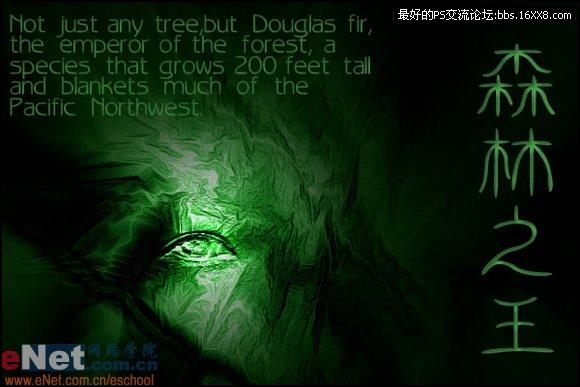
11,最后加上文字,最終效果如下
搜索更多相關主題的帖子: ps效果教程 photoshop教程
相關推薦

Photoshop教程:手繪CG漫畫

Photoshop教程:詳細解說通道和選區

photoshop教程:結合數位板繪制逼真

PhotoShop教程:鼠繪一個嬌嫩欲滴的

如何用PS把渾濁的風景照片調出通透清晰

PS商業修圖師對人物頭發進行精修教程

如何用PS打造出明亮而有神的眼睛效果

PS商業修圖給人像增強光影質感的方法介紹


