photoshop拼圖效果教程
2022-12-25 20:40:19
來(lái)源/作者: /
己有:46人學(xué)習(xí)過
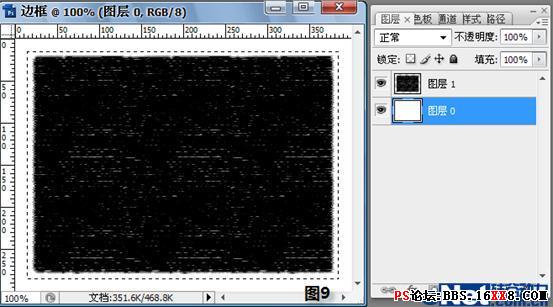
第八步:用矩形選擇工具,做一個(gè)比“圖層一”的黑色矩形稍大的選區(qū),如圖9所示。按“Ctrl+Shift+I”反選,再按“Delete”鍵刪除多余內(nèi)容。
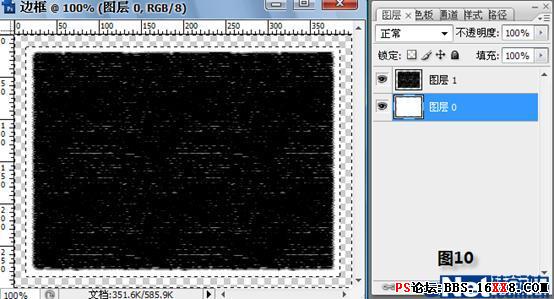
第九步:在圖層面板,點(diǎn)擊“圖層1”圖層,激活圖層1,按“Ctrl+E”鍵合并可見圖層。
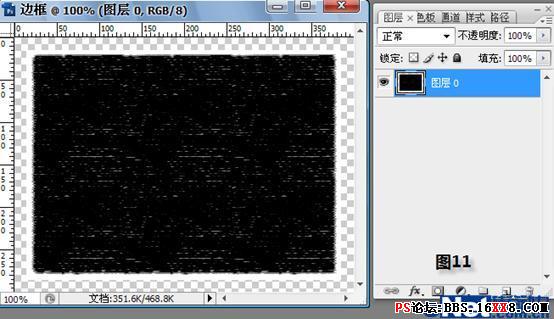
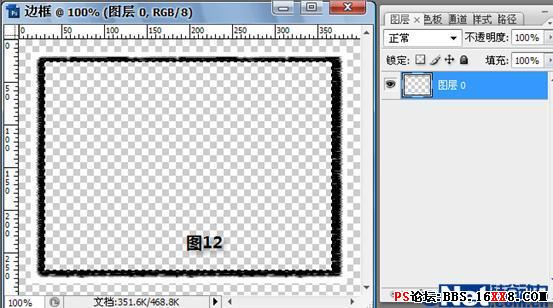
第十步:用矩形選擇工具,做一個(gè)比黑色矩形稍小的選區(qū),再按“Delete”鍵刪除多余內(nèi)容,得到我們需要的邊框。
第十一步:打開一幅美女的照片,利用移動(dòng)工具將剛才制作的“邊框”拖進(jìn)來(lái),如果邊框比較大,可以按“Ctrl+T”鍵進(jìn)行調(diào)節(jié)。
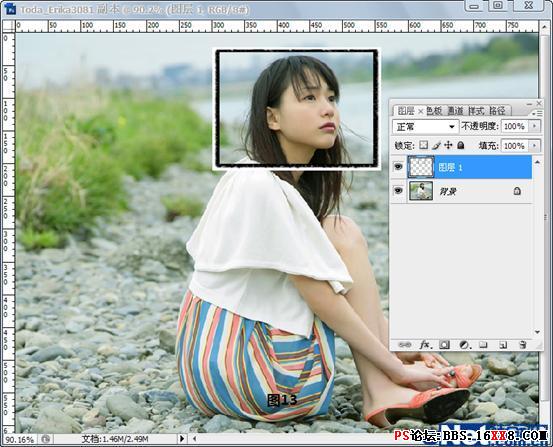
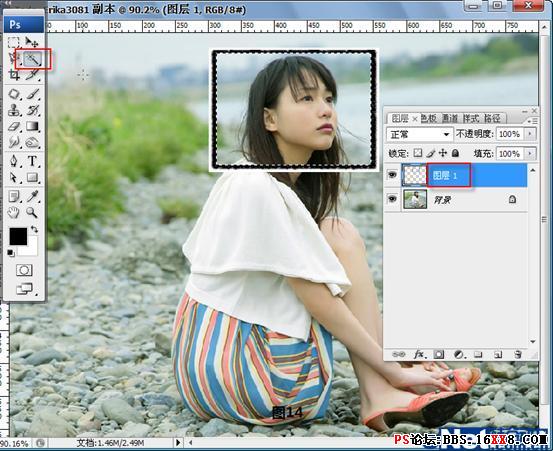
第十二步:用“魔棒工具”點(diǎn)擊“圖層1”中邊框中間的部分,得到一個(gè)矩形選區(qū),如圖所示。
相關(guān)推薦

ps設(shè)計(jì)金色花紋墻紙教程
ps設(shè)計(jì)制作墜落的隕石教程

PS水晶鈕扣與徽章制作教程

ps公章教程

如何用PS把渾濁的風(fēng)景照片調(diào)出通透清晰

PS商業(yè)修圖師對(duì)人物頭發(fā)進(jìn)行精修教程

如何用PS打造出明亮而有神的眼睛效果

PS商業(yè)修圖給人像增強(qiáng)光影質(zhì)感的方法介紹


