Photoshop制作淡化的背景藝術(shù)照片
2022-12-25 20:38:26
來源/作者: /
己有:62人學(xué)習(xí)過
1、打開原圖。
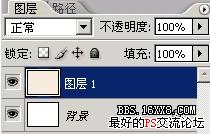
2、新建一個(gè)500 * 700像素白色背景文件,再新建一個(gè)圖層,填充顏色#f2eadf。
3、選擇套索工具,并設(shè)置羽化25px。
4、回到打開的圖片上,如下框選人物。

5、用移動工具將選中的部份拖到填充好的畫布之上,用橡皮擦在人物周圍擦,使其邊緣自然點(diǎn),橡皮擦屬性如下:

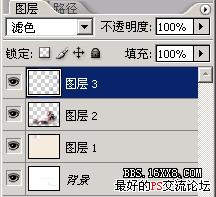
6、再新建一個(gè)圖層,混合模式設(shè)為濾色
標(biāo)簽(TAG) 效果教程
相關(guān)推薦

ps合成靈異寂寞女孩實(shí)例

教你怎樣在同一照片中合成多個(gè)自己

ps給漂亮MM衣服添加花紋的合成入門

ps合成教程:流星撞高樓的爆炸特效

如何用PS把渾濁的風(fēng)景照片調(diào)出通透清晰

PS商業(yè)修圖師對人物頭發(fā)進(jìn)行精修教程

如何用PS打造出明亮而有神的眼睛效果

PS商業(yè)修圖給人像增強(qiáng)光影質(zhì)感的方法介紹


