酷酷的畫面效果圖
2022-12-25 19:47:38
來源/作者: /
己有:17人學習過
酷酷的畫面效果圖純屬轉的.........感覺還不錯 發來大家學習下 不好的別砸我
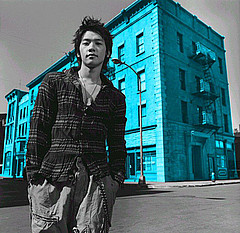
原圖:
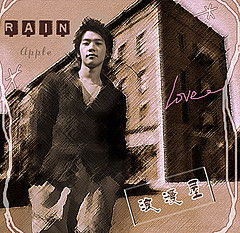
效果:
一,打開原圖,複製背景,調你喜歡的著色(用色彩平衡,飽和度什麼滴都可以)
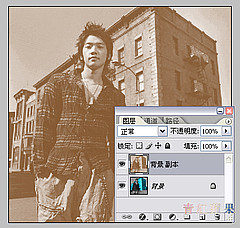
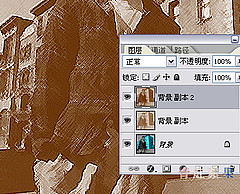
二.再複製背景複本2
三,對背景複本2進行:濾鏡/畫筆描邊/陰影線,數值自定,偶的是長度9銳化6強度1
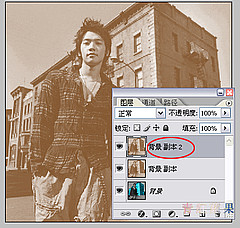
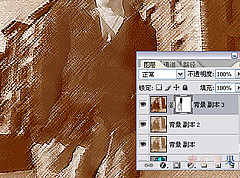
四,再複製背景複本3,對其進行濾鏡:濾鏡/藝術效果/粗糙蠟筆,數值自已看著調
並且對該層添加蒙板,用畫筆塗去除突出的部分,如臉部等(如圖)
五,剩下的加邊框,打字略.

原圖:
效果:
一,打開原圖,複製背景,調你喜歡的著色(用色彩平衡,飽和度什麼滴都可以)
二.再複製背景複本2
三,對背景複本2進行:濾鏡/畫筆描邊/陰影線,數值自定,偶的是長度9銳化6強度1
四,再複製背景複本3,對其進行濾鏡:濾鏡/藝術效果/粗糙蠟筆,數值自已看著調
並且對該層添加蒙板,用畫筆塗去除突出的部分,如臉部等(如圖)
五,剩下的加邊框,打字略.
相關推薦

Photoshop為掃描的紙上線描畫去除

Photoshop修正發灰的室內裝修效果

銳化效果,做好銳化是如何提升照片品

ps背景合成紋理

如何用PS把渾濁的風景照片調出通透清晰

PS商業修圖師對人物頭發進行精修教程

如何用PS打造出明亮而有神的眼睛效果

PS商業修圖給人像增強光影質感的方法介紹


