PS仿手繪教程:照片美化教程
2022-12-25 17:01:27
來源/作者: /
己有:19人學(xué)習(xí)過
![](https://img.lvups.com/d/file/bigpic/2022/12/25/hnsflryh3sp.jpg)
![](https://img.lvups.com/d/file/bigpic/2022/12/25/21etnwztzxp.jpg)
![](https://img.lvups.com/d/file/bigpic/2022/12/25/astx0s1yzue.jpg)
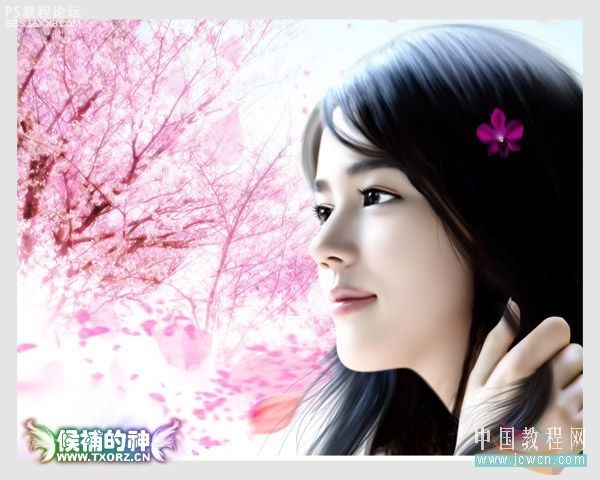
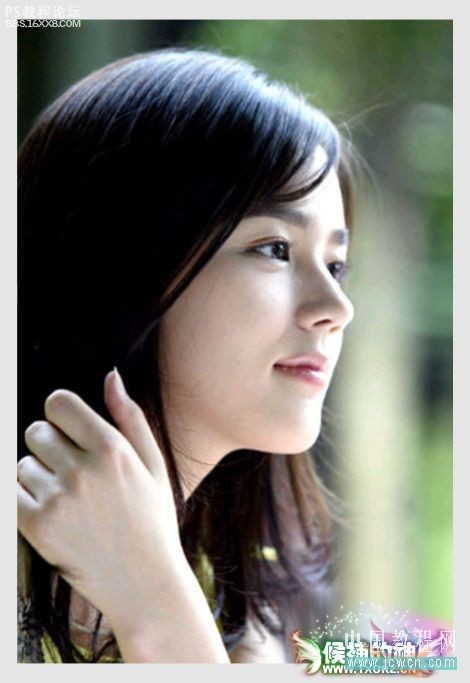
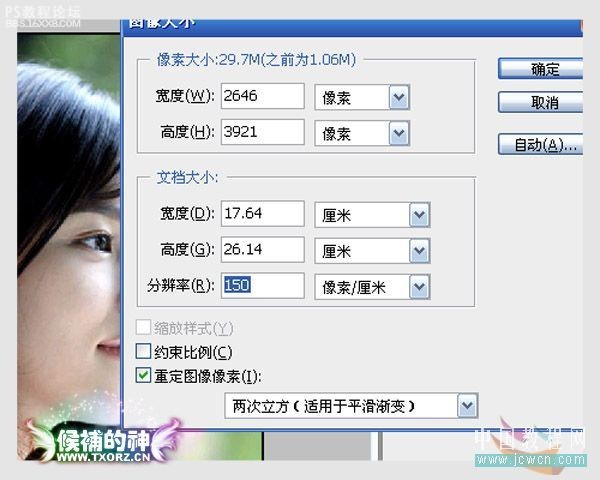
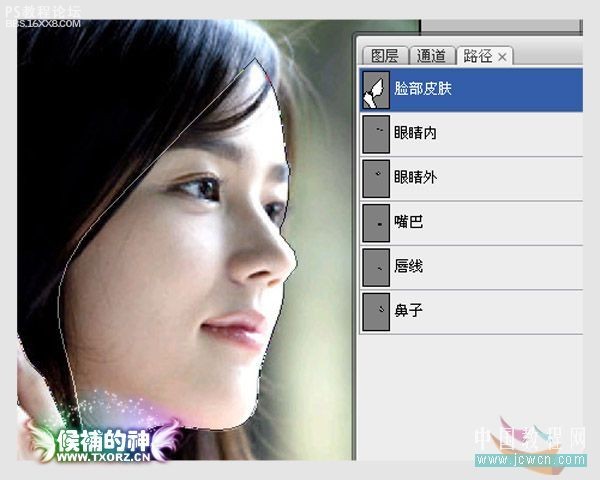
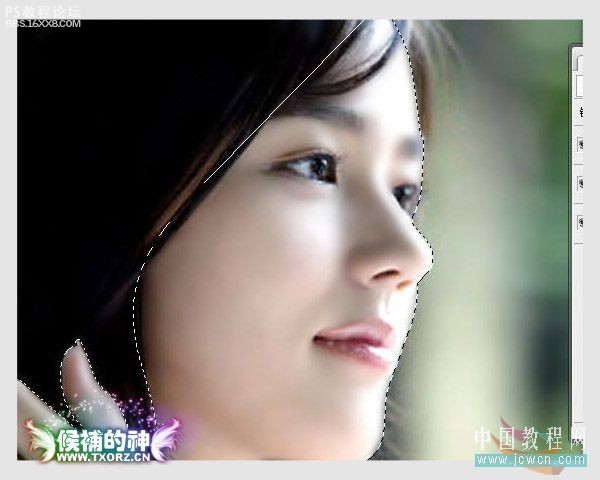
一、photoshop打開一張需要美化成仿鼠繪效果的素材照片,執(zhí)行圖像-圖像大小,將分辨率設(shè)高一些,再使用鋼筆工具將人物的臉部及手背皮膚、眼睛內(nèi)、眼睛外、嘴巴、唇線、鼻子勾出來并建立單獨(dú)的路徑。
![](https://img.lvups.com/d/file/bigpic/2022/12/25/10qtvh43xfn.jpg)
![](https://img.lvups.com/d/file/bigpic/2022/12/25/utr0duob2zg.jpg)
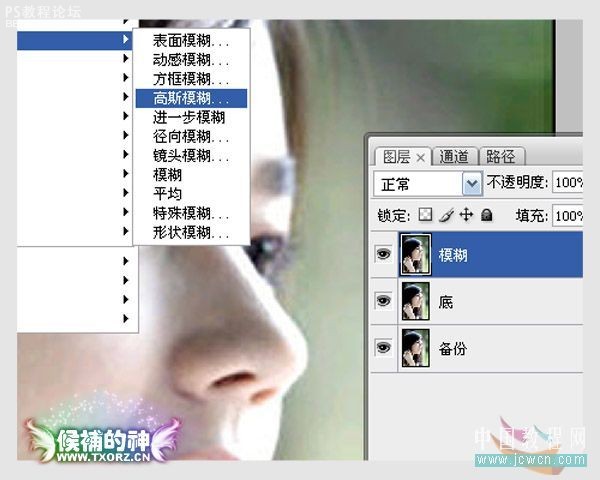
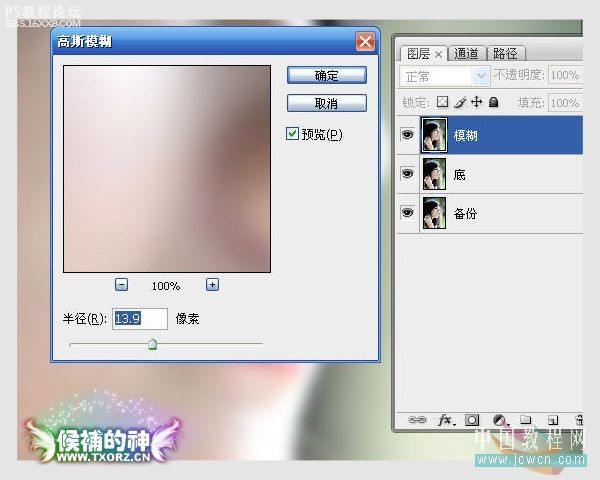
二、對背景層執(zhí)行兩下CTRL+J復(fù)制,再對最上面的那個(gè)圖層招行濾鏡-模糊-高斯模糊命令,模糊的半徑設(shè)為14像素。
![](https://img.lvups.com/d/file/bigpic/2022/12/25/cbgwwk5tsjl.jpg)
![](https://img.lvups.com/d/file/bigpic/2022/12/25/abtkgcpodhs.jpg)
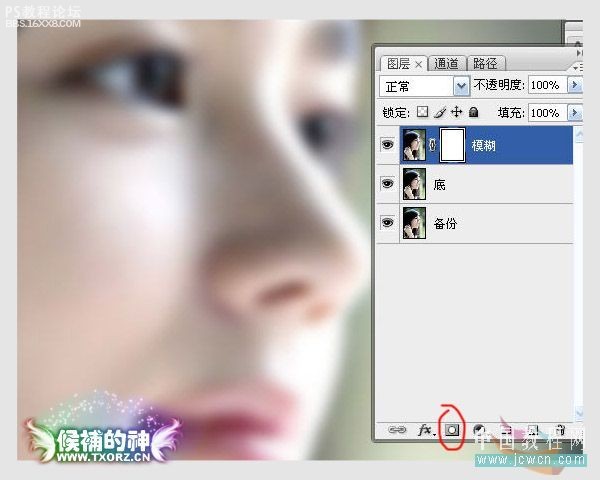
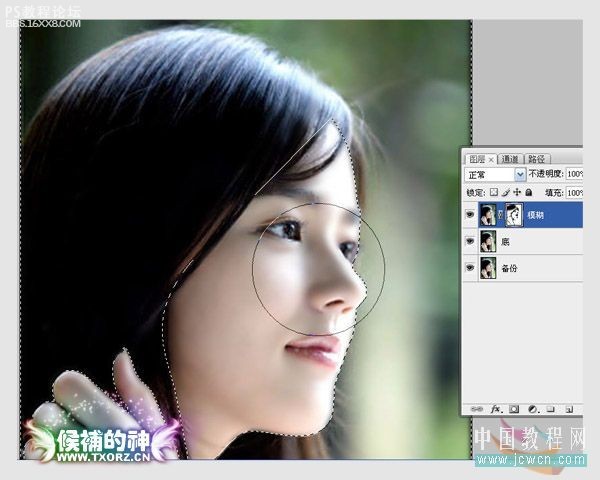
, 三、選中模糊后的圖層,并點(diǎn)擊圖層面板下方的“添加圖層蒙版”按鈕,接著再使用黑色畫筆工具在蒙版狀態(tài)下把人物的五官涂抹出來。
![](https://img.lvups.com/d/file/bigpic/2022/12/25/orhujbbouhm.jpg)
![](https://img.lvups.com/d/file/bigpic/2022/12/25/fyvmxkucilm.jpg)
![](https://img.lvups.com/d/file/bigpic/2022/12/25/02sahc3ihc4.jpg)
![](https://img.lvups.com/d/file/bigpic/2022/12/25/d5fsyxoi2gw.jpg)
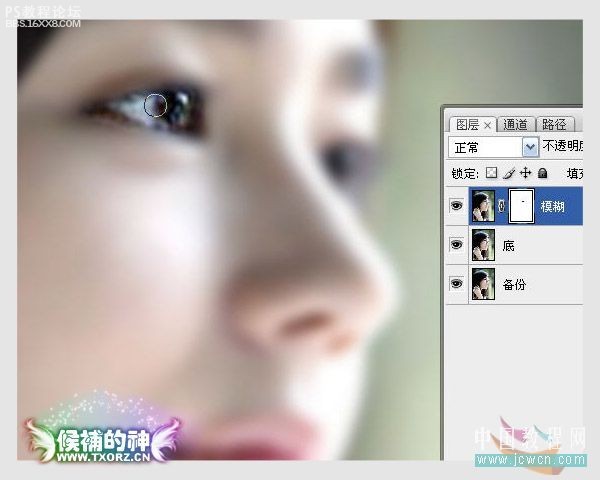
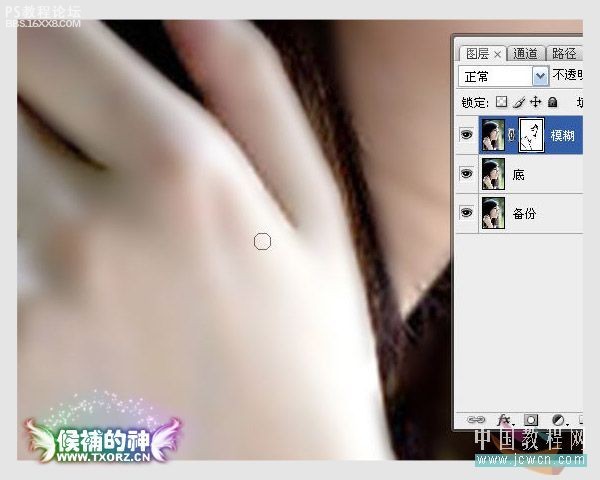
四、接著在路徑面板下,把人物臉部及手背皮膚路徑轉(zhuǎn)化成選區(qū),并執(zhí)行CTRL+SHIFT+I反選,按DELETE刪除反選后的選區(qū)內(nèi)容,這樣就等于是給皮膚進(jìn)行了簡單的磨皮處理了。
![](https://img.lvups.com/d/file/bigpic/2022/12/25/modzd541tww.jpg)
![](https://img.lvups.com/d/file/bigpic/2022/12/25/x3mazvw1m5t.jpg)
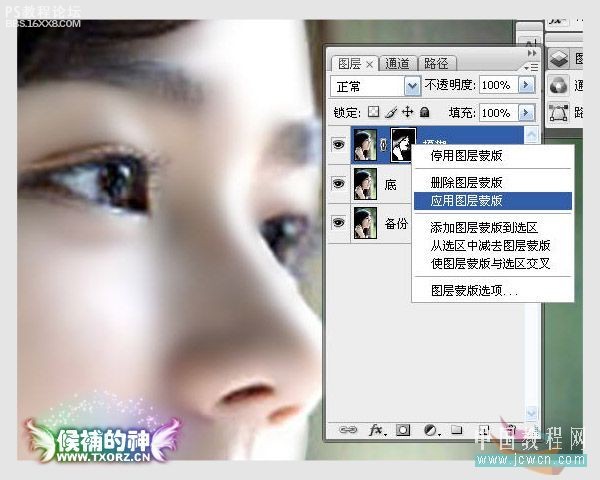
, 五、對蒙版右擊執(zhí)行應(yīng)用圖層蒙版,再執(zhí)行CTRL+E合并模糊層與底層。
![](https://img.lvups.com/d/file/bigpic/2022/12/25/lpg5g0pd3kq.jpg)
六、由于前面對皮膚磨皮的時(shí)候,是使用模糊工具來進(jìn)行的,這樣就使用皮膚的亮度有所降低,那么我們可以執(zhí)行CTRL+M用曲線工具將照片的亮度調(diào)節(jié)一下。
![](https://img.lvups.com/d/file/bigpic/2022/12/25/ouengfz2twv.jpg)
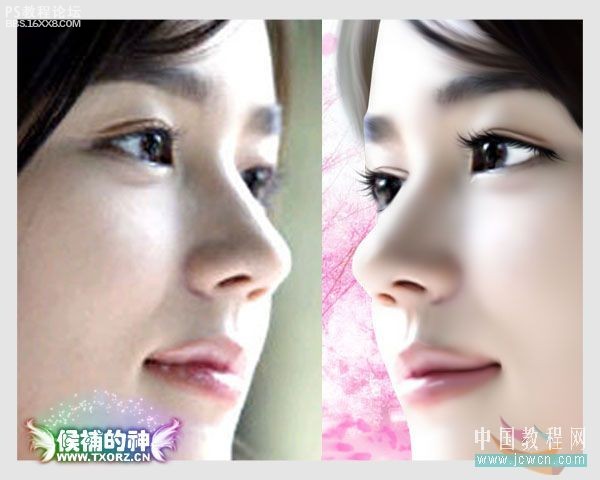
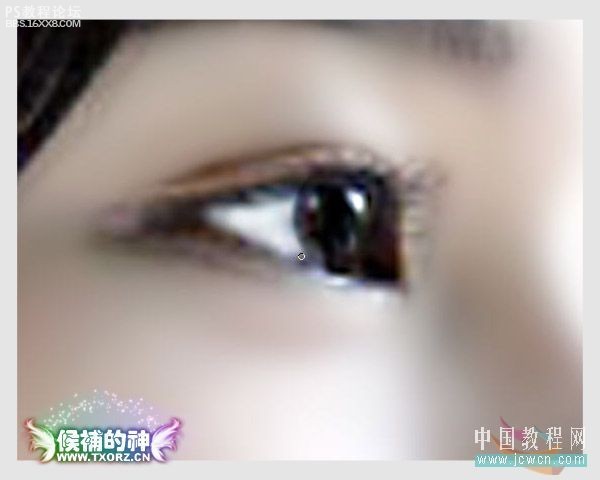
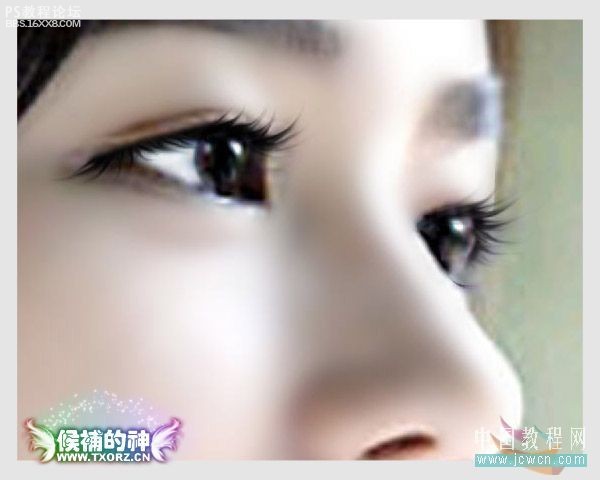
七、我們注意到,人物的眼睛比較模糊,而且眼珠和眼白有點(diǎn)混合了,先將眼睛路徑轉(zhuǎn)化成選區(qū),再使用工具欄上的加深減淡工具把眼睛處理得清晰一些。
![](https://img.lvups.com/d/file/bigpic/2022/12/25/oebdcgbxtad.jpg)
![](https://img.lvups.com/d/file/bigpic/2022/12/25/htnx0ixm0gm.jpg)
![](https://img.lvups.com/d/file/bigpic/2022/12/25/nce2krqd33d.jpg)
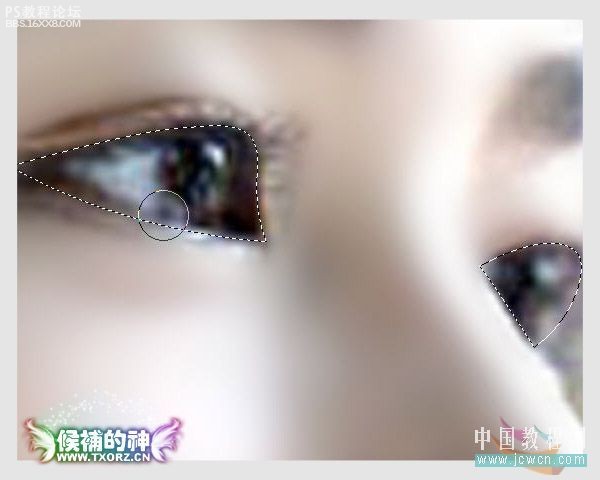
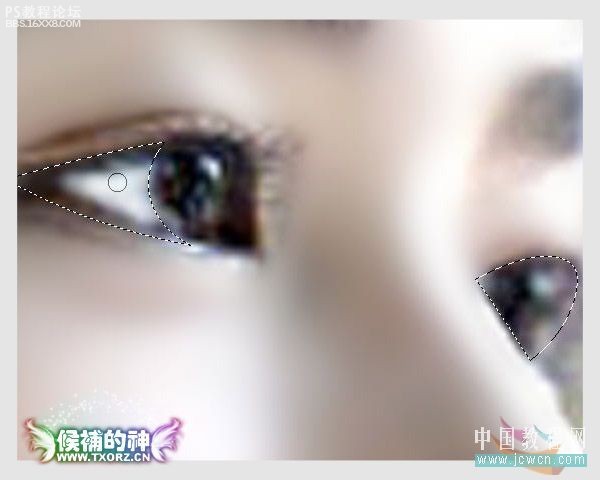
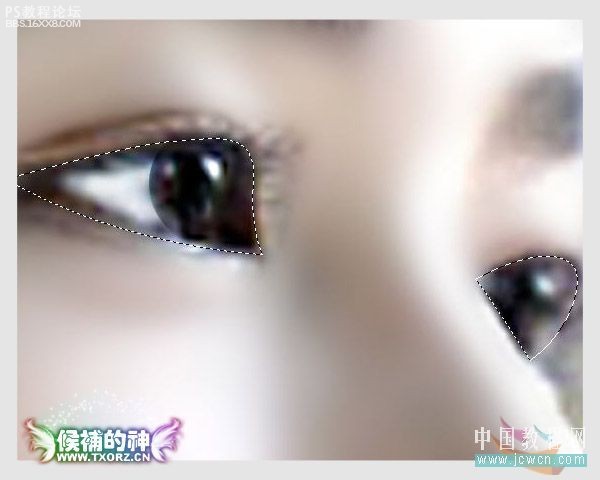
, 這里可以使用模糊工具對照片中人物瞳孔的邊絲進(jìn)行一些模糊處理。
![](https://img.lvups.com/d/file/bigpic/2022/12/25/ocu5ngiumfd.jpg)
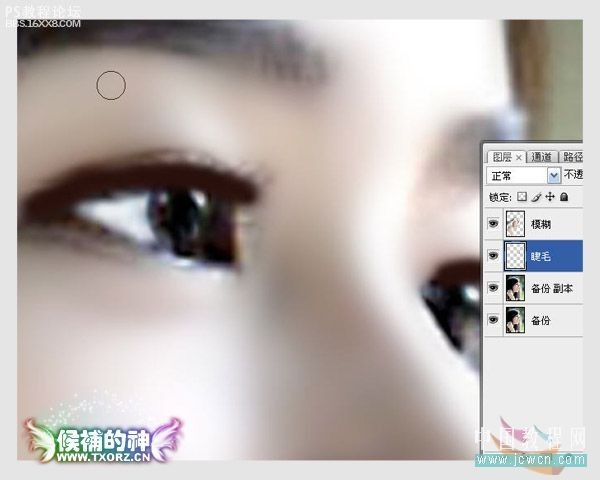
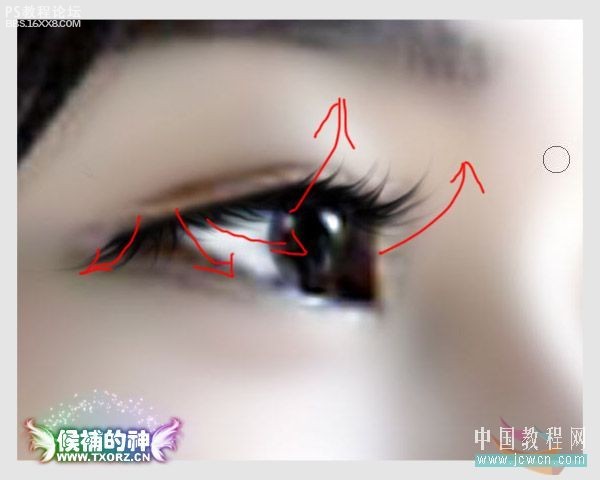
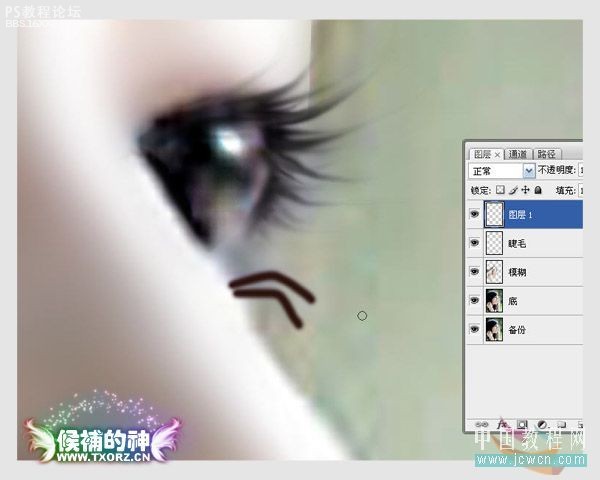
八、眼睛內(nèi)部處理好了,感覺人物的睫毛還有點(diǎn)短,我們可以給她添加上一些,在這里不建議大家用睫毛筆刷,要手工畫上去的效果才比較好。
![](https://img.lvups.com/d/file/bigpic/2022/12/25/uzmzoppww1x.jpg)
![](https://img.lvups.com/d/file/bigpic/2022/12/25/0nzeghxsqm2.jpg)
![](https://img.lvups.com/d/file/bigpic/2022/12/25/ff253mhqkhq.jpg)
![](https://img.lvups.com/d/file/bigpic/2022/12/25/hep0tp5f0ly.jpg)
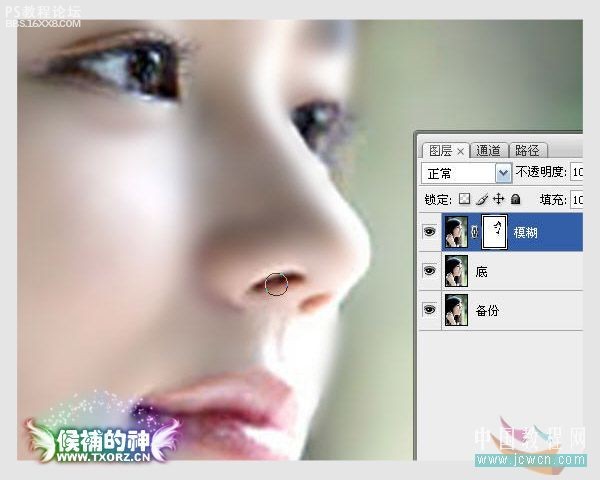
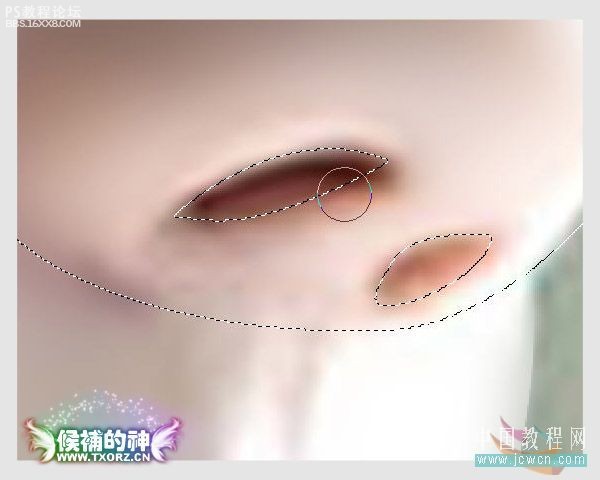
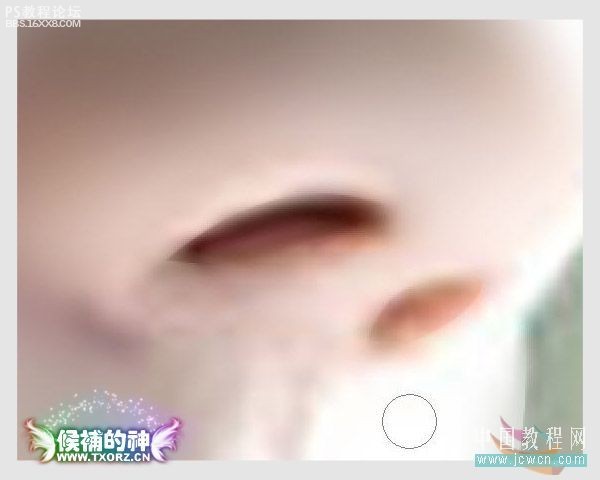
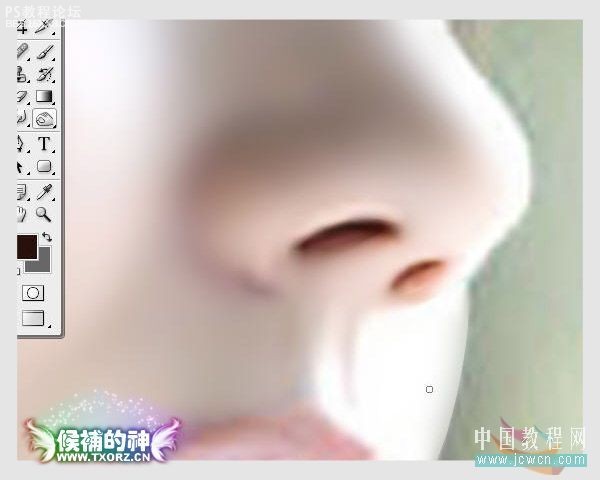
, 九、接著再把鼻子的路徑轉(zhuǎn)換成選區(qū),用加深工具對鼻孔進(jìn)行一些處理,再用減淡工具把鼻孔的高光效果擦出來。
![](https://img.lvups.com/d/file/bigpic/2022/12/25/13gouj5qhuu.jpg)
![](https://img.lvups.com/d/file/bigpic/2022/12/25/yv5nz1ijzi1.jpg)
![](https://img.lvups.com/d/file/bigpic/2022/12/25/fb3hcsqphq0.jpg)
標(biāo)簽(TAG) 轉(zhuǎn)手繪 laoolaoo
上一篇:ps仿手繪效果制作過程