ps人物海報簽名教程
2022-12-25 15:59:40
來源/作者: /
己有:23人學習過
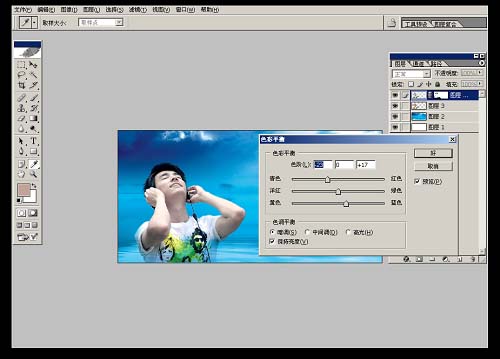
8、執行色彩平衡--暗調,參數如圖所示。
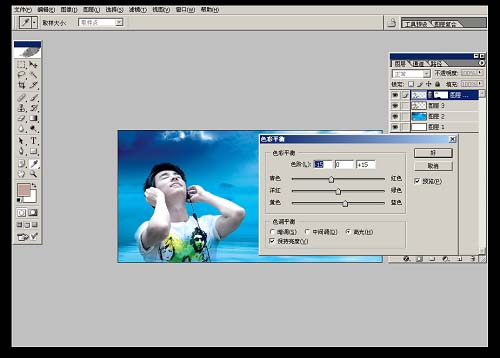
9、執行色彩平衡--高光,參數如圖所示。
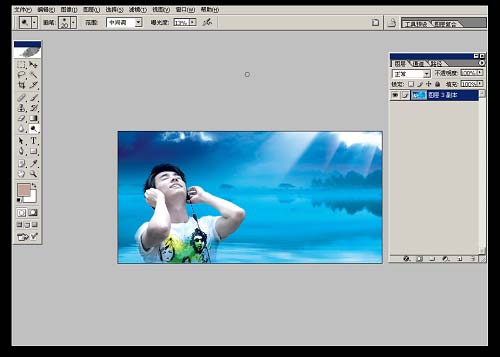
10、合并所有圖層。
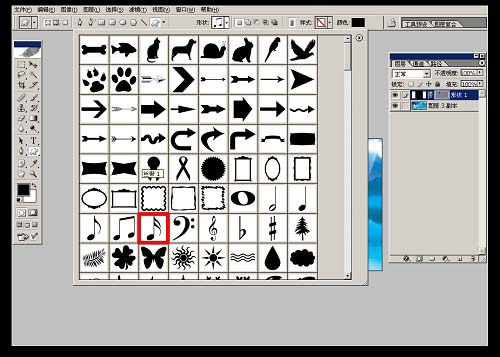
11、選擇自定義形狀工具,工具的形狀選擇紅色方框內圖標。
12、新建圖層,前景色為白色,畫出形狀,并適當調整好大小,效果如圖所示。

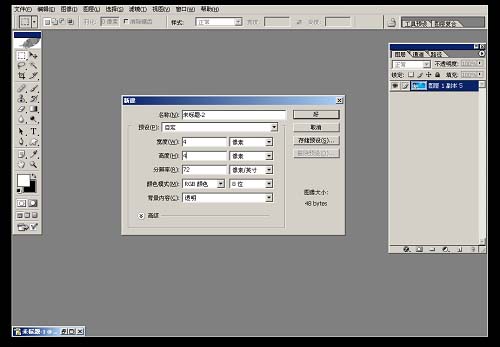
13、新建畫布,尺寸為4x4像素,分辨率為72,背景內容為透明,如圖所示。
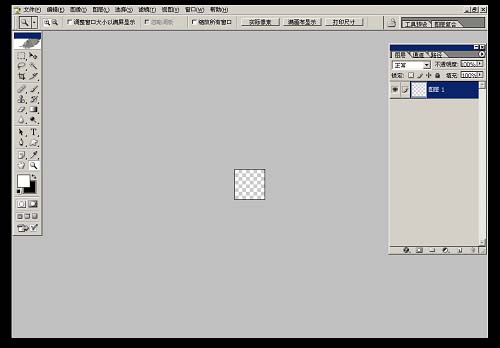
14、將畫布拉到最大效果。
上一篇:PS為明星調金屬膚色照片效果
相關推薦

PS“高反差保留”照片清晰度

PS實用教程:ps修復偏色風景照片

ps利用曲線修正灰蒙蒙花朵圖片

PS用計算選區進行分區銳化方法

如何用PS把渾濁的風景照片調出通透清晰

PS商業修圖師對人物頭發進行精修教程

如何用PS打造出明亮而有神的眼睛效果

PS商業修圖給人像增強光影質感的方法介紹


