Photoshop教程:制作星月花動畫文字
2022-12-25 12:18:33
來源/作者: /
己有:40人學習過
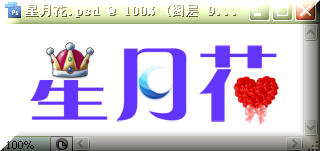
第三步:復制文字圖層得到文字圖層副本,【圖層-柵格化-文字】菜單,柵格化文字副本圖層,利用橡皮擦工具(快捷鍵E)去掉不需要部分;得到效果見[圖4];

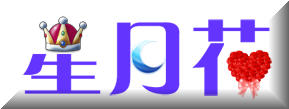
第四步:使用移動工具(快捷鍵V)拖動素材1、2、3到文件并且調整到相應位置及大小,效果如[圖5]所示;
 第五步:【圖象-圖象大小】菜單,縮小圖片,我是縮小到300×112像素,此步是防止出現鋸齒;設置見[圖6],得到效果見[圖7];
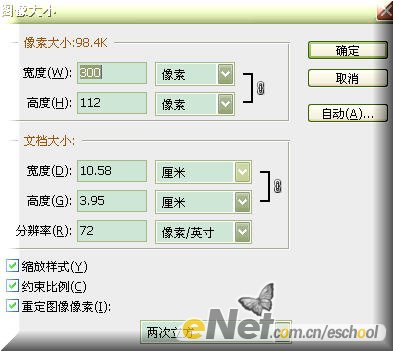
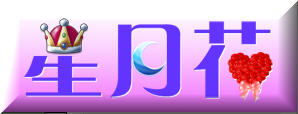
第六步:為背景拉一個從白色到淺紫(顏色代碼381f3a)的漸變;得到效果見[圖8];
標簽(TAG) 動畫教程
相關推薦

ps讓痘痘去無蹤外加白里透紅膚色教

用PS修飾完美的人像圖片技術過程指

ps圖片美化教程-高低頻磨皮法

ps為兒童圖片祛斑美白教程

photoshop教你利用濾鏡打造小清新鏡頭光暈

用抽出濾鏡對毛發摳圖的PS教程

用PS抽出濾鏡對毛毛蟲圖片摳圖換背景

用抽出濾鏡摳圖的幾種方法


