Photoshop濾鏡制作抽象光束翅膀
2022-12-25 11:57:04
來源/作者: /
己有:38人學習過
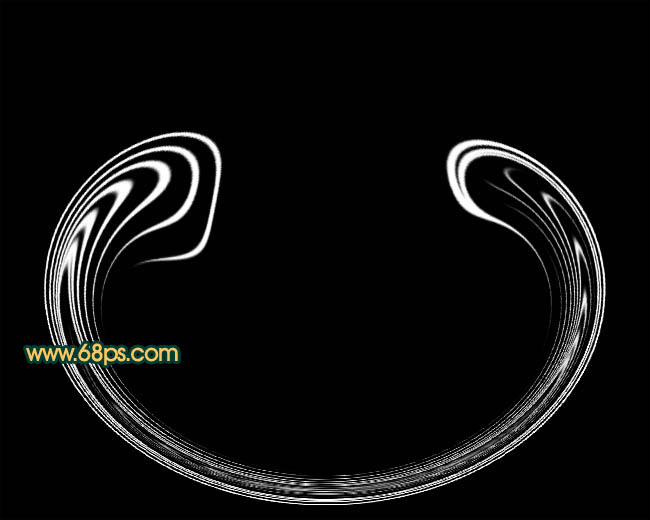
4、把所有的白色弧形合并為一個圖層,然后執行:濾鏡 > 扭曲 > 極坐標,參數設置如圖7,效果如圖8。
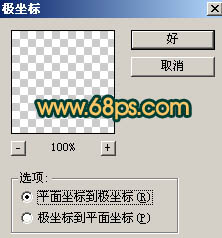
<圖7>
<圖8>
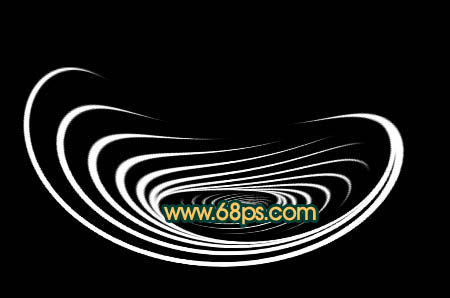
5、按Ctrl + F加強一次,效果如圖9。
<圖9>
<圖7>
<圖8>
5、按Ctrl + F加強一次,效果如圖9。
<圖9>
下一篇:ps制作翻頁相冊動畫
相關推薦

Photoshop打造一對漂亮的藍色光束

ps制作紫色的夢幻光束翅膀

濾鏡做圖,用PS的濾鏡制作一個漂亮的

濾鏡做圖,利用濾鏡制作漂亮的花紋圖

photoshop教你利用濾鏡打造小清新鏡頭光暈

用抽出濾鏡對毛發摳圖的PS教程

用PS抽出濾鏡對毛毛蟲圖片摳圖換背景

用抽出濾鏡摳圖的幾種方法


