photoshop制作GIF閃爍的星星效果
2022-12-25 10:54:35
來源/作者: /
己有:114人學習過
本教程主要是介紹使用photoshop自帶的ImageReady制作Gif閃圖動畫效果,從用素材到動畫的一貞制作,作者都講的非常具體。學會了這個你就可以制作自己的個性閃圖照片!
最終效果

素材1
素材2
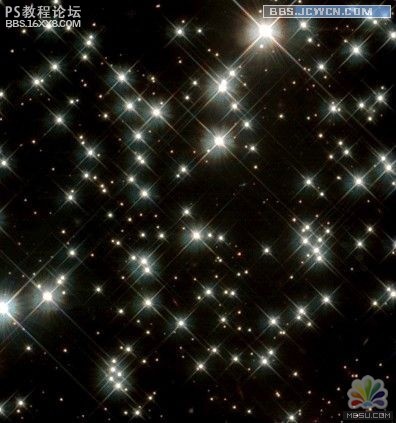
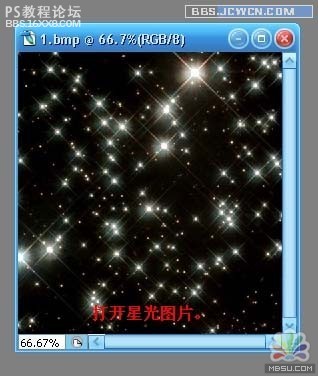
, 1.先打開星光素材圖片
2.再打開素材1
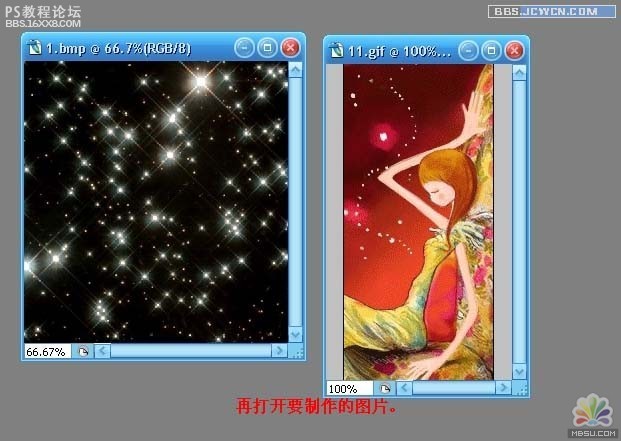
3.選擇星光圖片,Ctrl a(全選),用移動工具把星光圖片移動到要制作的圖片當中

4.將圖層1的混合模式改為“變亮”。

, 5.然后Shift Ctrl m(到ImageReady)當中編輯

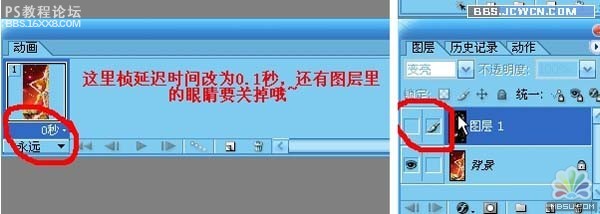
6.關掉圖層1的眼睛,將幀的參數設置為0.1秒
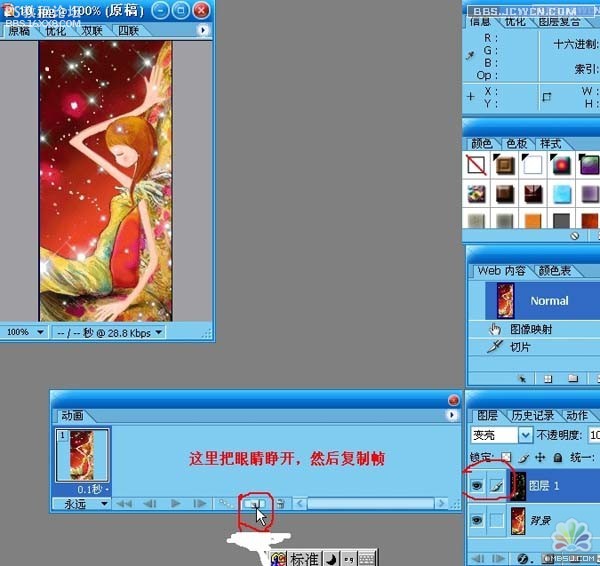
7.復制一個幀,再把眼睛打開
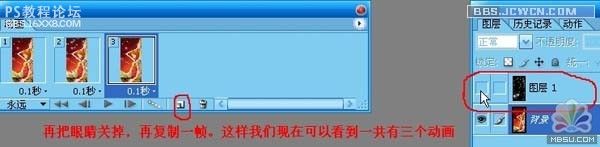
8.再把眼睛關掉,復制再復制一個幀.那么我們現在可以看到三個動畫了
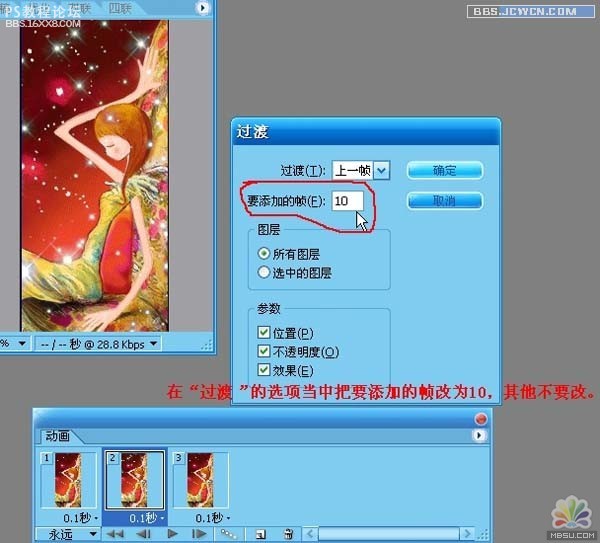
, 9.選擇第2個動畫,點擊"過渡"
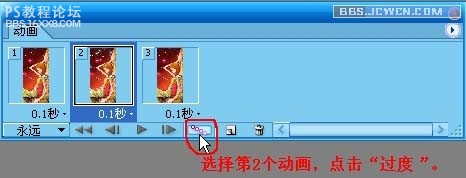
10.過渡的參數設置為10,別的不改
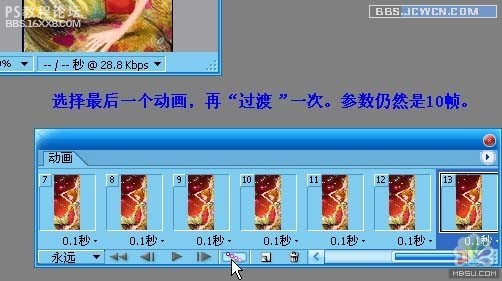
11.選擇最后一個動化再過渡一次,參數仍然是10。如圖
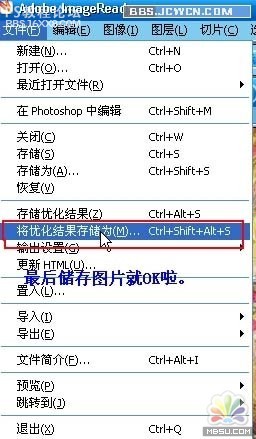
, 12.存儲:
作者:佚名 出處:藍銫悝想
最終效果
素材1
素材2
, 1.先打開星光素材圖片
2.再打開素材1
3.選擇星光圖片,Ctrl a(全選),用移動工具把星光圖片移動到要制作的圖片當中
4.將圖層1的混合模式改為“變亮”。
, 5.然后Shift Ctrl m(到ImageReady)當中編輯
6.關掉圖層1的眼睛,將幀的參數設置為0.1秒
7.復制一個幀,再把眼睛打開
8.再把眼睛關掉,復制再復制一個幀.那么我們現在可以看到三個動畫了
, 9.選擇第2個動畫,點擊"過渡"
10.過渡的參數設置為10,別的不改
11.選擇最后一個動化再過渡一次,參數仍然是10。如圖
, 12.存儲:
作者:佚名 出處:藍銫悝想
相關推薦

photoshop教你利用濾鏡打造小清新鏡頭光暈

用抽出濾鏡對毛發摳圖的PS教程

用PS抽出濾鏡對毛毛蟲圖片摳圖換背景

用抽出濾鏡摳圖的幾種方法


