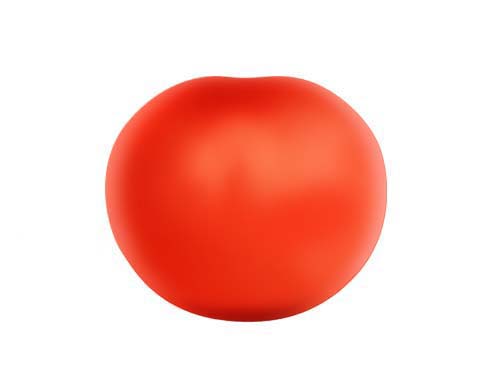
用PS鼠繪西紅柿
2023-12-28 17:37:48
來源/作者: /
己有:0人學(xué)習(xí)過
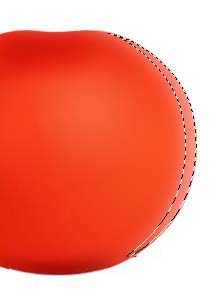
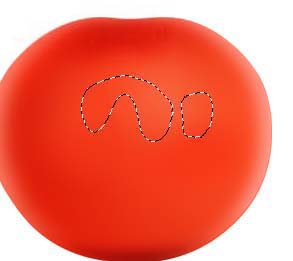
5、按Ctrl點(diǎn)圖層面板“主體”圖層縮略圖調(diào)出選區(qū),新建一個(gè)圖層填充顏色:#FE9C90,加上圖層蒙版,只保留圖8虛線區(qū)域部分,其它部分用黑色畫筆擦掉,效果如圖9。
6、同樣的方法制作左邊高光部分,如圖10。
7、新建一個(gè)圖層,把前景色設(shè)置為:#FE8559,選擇畫筆工具把圖11所示區(qū)域圖上高光,效果如圖12。
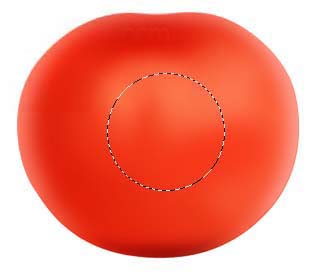
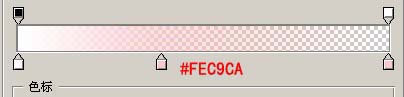
8、新建一個(gè)圖層,用橢圓選框工具拉出圖13所示的正圓,選擇漸變工具顏色設(shè)置如圖14,由正圓中心拉出圖15所示的徑向漸變。
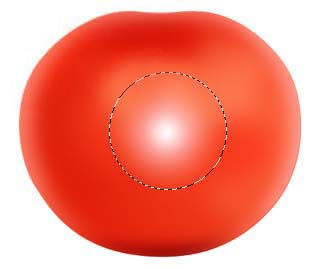
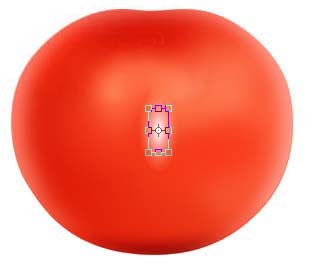
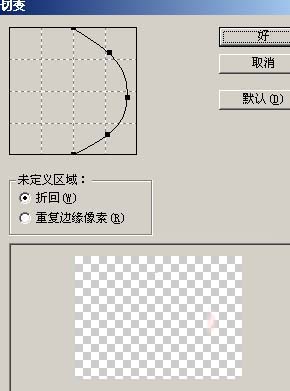
9、取消選區(qū)后按Ctrl + T變形處理,如圖16,確定后執(zhí)行:濾鏡 > 扭曲 > 切變,參數(shù)設(shè)置如圖17,確定后再適當(dāng)調(diào)整好位置和大小,如圖18。
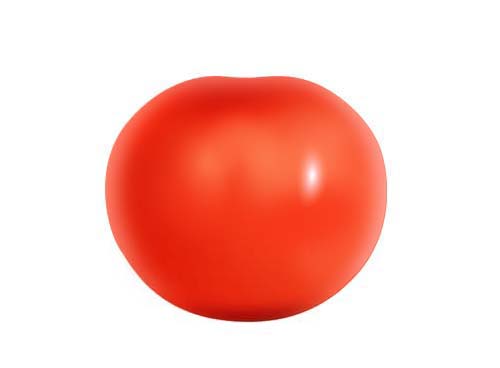
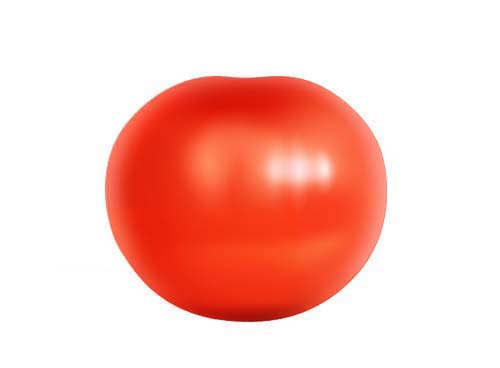
10、同樣的方法制作其它的高光點(diǎn)。
相關(guān)推薦

ps紙片折疊字效果

圖片排版設(shè)計(jì)配色教程-給炎熱的圖

ps鼠繪心形的煙霧教程

ps建立規(guī)則選區(qū)

Photoshop鋼筆工具繪制逼真的頭發(fā)教程

鼠繪袋子,繪制一個(gè)透明的塑料袋教程

PS繪畫變形金剛中的霸天虎

繪畫人像,皺紋雀斑疤痕的繪制方法


