PS鼠繪泡泡教程
2023-11-01 17:30:57
來源/作者: /
己有:1人學習過
4.一個是中間的這一陀,加上外發光的效果,上面再疊加一層不透明度高一點的圖層。
![bbs.16xx8.com](https://img.lvups.com/d/file/bigpic/2022/12/26/yxfxo0csoc5.png)
![bbs.16xx8.com](https://img.lvups.com/d/file/bigpic/2022/12/26/e4dwhcefw3m.png)
![bbs.16xx8.com](https://img.lvups.com/d/file/bigpic/2022/12/26/m0tzvobq3za.png)
5.我把中間的反光隱藏掉了,開始畫明暗交界線,也是路徑畫好用橡皮修改。還是疊加了兩層。
![bbs.16xx8.com](https://img.lvups.com/d/file/bigpic/2022/12/26/vl4ql4kbn5e.png)
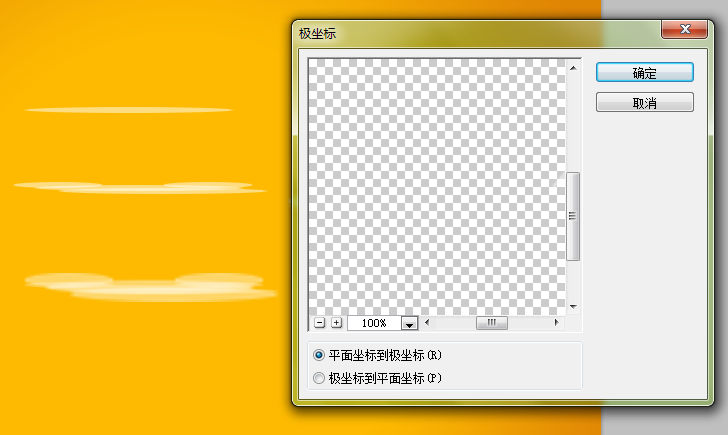
6.另外就是氣泡上這些讓層次更豐富的弧線。
![bbs.16xx8.com](https://img.lvups.com/d/file/bigpic/2022/12/26/hjzkvtyzgod.png)
做法是先畫扁扁的橢圓,不透明度50%左右,多畫幾個,然后合并圖層。也可以將合并后的圖層復制后ctrl+t拉高,再合并一次,更豐富。然后,濾鏡>扭曲>極坐標。我做了兩種不同大小和透明度的弧線。弧線的大小要小于整體的圓。
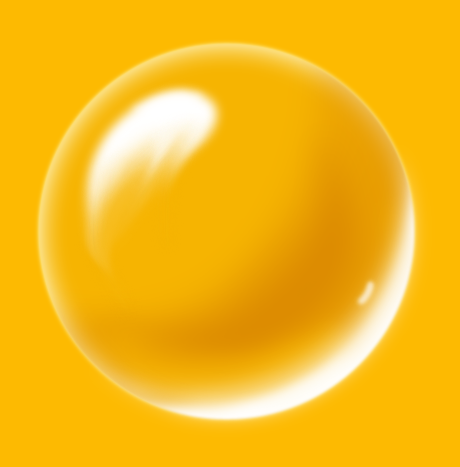
![bbs.16xx8.com](https://img.lvups.com/d/file/bigpic/2022/12/26/sqd4fti4iku.png)
![bbs.16xx8.com](https://img.lvups.com/d/file/bigpic/2022/12/26/rcrfz0rena1.png)
7.現在就是這個樣子了。
![bbs.16xx8.com](https://img.lvups.com/d/file/bigpic/2022/12/26/cwntbeysulo.png)
下一篇:PS鼠繪水晶鼻煙壺