為空白瓷瓶添加古典紋飾
2022-12-25 23:19:37
來源/作者: /
己有:11人學習過
為空白瓷瓶添加古典紋飾原圖:

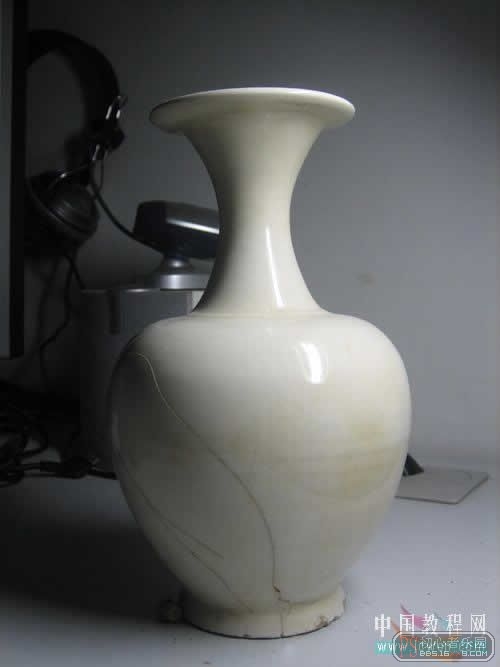
 瓷瓶1.jpg (50.66 KB)
2007-7-10 23:43
效果圖:
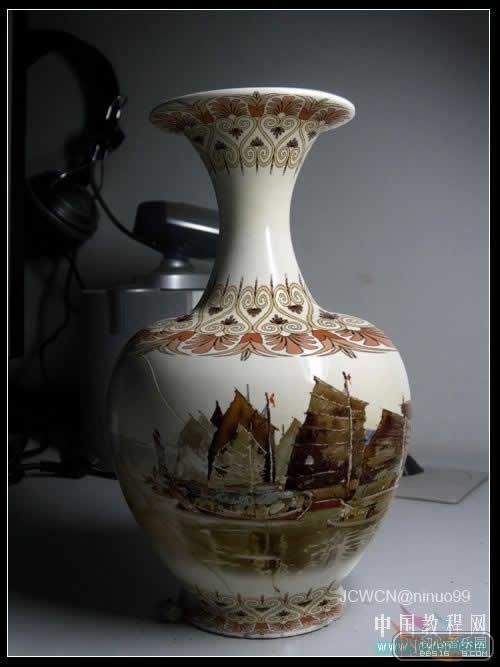 瓷瓶2.jpg (89.57 KB)
2007-7-10 23:43
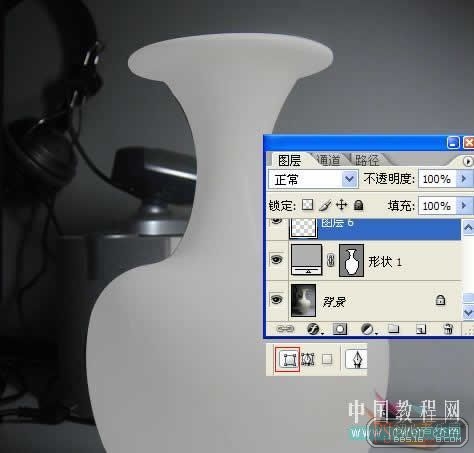
1.用PS的鋼筆工具摳出瓶子的外圈(備用),如圖效果。
 瓷瓶3.jpg (59.02 KB)
2007-7-10 23:43
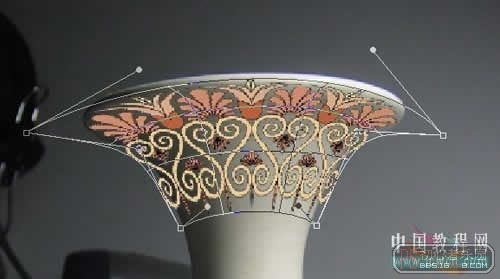
2.把搜集的花紋放進來
 瓷瓶4.jpg (44.63 KB)
2007-7-10 23:43
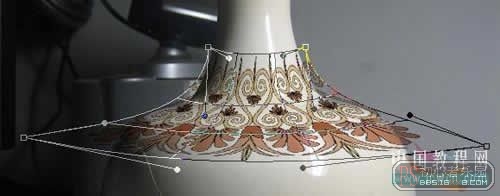
3.通過編輯-變換-變形,根據花瓶結構對花紋進行調整 。
 瓷瓶5.jpg (47.53 KB)
2007-7-10 23:43
4.調整完成后,把圖層模式改為正片疊底
 瓷瓶6.jpg (25.05 KB)
2007-7-10 23:43
5.同樣用上面的方法對花瓶中間部分處理。
 瓷瓶7.jpg (38.94 KB)
2007-7-10 23:43
6.同樣用上面的方法對花瓶底部部分處理。
 瓷瓶8.jpg (30.55 KB)
2007-7-10 23:43
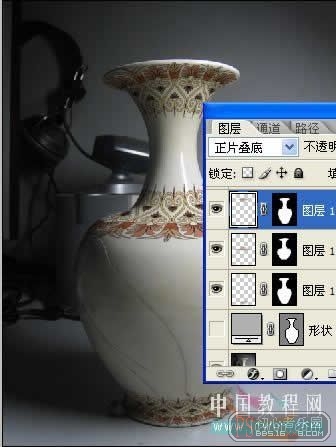
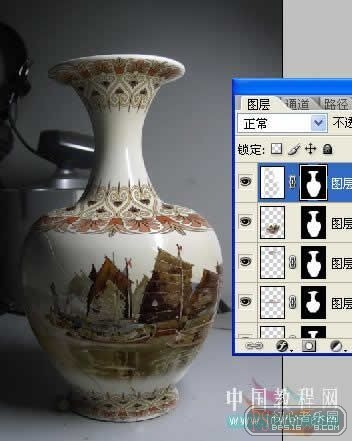
7.根據第一步的路徑,對剛才3個圖層都進行蒙版處理。
 瓷瓶9.jpg (62.98 KB)
2007-7-10 23:43
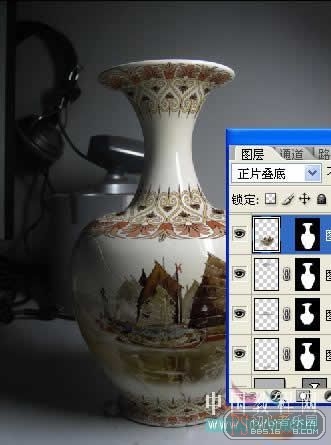
8.放進瓶子中間的主要圖案 。
 瓷瓶10.jpg (43.87 KB)
2007-7-10 23:43
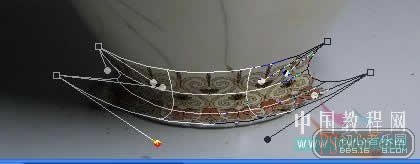
9.同樣對圖案進行變形處理,圖層模式為正片疊底。
 瓷瓶11.jpg (65.36 KB)
2007-7-10 23:43
10利用第一步的路徑為瓶子右面進行處理。
 瓷瓶12.jpg (70.92 KB)
2007-7-10 23:43
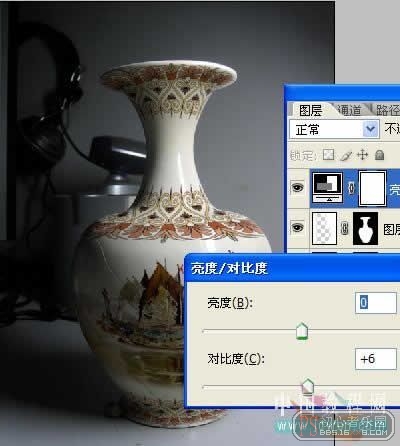
11對整個圖象進行亮度對比度的調整,結束。
 瓷瓶13.jpg (68.82 KB)
2007-7-10 23:43
瓷瓶1.jpg (50.66 KB)2007-7-10 23:43
效果圖:
瓷瓶2.jpg (89.57 KB)2007-7-10 23:43
1.用PS的鋼筆工具摳出瓶子的外圈(備用),如圖效果。
瓷瓶3.jpg (59.02 KB)2007-7-10 23:43
2.把搜集的花紋放進來
瓷瓶4.jpg (44.63 KB)2007-7-10 23:43
3.通過編輯-變換-變形,根據花瓶結構對花紋進行調整 。
瓷瓶5.jpg (47.53 KB)2007-7-10 23:43
4.調整完成后,把圖層模式改為正片疊底
瓷瓶6.jpg (25.05 KB)2007-7-10 23:43
5.同樣用上面的方法對花瓶中間部分處理。
瓷瓶7.jpg (38.94 KB)2007-7-10 23:43
6.同樣用上面的方法對花瓶底部部分處理。
瓷瓶8.jpg (30.55 KB)2007-7-10 23:43
7.根據第一步的路徑,對剛才3個圖層都進行蒙版處理。
瓷瓶9.jpg (62.98 KB)2007-7-10 23:43
8.放進瓶子中間的主要圖案 。
瓷瓶10.jpg (43.87 KB)2007-7-10 23:43
9.同樣對圖案進行變形處理,圖層模式為正片疊底。
瓷瓶11.jpg (65.36 KB)2007-7-10 23:43
10利用第一步的路徑為瓶子右面進行處理。
瓷瓶12.jpg (70.92 KB)2007-7-10 23:43
11對整個圖象進行亮度對比度的調整,結束。
瓷瓶13.jpg (68.82 KB)2007-7-10 23:43
上一篇:創意合成,合成骷髏樹創意場景教程
下一篇:瓶中效果,合成漂浮半空的瓶中世界
相關推薦

調整照片過爆問題<比較容易控制,簡單

卒仔:處理曝光不足相片

Photoshop處理陰天拍攝的照片

精細調整還你山清水秀——桔子教程

合成行駛在夢幻森林中火車照片的PS教程

合成恐怖靈異雙重曝光頭像照片的PS教程

PS合成明亮夜色下的天使白狼場景圖片

戰爭海報,PS合成戰爭電影主題海報圖片設計教程


