photoshop合成照片教程:蒙太奇雙色照片
2022-12-26 00:56:26
來源/作者: /
己有:39人學習過
作者網頁教學網 翻譯
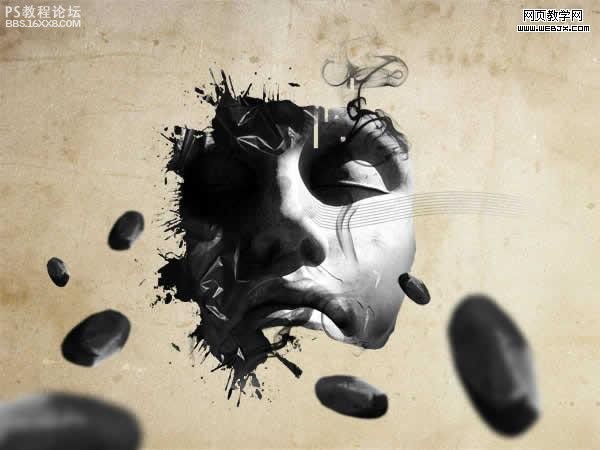
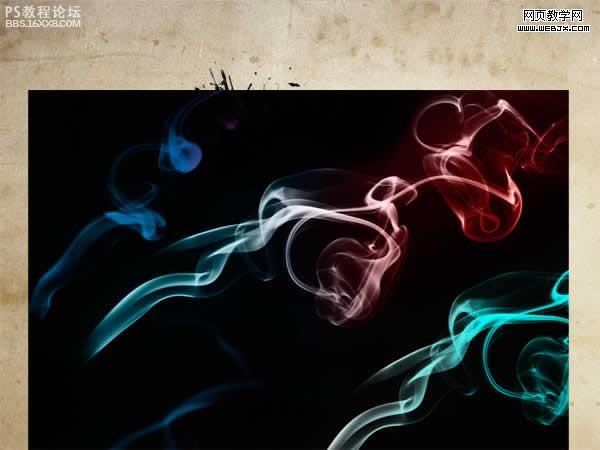
首先看最終效果。
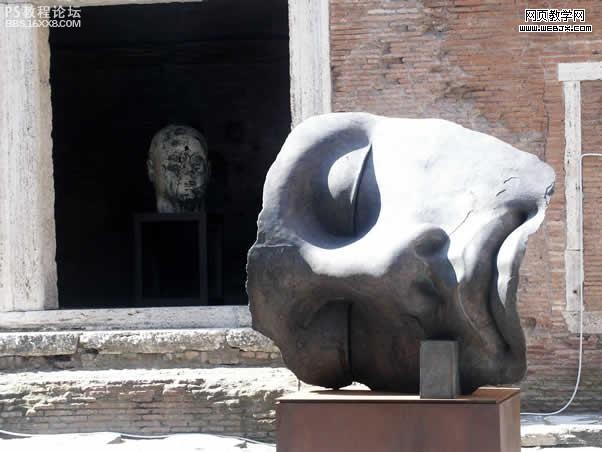
素材1
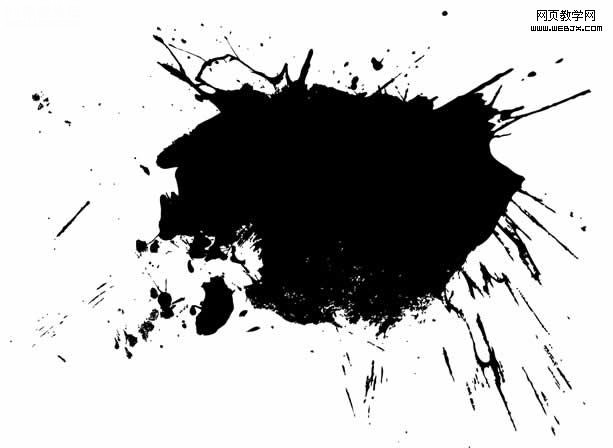
素材2
素材3

,素材4
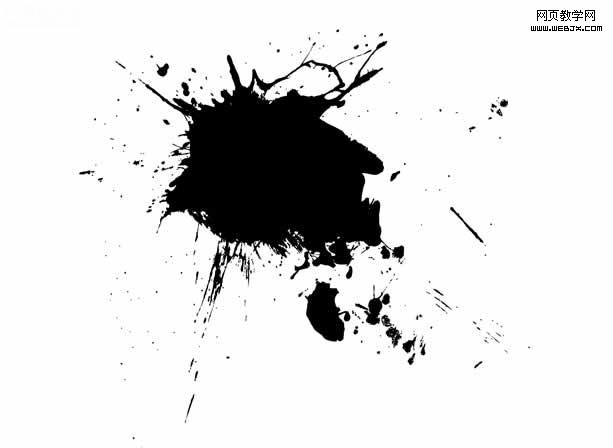
素材5
素材6
素材7
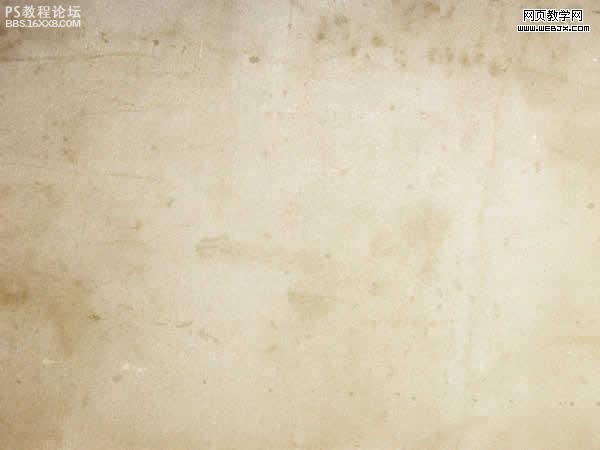
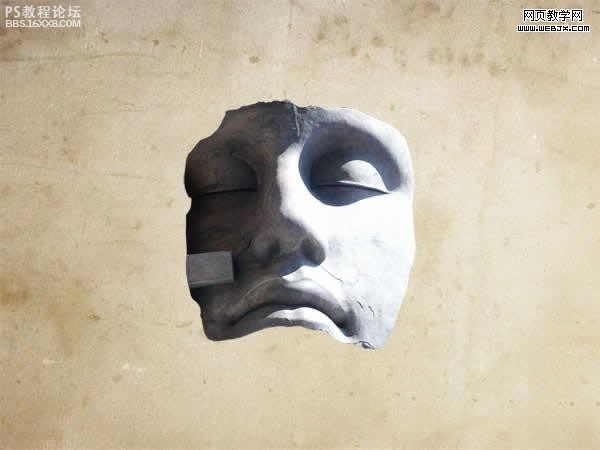
,首先打開photoshop創建一個文檔,然后打開一個素材移動到新的文檔中當作背景,調整大小到1000X750,效果如下。
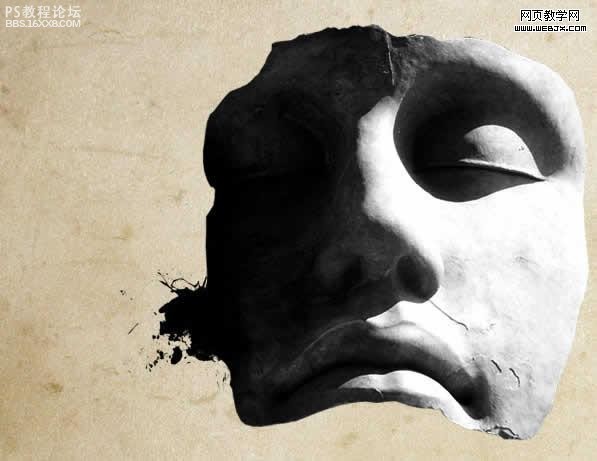
然后打開素材1,之后我們使用套索工具把頭部摳出來,然后旋轉,放到背景上面。
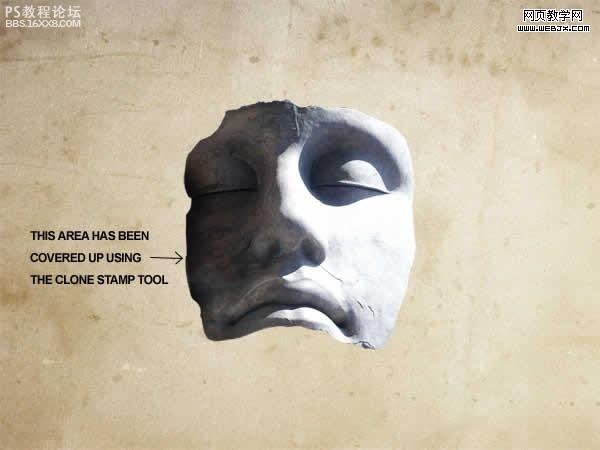
現在我們使用克隆圖章工具,大小設置為30-50px,然后按Alt鍵選擇多余的部分,我們刪除掉多余的部分,效果如下。
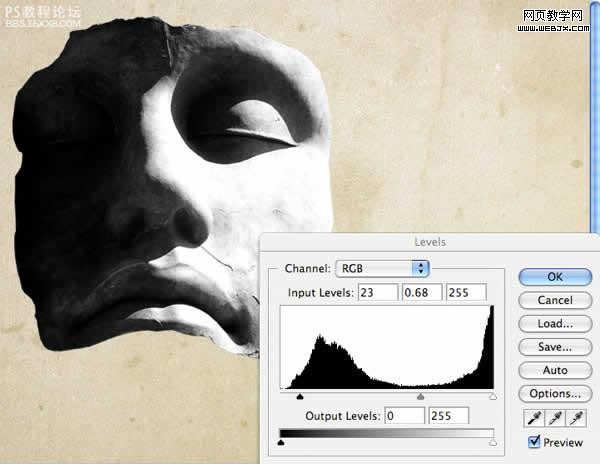
然后我們調整色階,使其光線暗下來。
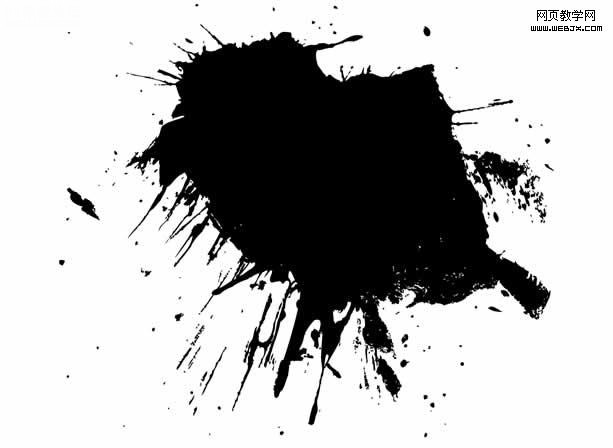
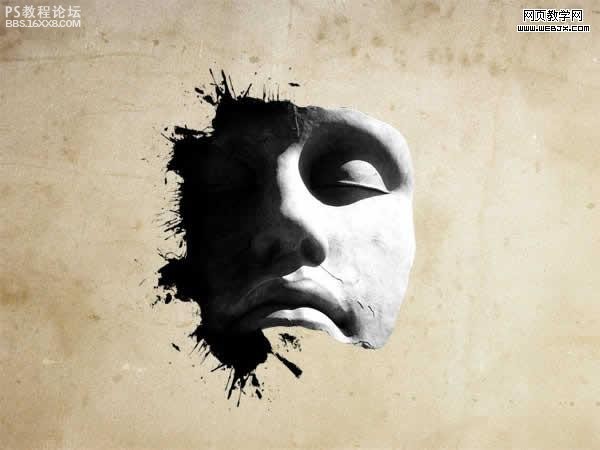
,然后我們把素材2打開,然后放到當前文檔中,為了把白色的部分去掉,我們把素材2的圖層的模式設置為正片疊底模式,然后調整大小,用一個大的柔邊橡皮擦去掉邊緣。
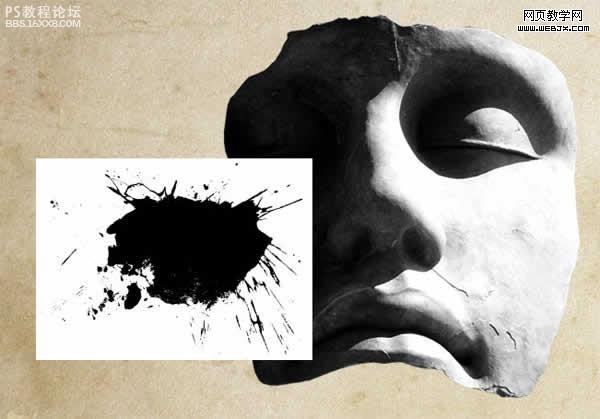
上面的操作重復3次打開素材3、素材4、素材5,只是位置不同,然后把這種噴濺的效果的圖層合并,效果如下。
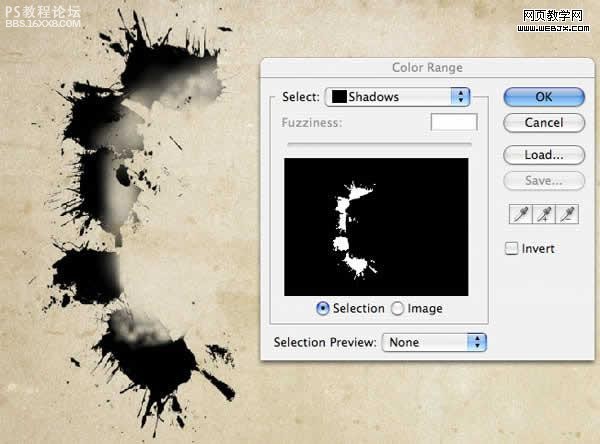
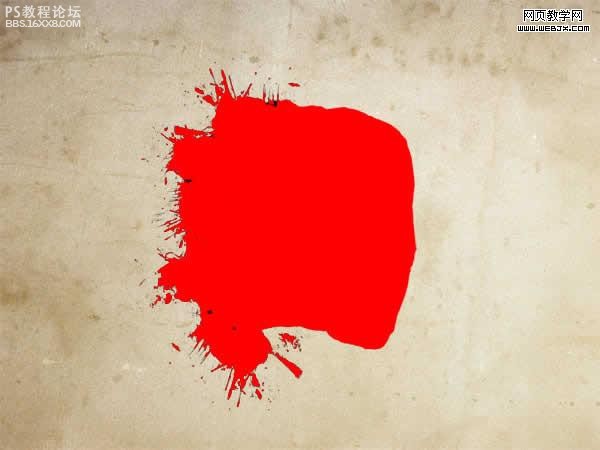
,然后把臉部圖像隱藏,我們對噴濺效果進行調整顏色范圍,單擊確定,這時創建了一個選區,我們新建一個圖層,然后填充為紅色。
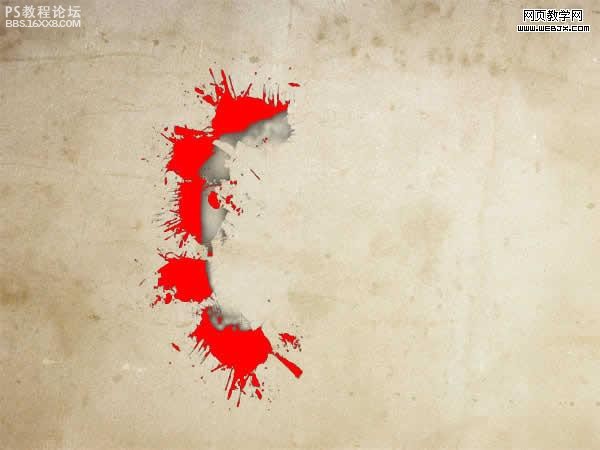
這時選區不要去掉,我們按ALT鍵單擊臉部圖層,這時都選中了,我們填充為紅色。
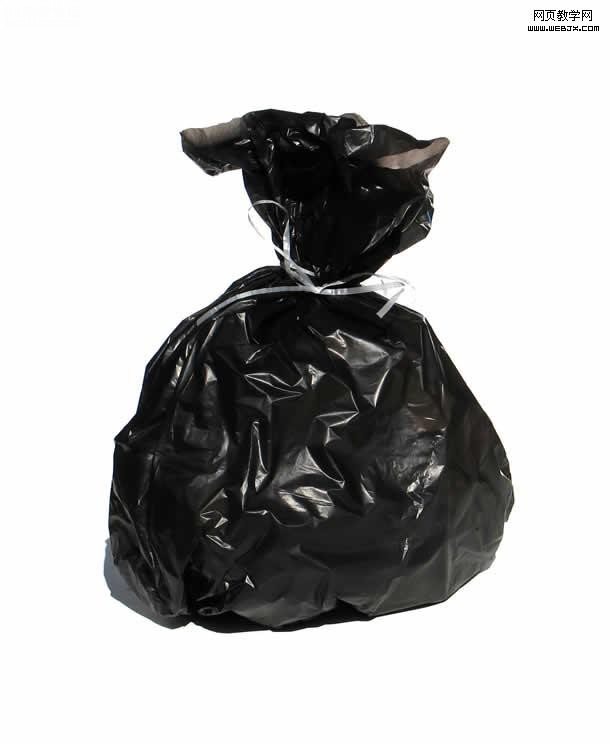
,這時我們打開素材6,移動到當前文檔,然后只選擇黑色部分,把白色部分刪除掉。

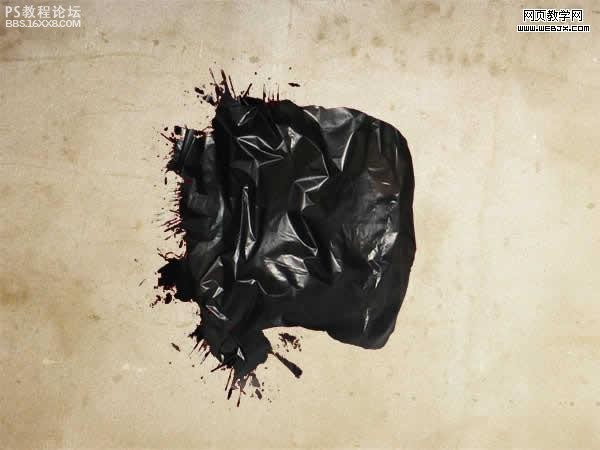
然后我們把上面的這個素材去色,我們點擊圖層-添加圖層蒙板-顯示選區,然后我們選擇一個大的很柔的筆刷,把一邊的眼睛漏出來,效果如下
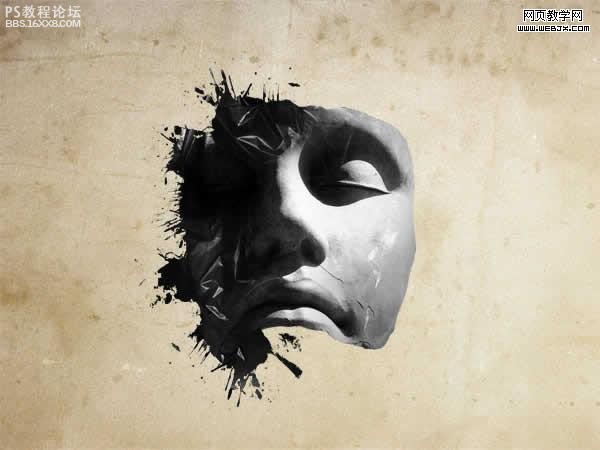
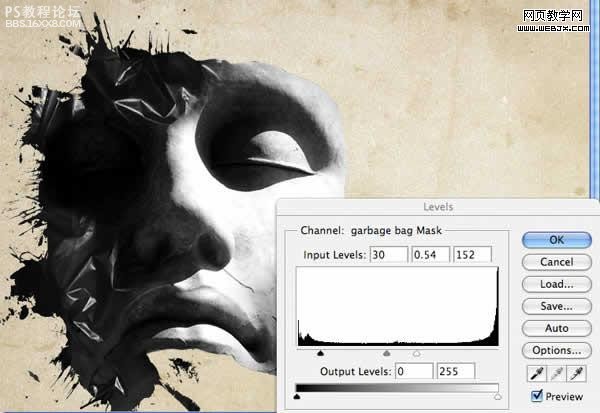
,這時我們調整色階,使黑包素材顯示如下。
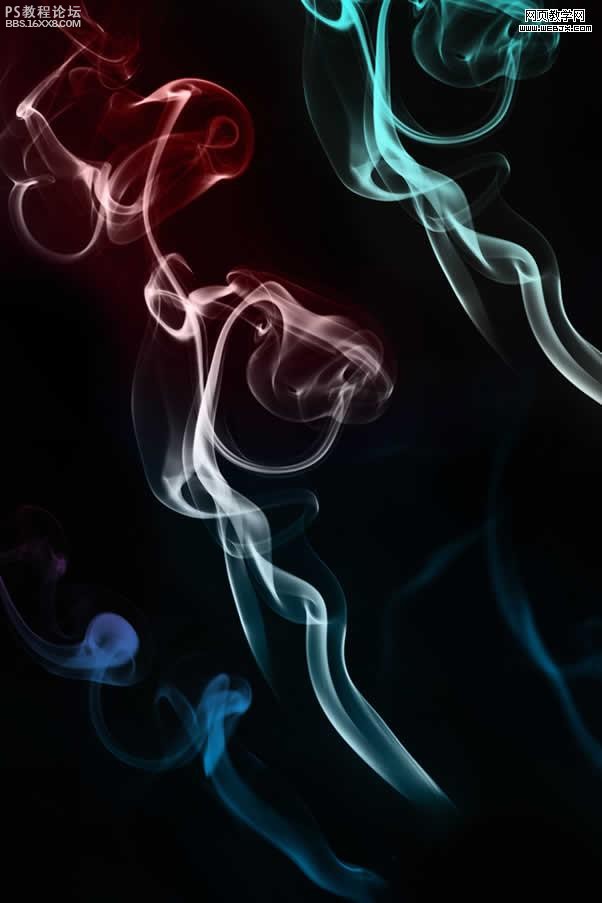
然后我們打開素材7,執行圖像-調整-灰度,去色,執行圖像-調整-反相。最后調整亮度和對比度。
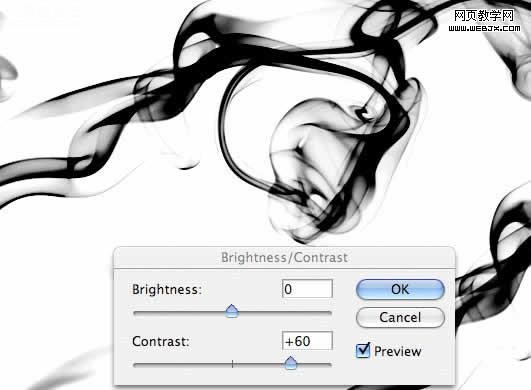
,改變圖層模式為正片疊底,然后用大的柔的橡皮擦去掉一部分煙霧,調整到頭頂部分,然后復制圖層,效果如下。

然后我們把黑包圖層添加蒙板,使用創建幾個矩形選區,模糊它們,達到如下效果。
首先看最終效果。
素材1
素材2
素材3
,素材4
素材5
素材6
素材7
,首先打開photoshop創建一個文檔,然后打開一個素材移動到新的文檔中當作背景,調整大小到1000X750,效果如下。
然后打開素材1,之后我們使用套索工具把頭部摳出來,然后旋轉,放到背景上面。
現在我們使用克隆圖章工具,大小設置為30-50px,然后按Alt鍵選擇多余的部分,我們刪除掉多余的部分,效果如下。
然后我們調整色階,使其光線暗下來。
,然后我們把素材2打開,然后放到當前文檔中,為了把白色的部分去掉,我們把素材2的圖層的模式設置為正片疊底模式,然后調整大小,用一個大的柔邊橡皮擦去掉邊緣。
上面的操作重復3次打開素材3、素材4、素材5,只是位置不同,然后把這種噴濺的效果的圖層合并,效果如下。
,然后把臉部圖像隱藏,我們對噴濺效果進行調整顏色范圍,單擊確定,這時創建了一個選區,我們新建一個圖層,然后填充為紅色。
這時選區不要去掉,我們按ALT鍵單擊臉部圖層,這時都選中了,我們填充為紅色。
,這時我們打開素材6,移動到當前文檔,然后只選擇黑色部分,把白色部分刪除掉。
然后我們把上面的這個素材去色,我們點擊圖層-添加圖層蒙板-顯示選區,然后我們選擇一個大的很柔的筆刷,把一邊的眼睛漏出來,效果如下
,這時我們調整色階,使黑包素材顯示如下。
然后我們打開素材7,執行圖像-調整-灰度,去色,執行圖像-調整-反相。最后調整亮度和對比度。
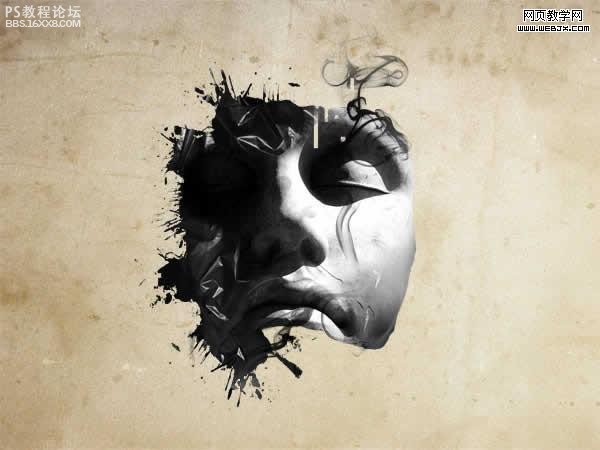
,改變圖層模式為正片疊底,然后用大的柔的橡皮擦去掉一部分煙霧,調整到頭頂部分,然后復制圖層,效果如下。
然后我們把黑包圖層添加蒙板,使用創建幾個矩形選區,模糊它們,達到如下效果。
上一篇:人像合成,用素材合成春季人像圖片
下一篇:PS合成女機器人教程
相關推薦

ps照片合成三個炮筒的坦克車

ps照片合成山谷中小村場景

Photoshop照片合成教程:黑夜中飛翔

ps照片合成:添加星球背景

合成行駛在夢幻森林中火車照片的PS教程

合成恐怖靈異雙重曝光頭像照片的PS教程

PS合成明亮夜色下的天使白狼場景圖片

戰爭海報,PS合成戰爭電影主題海報圖片設計教程


