Photoshop教程:用合成技巧為MM添加一個紋身圖案
2022-12-25 22:31:36
來源/作者: /
己有:7人學習過
Photoshop教程:用合成技巧為MM添加一個紋身圖案作者:思令 來源:IT世界網

原圖

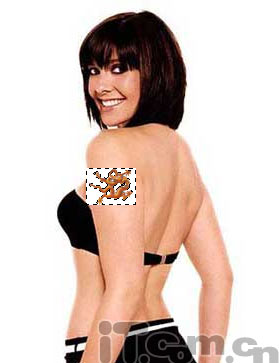
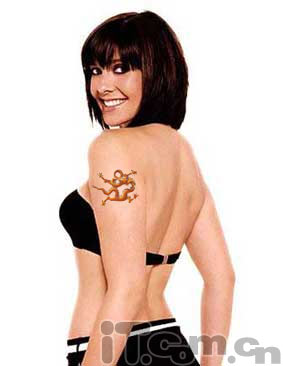
效果圖
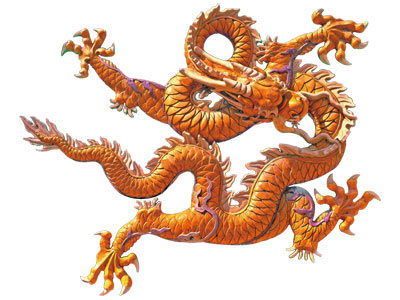
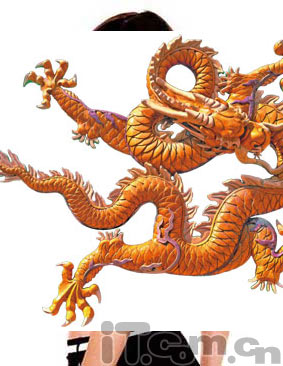
素材圖
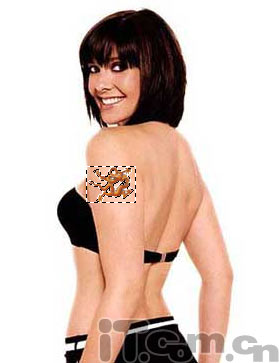

原圖
效果圖
素材圖
制作過程:
把素材圖拉到美女的那個圖層。如圖:
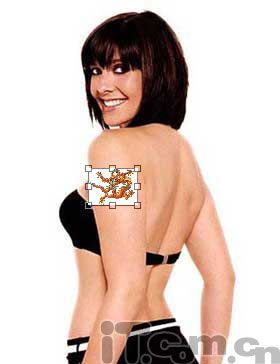
然后按CTRL+T,右鍵按自由變換或縮放,調成適當的大小。然后按確定。如圖:
因為底色是純色調的,可以點擊魔棒工具,然后按刪除健,刪除后可能會出現小部份沒刪除干凈,可將原圖放大后再細心刪除。如圖:
把圖層樣式改為正片疊底,使兩個圖層更好的溶合在一起。
最后可部分調節(jié)一下紋身圖層的明度或亮度,及它的透明度。最后如下:
相關推薦

PS實用教程:ps修復偏色風景照片

精細調整還你山清水秀——桔子教程

photoshop修復教程:還原泛黃色照片

photoshop修復教程:Lab模式還原雪

合成行駛在夢幻森林中火車照片的PS教程

合成恐怖靈異雙重曝光頭像照片的PS教程

PS合成明亮夜色下的天使白狼場景圖片

戰(zhàn)爭海報,PS合成戰(zhàn)爭電影主題海報圖片設計教程


