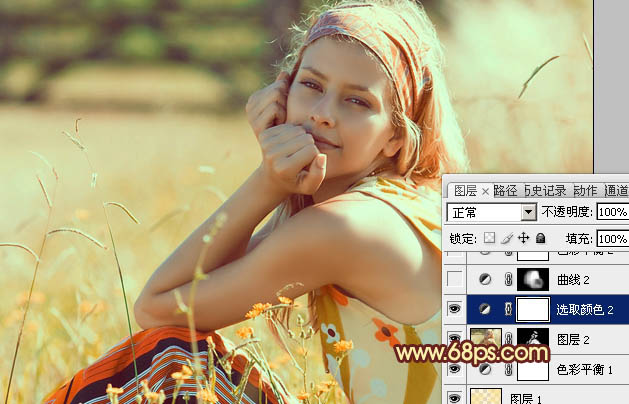
ps打造柔和的橙綠色外景圖片
2022-12-26 01:31:50
來源/作者: /
己有:24人學習過
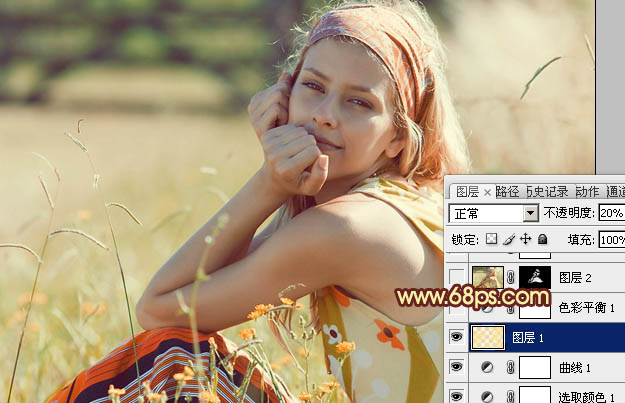
<圖8>3、按Ctrl + Alt + ~ 調出高光選區,新建一個圖層填充橙黃色:#FBE392,不透明度改為:20%,效果如下圖。這一步增加高光部分的暖色。
![](https://img.lvups.com/d/file/bigpic/2022/12/26/n0gne5akocj.jpg)
<圖9>
4、創建色彩平衡調整圖層,對中間調,高光進行調整,參數設置如圖10,11,效果如圖12。這一步微調高光部分的顏色。
![](https://img.lvups.com/d/file/bigpic/2022/12/26/hckunpvvxc5.jpg)
<圖10>
![](https://img.lvups.com/d/file/bigpic/2022/12/26/etytqsjufsd.jpg)
<圖11>
![](https://img.lvups.com/d/file/bigpic/2022/12/26/tshthscpgrl.jpg)
<圖12>5、新建一個圖層,按Ctrl + Alt + Shift + E 蓋印圖層。簡單的給人人物磨一下皮,大致效果如下圖。
![](https://img.lvups.com/d/file/bigpic/2022/12/26/0gwyvza5fim.jpg)
<圖13>
6、創建可選顏色調整圖層,對黃、綠、白進行調整,參數設置如圖14 - 16,效果如圖17。這一步增加高光部分的淡黃色。
![](https://img.lvups.com/d/file/bigpic/2022/12/26/aoombd0wumj.jpg)
<圖14>
![](https://img.lvups.com/d/file/bigpic/2022/12/26/uofwimpr2es.jpg)
<圖15>
![](https://img.lvups.com/d/file/bigpic/2022/12/26/enpfrxbynyh.jpg)
<圖16>
![](https://img.lvups.com/d/file/bigpic/2022/12/26/fm0lk2b310k.jpg)
<圖17>7、創建曲線調整圖層,對RGB進行調整,參數設置如圖18,確定后把蒙版填充黑色,用白色畫筆把人物臉部擦出來,效果如圖19。這一步增加人物臉部的亮度。
![](https://img.lvups.com/d/file/bigpic/2022/12/26/aclhk0mnr4y.jpg)
<圖18>
![](https://img.lvups.com/d/file/bigpic/2022/12/26/vi0tod4rwdl.jpg)
<圖19>
8、創建色彩平衡調整圖層,對陰影,高光進行調整,參數設置如圖20,21,效果如圖22。這一步增加整體暖色。
![](https://img.lvups.com/d/file/bigpic/2022/12/26/5zoscmxqrk1.jpg)
<圖20>
![](https://img.lvups.com/d/file/bigpic/2022/12/26/dazqxkjaw1r.jpg)
<圖21>
![](https://img.lvups.com/d/file/bigpic/2022/12/26/0zcaz2visr4.jpg)
下一篇:ps處理美女短裙婚紗數碼照