ps處理樓梯婚紗照片艷麗的藍紫色
2022-12-26 01:02:49
來源/作者: /
己有:71人學習過
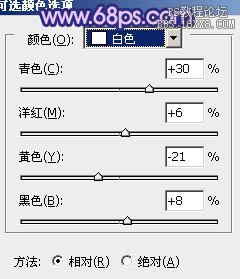
6、調出當前蒙版選區及人物選區,創建可選顏色調整圖層,對白色進行調整,參數設置如圖14,效果如圖15。這一步加強人物膚色高光部分的顏色。
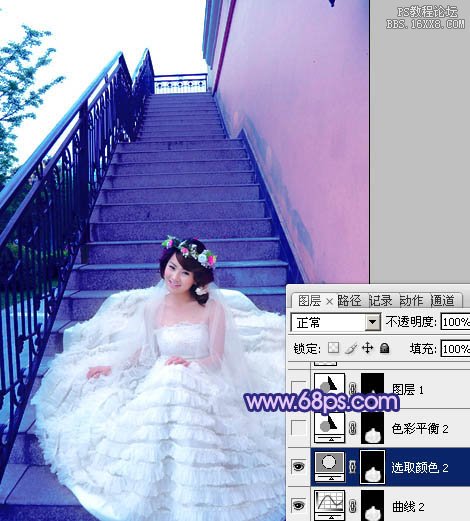
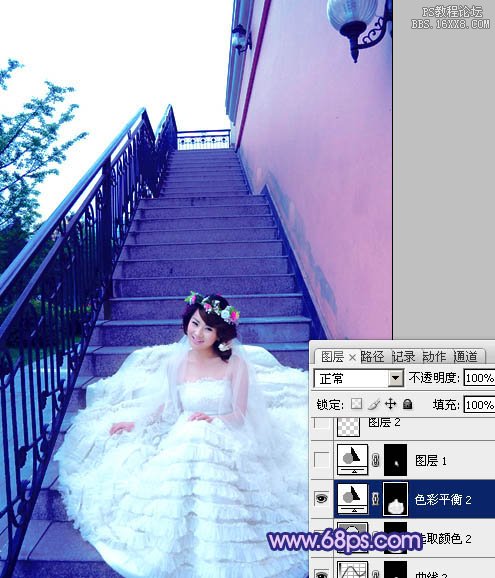
7、再調出蒙版選區,創建色彩平衡調整圖層,對陰影,高光進行調整,參數設置如圖16,17,效果如圖18。這一步把人物部分稍微調藍一點,跟背景融合一些。
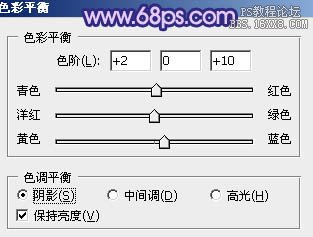
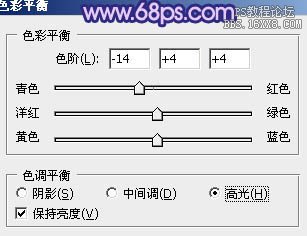
7、再調出蒙版選區,創建色彩平衡調整圖層,對陰影,高光進行調整,參數設置如圖16,17,效果如圖18。這一步把人物部分稍微調藍一點,跟背景融合一些。
上一篇:ps給外景人像調出秋季金黃色調
下一篇:調出{夏初}暗黃藝術色調的教程
相關推薦

ps質感中性色調人物調色教程

ps淡藍色人物調色教程

PS成簽教程:你是我唯一的愛-----人
![[非主流PS教程] 非主流圖片制作教](https://img.lvups.com/d/file/titlepic/2022/12/25/ezubq003eyi.jpg)
[非主流PS教程] 非主流圖片制作教

ps調出高級復古歐美色調教程

PS夜景美化:調出唯美藍色夜景燈光照片效果

調出絢麗藍天白云山水風景圖片的PS教程

調出金色晨曦森林兒童背影照片的PS教程


