ps處理桃林婚紗照片艷麗的紫紅色
2022-12-25 22:42:45
來源/作者: /
己有:34人學習過
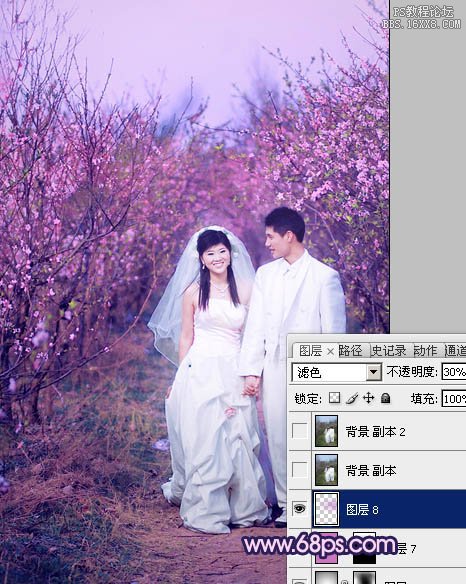
13、新建一個圖層,同上的方法給其它部分也渲染一些高光,大致效果如下圖。

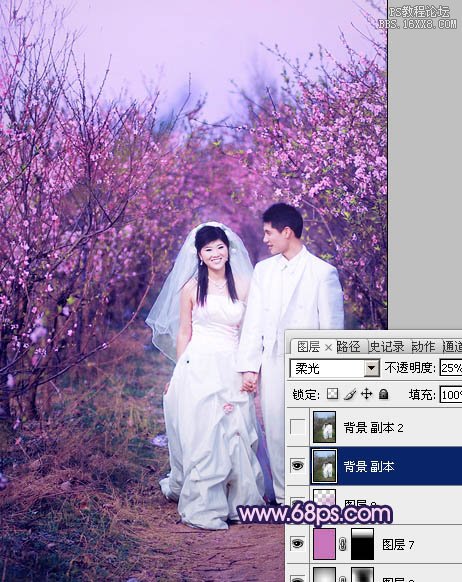
14、把背景圖層復制一層,按Ctrl + Shift + ] 置頂,混合模式改為“柔光”,不透明度改為:25%,效果如下圖。

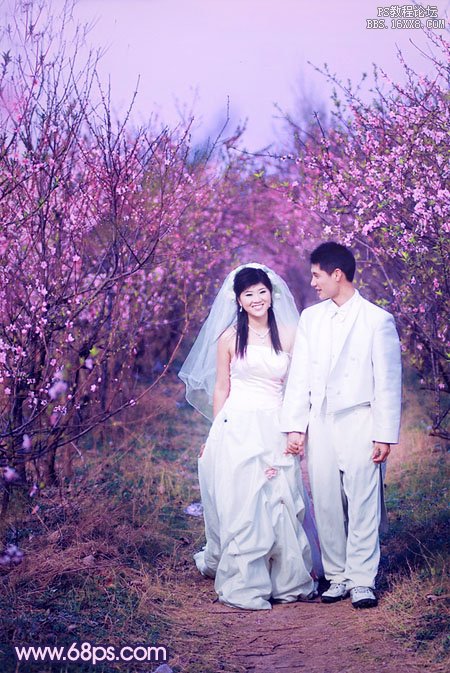
最后調整一下細節,完成最終效果。


14、把背景圖層復制一層,按Ctrl + Shift + ] 置頂,混合模式改為“柔光”,不透明度改為:25%,效果如下圖。

最后調整一下細節,完成最終效果。

上一篇:ps調出美女人像淡雅的唯美色調
下一篇:ps cs5 人象色彩矯正教程


![[非主流PS教程] 非主流圖片制作教](https://img.lvups.com/d/file/titlepic/2022/12/25/ezubq003eyi.jpg)


